Extend CloudForms
Extend CloudForms builtin Capabilities
In this lab you have so far learned how to use Ansible Playbooks to orchestrate and execute configuration actions. CloudForms is internally using a powerful and extensible framework that defines what happens “under the hood”. This feature is called “Automate”. “Automate” allows us to understand how things are done and even more interestingly, it allows us to add features which are not coming out of the box.
“Automate” code can either be developed directly in the User Interface, or it can be imported from a Git repository. For this lab we want to keep things simple. We will add a Git repository with a simple method to make the Service Dialog easier to use.
Add a Git repository for Automate
“Automate” code can either be developed and written directly in the CloudForms Web UI, or it can be imported from a Git repository. We will do the latter:
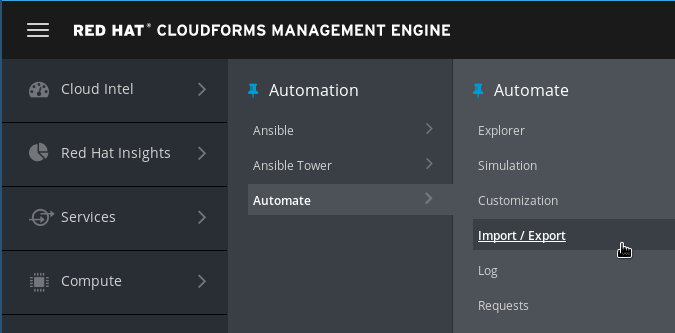
Navigate to Automation -> Automate -> Import/Export
Use the following URL to access the Git repository:
https://github.com/cbolz/partner-conference-2017-labs.git
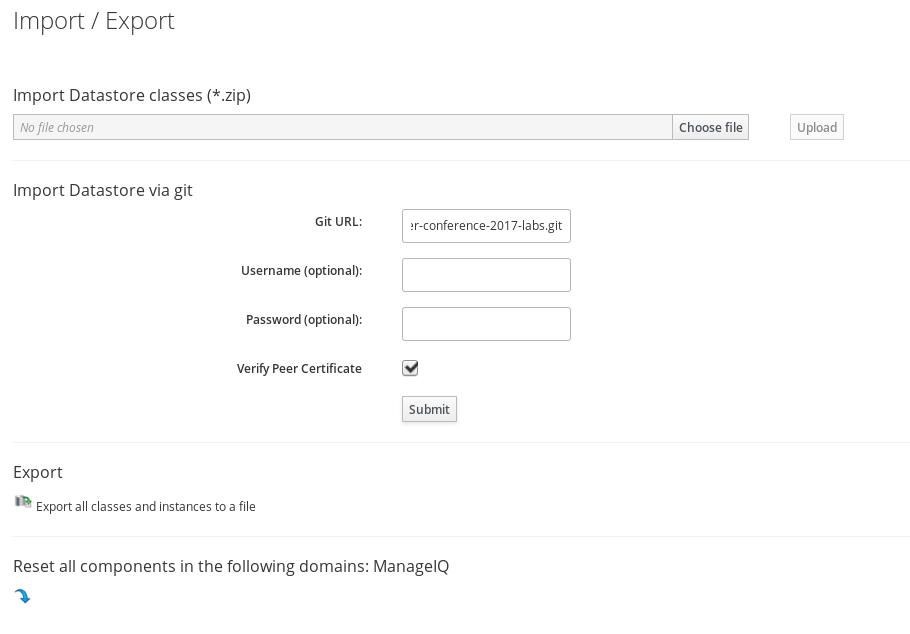
Click Submit. It will take a few moments to check the Git repository.
The “Branch/Tag” and “Branch” fields allow us to import different tags or branches, for example “Development”, “Testing”, “QA”, etc.
For this lab, we stick with the defaults and click on Submit
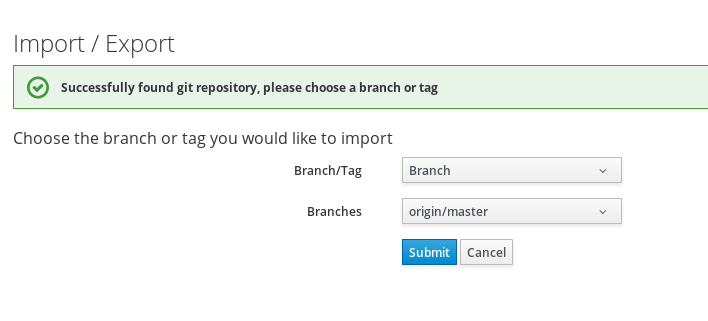
The first import can take a few moments. After that you should see the following confirmation:
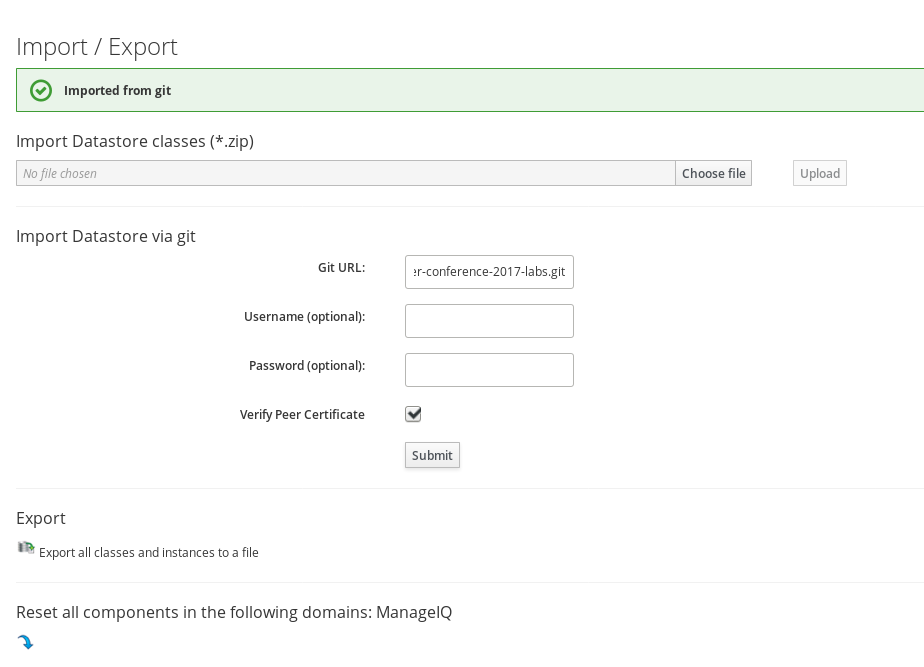
Verify Automate import
We want to make sure the Automate Code was properly imported.
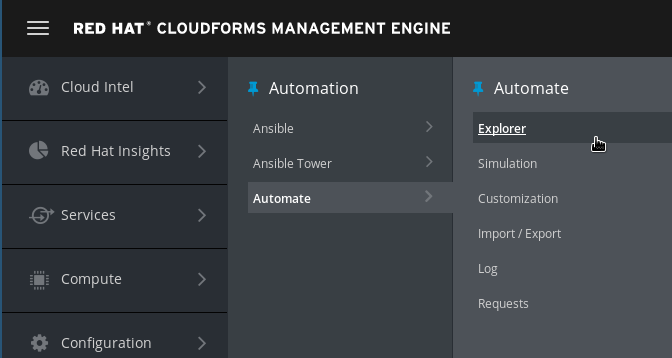
Navigate to Automation -> Automate -> Explorer
“Automate” code is organized in “Datastores”. Two Datastores are shipped with CloudForms:
-
ManageIQ: These methods are a verbatim copy of the Open Source Community version
-
RedHat: These methods are only shipped with Red Hat CloudForms and are supported by Red Hat
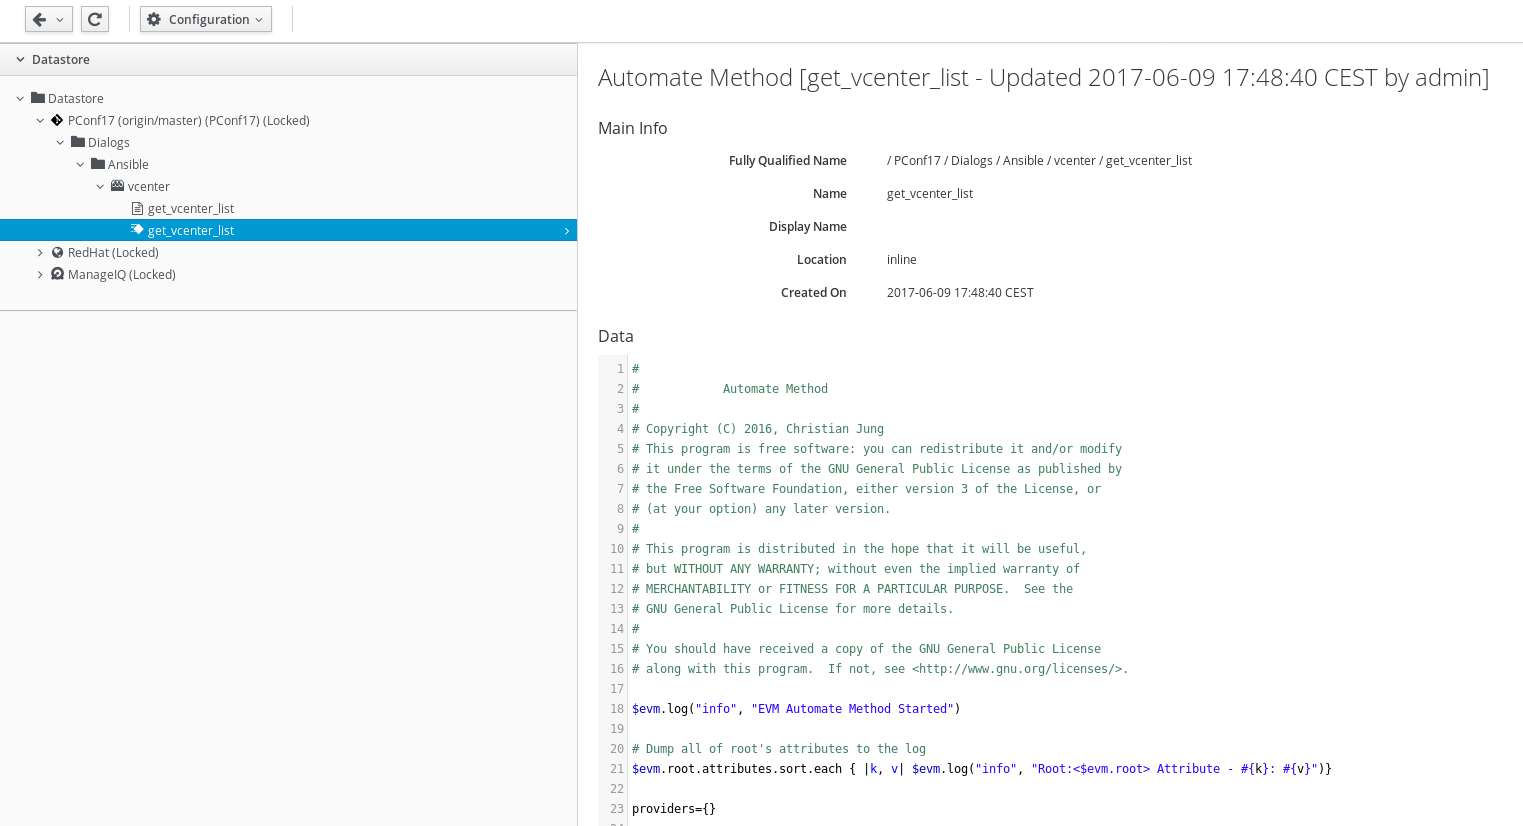
You can now see an additional third Datastore called “PConf17”, which is the one you just imported. Users can create as many additional datastores as they want, but they can not modify or delete the two datastores shipped with the product. Datastores are stacked and prioritized which allows separation of out of the box functionality from custom code.
The screenshot was created after expanding all folders (which are actually called “Namespaces” and “Classes”:
This concludes the preparation for the next part of the lab.