Optimize Service Dialog
Optimize the Dialog
The Service Dialog we created so far, is not ideal for most use cases. We want users to focus on getting their service as quickly and easily as possible. An ideal Service Dialog only asks the absolutely necessary questions. With this in mind, we can optimize the automatically created Service Dialog created in the previous part of the lab.
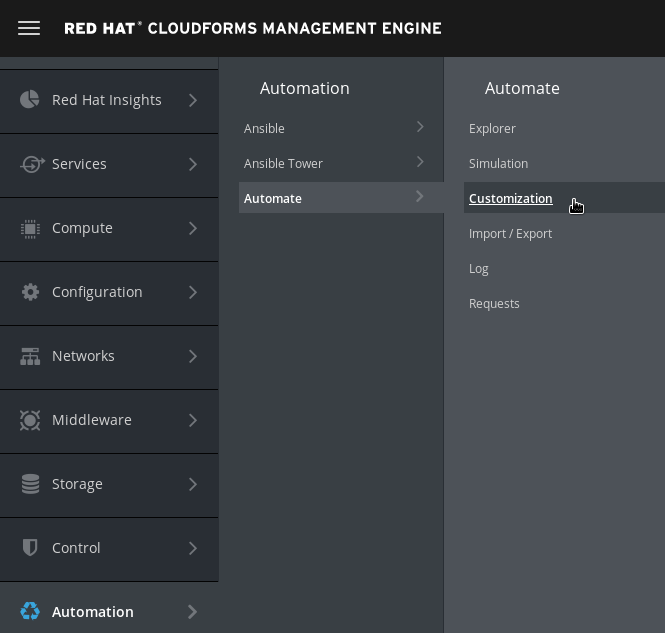
Navigate to Automation -> Automate -> Customization
Click on Service Dialog in the accordion on the left
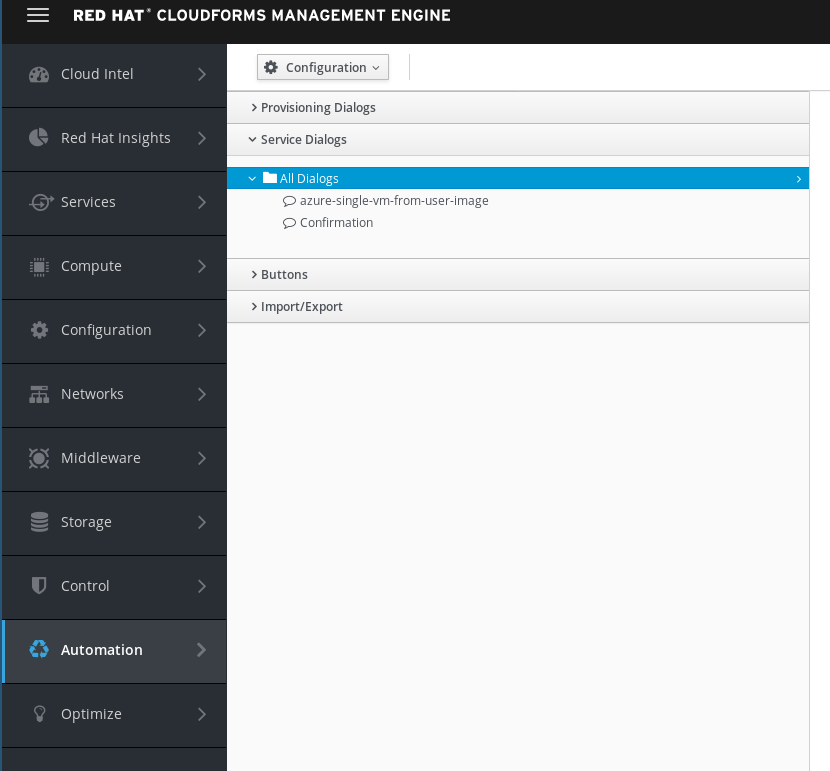
Click on the Dialog which was created in the previous step “provision-vm-vcenter”
Click on Configuration -> Copy this Dialog. We want to keep the original version of the Dialog, which will allow us to have a backup.
Edit the Label and Description to something a bit more meaningful
Label: provision-vm-vcenter-v2
Description: Optimized version of the Service Dialog
Do not click on Add yet, we want to do some more changes!
We want to do several changes on this Dialog.
Change the Label to something more meaningful:
Label: provision-vm-vcenter-v2
The elements in the “Options” box will always be left to the default values for our Service Catalog Item to work. Since our users are never going to change any of the field in the “Options” bix, we can simply delete the entire box.
Click on the Box “Options” and then on the little trash bin icon to delete it and all its child elements.
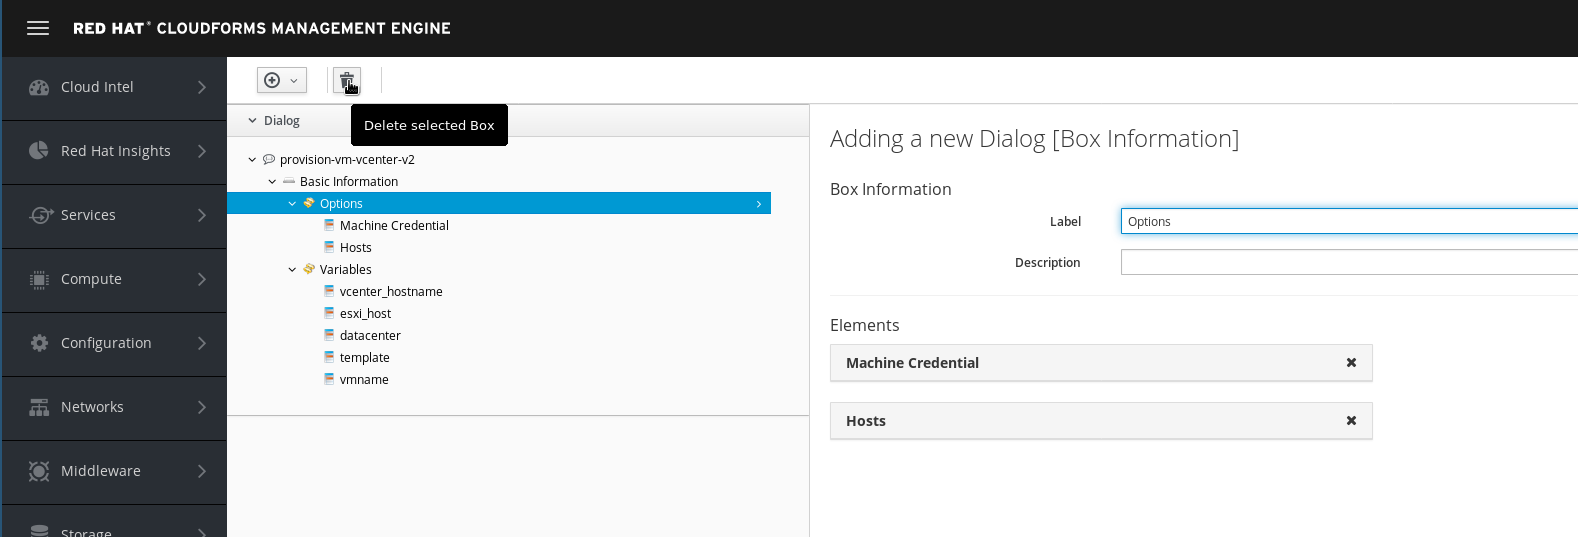
Make sure you have highlighted the correct element! If you deleted the wrong element by accident, you can click on Cancel and start over.
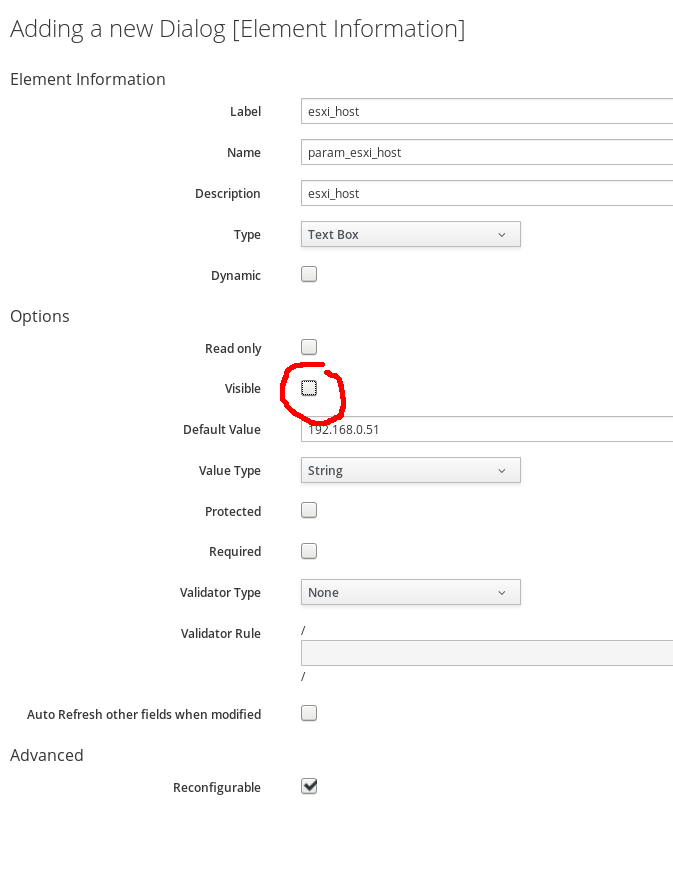
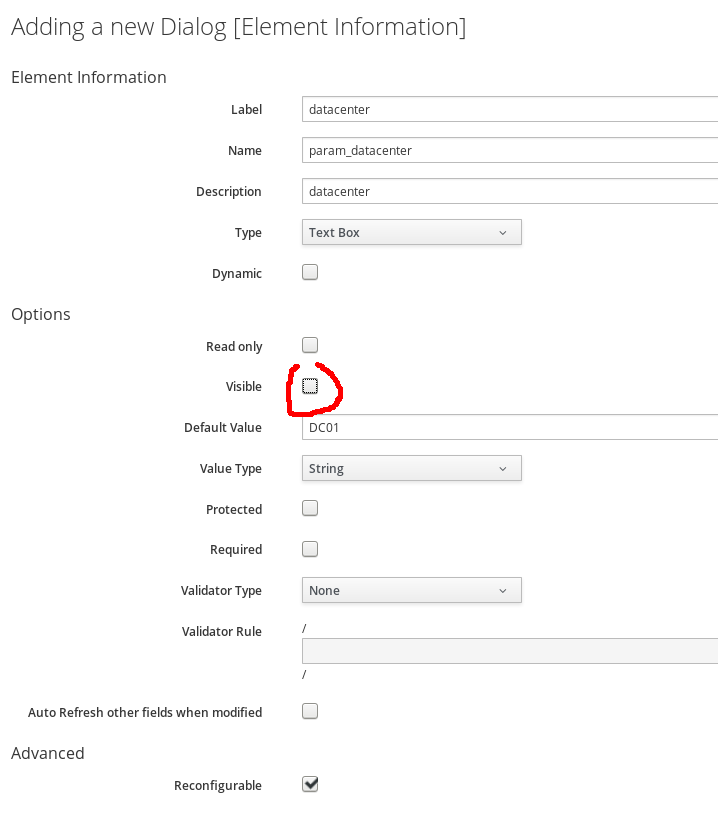
The ESXi host which will actually create the virtual machine, is always the same in this lab. We can hide the element to simplify the Dialog further.
Click on the Element “esxi_host” and unselect the “visible” box
The same applies for the “Datacenter”. In this lab, there is only one.
To finish the our optimizations, we want to make the vCenter a dynamic drop down. Instead of providing possible values as a hard coded list, or asking the user for manual input, we can use program code to create a list of applicable options.
In this example, we want the list of available vCenters dynamically populated (Although there is still only one vCenter and the value is questionable at best. But it’s a good example of CloudForms’ capabilities nonetheless)
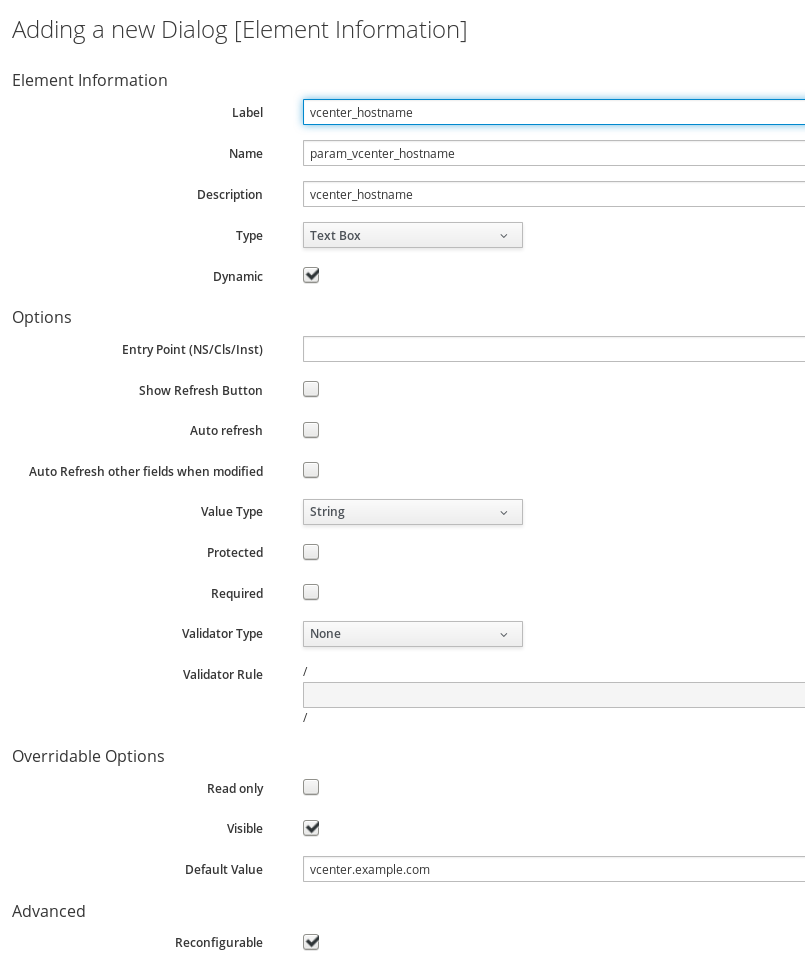
Click on the Element “vcenter_hostname” and change the type to “Drop down list”. Then click the check box “Dynamic”. This will change the form and show us new fields:
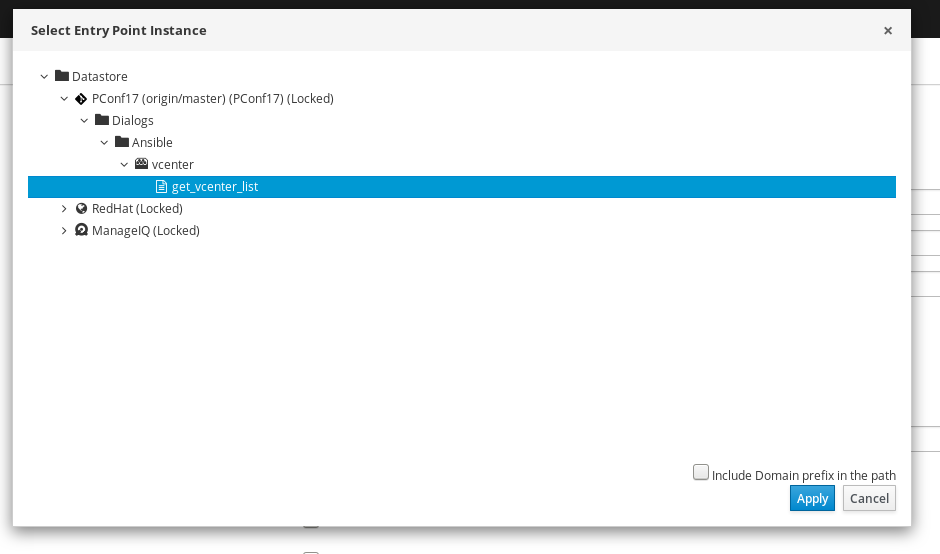
Click on “Entry Point”. A window will pop up which allows us to specify which method instance should be called to populate this Element.
Select the Instance called “get_vcenter_list” and click Apply.
The resulting Service Dialog Element should look like this:
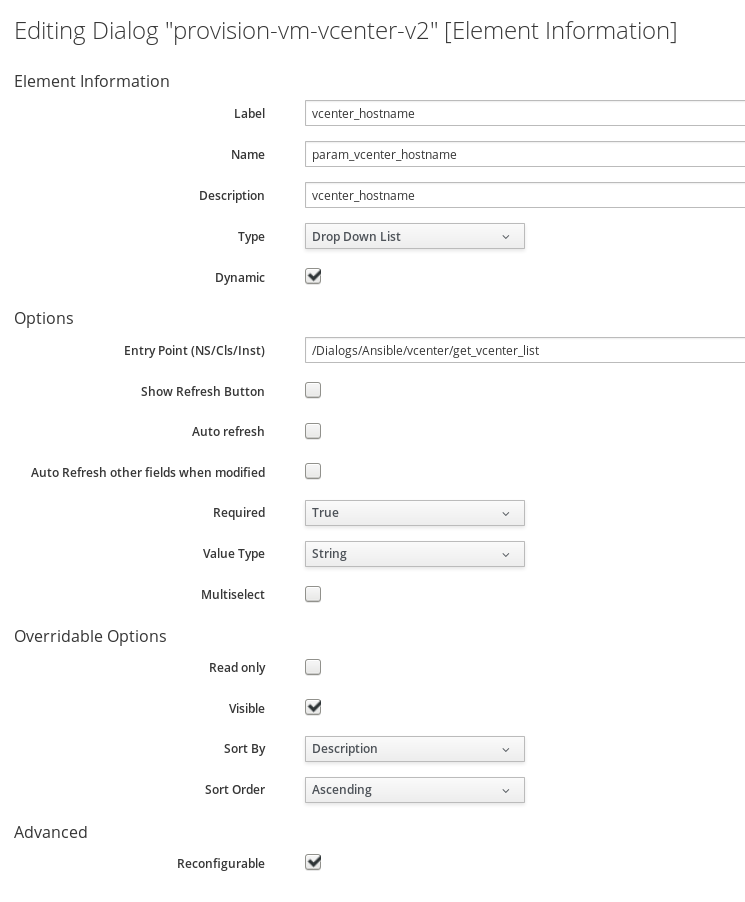
Click on *Add to save all changes
Update the Service Catalog Item
We have to change the Service Catalog Item to use the Service Dialog we just created.
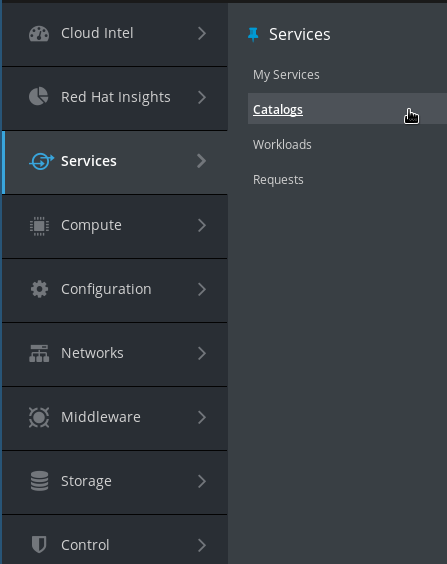
Navigate to Services -> Catalogs
Navigate to Catalog Items in the accordion on the left and click on the “Provision Virtual Machine” Service Catalog Item
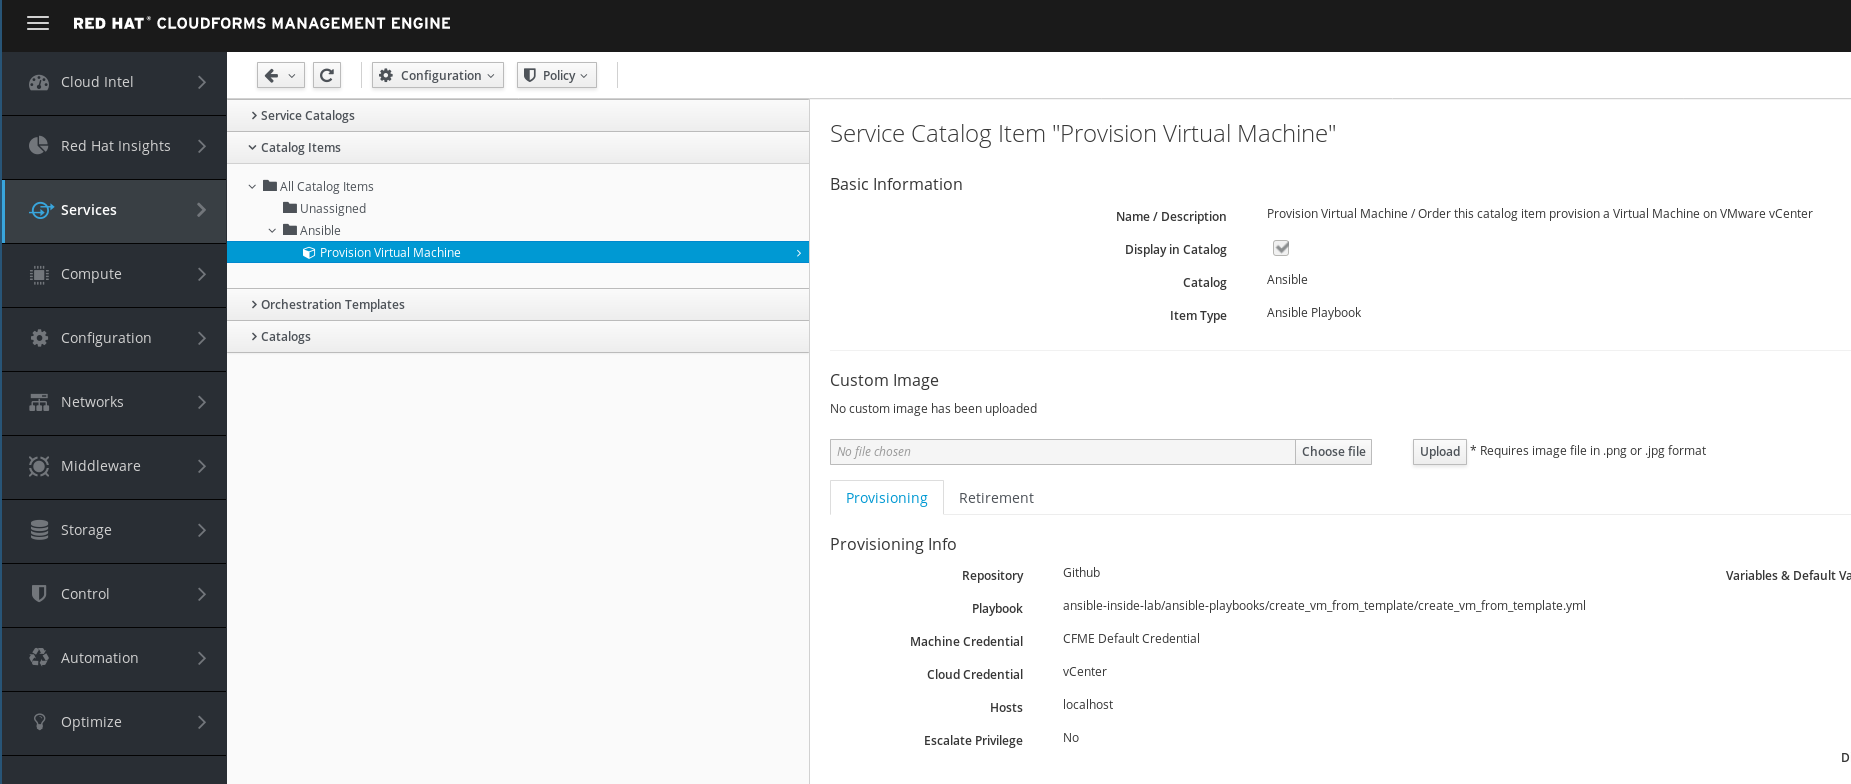
Click on Configuration -> Edit this Item
In the Dialog Section of the UI, change the value from “provision-vm-vcenter” to “provision-vm-vcenter-v2”
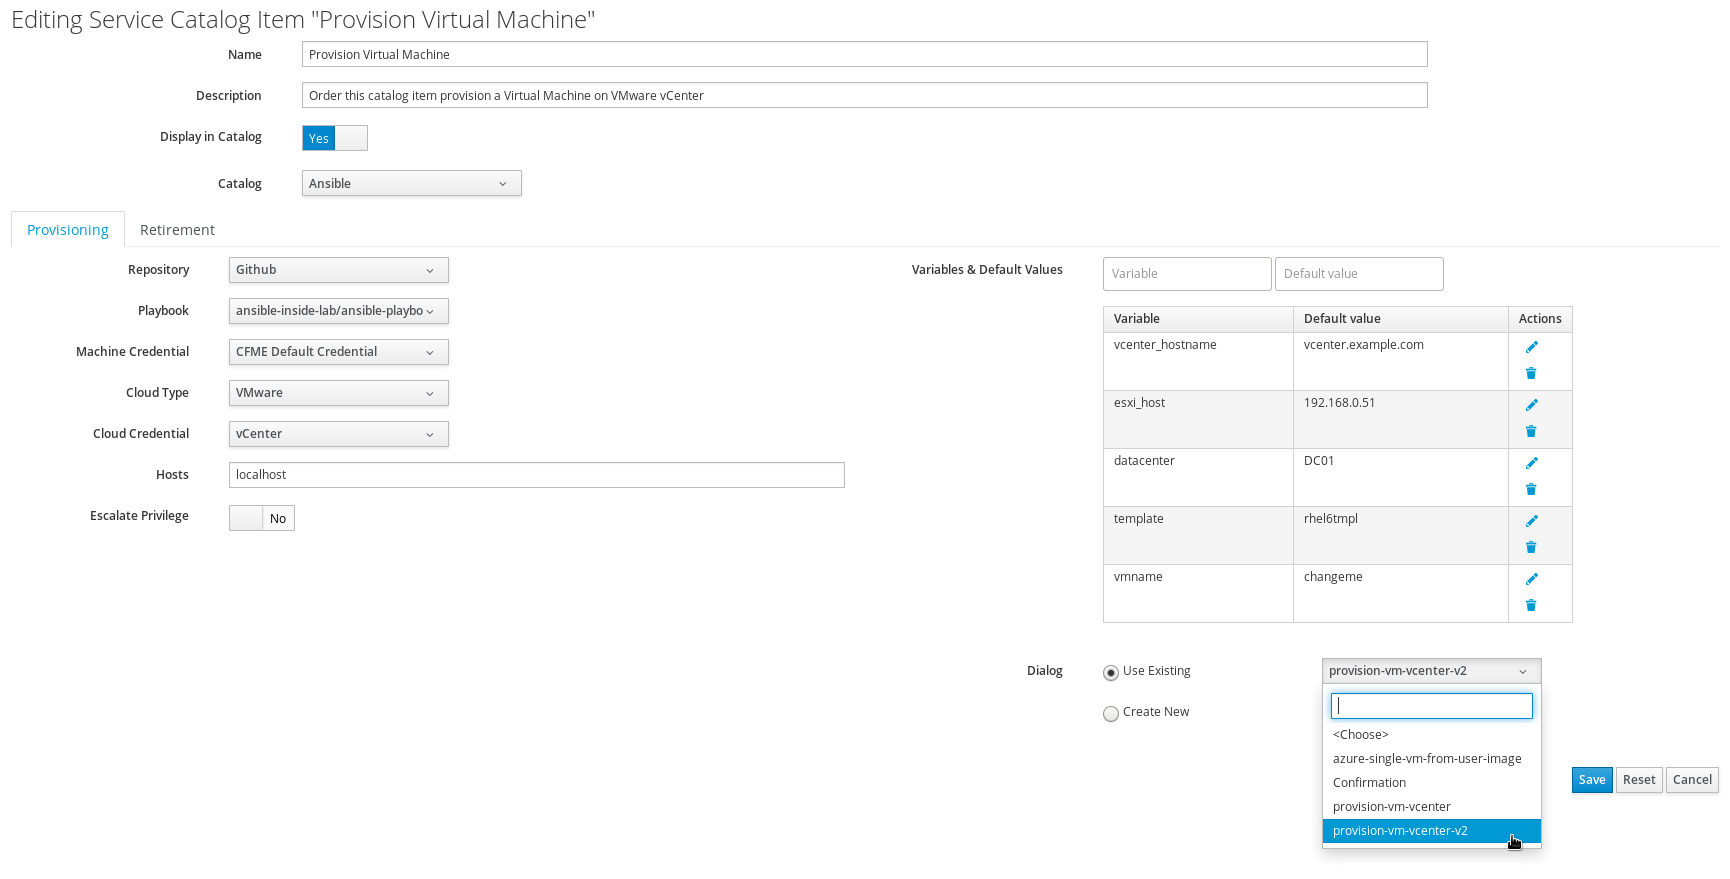
Click Save to commit the changes
Test the new Service Dialog
We want to see how the resulting Service Catalog Item looks like.
Navigate to Services -> Catalogs
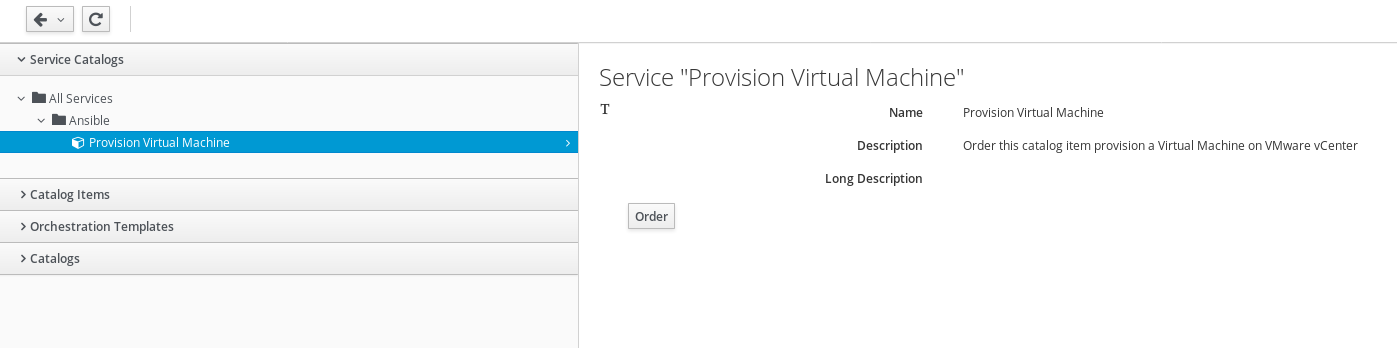
Make sure you are on the “Service Catalogs” tab in the accordion on the left
Order the “Provision Virtual Machine” Service Catalog Item
Note the Service Dialog has changed compared to before. You should notice a few fields are gone and the vCenter is now a drop down list. “vCenter” should already be selected for you.
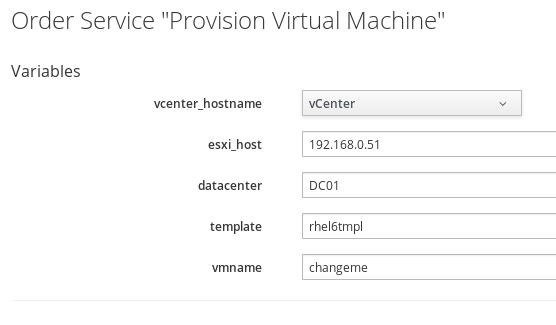
If you want, you can go ahead and submit the order