Improve Service Dialogs
Improve the Service Dialog
The automatically generated Service Dialog is far from being perfect. It might confuse the user with too many input fields. For example, the user is asked to select the “Machine Credentials”, although they have already been defined in the Service Catalog Item and the user provided input will have no effect. It also asks for the “Host”, but this one is automatically calculated by CloudForms and set to the currently selected Virtual Machine. And finally the field “package_name” could benefit from a more descriptive text to be more user friendly.
In the following steps, we want to make the Service Dialog more user friendly by simplifying it.
Edit the Service Dialog
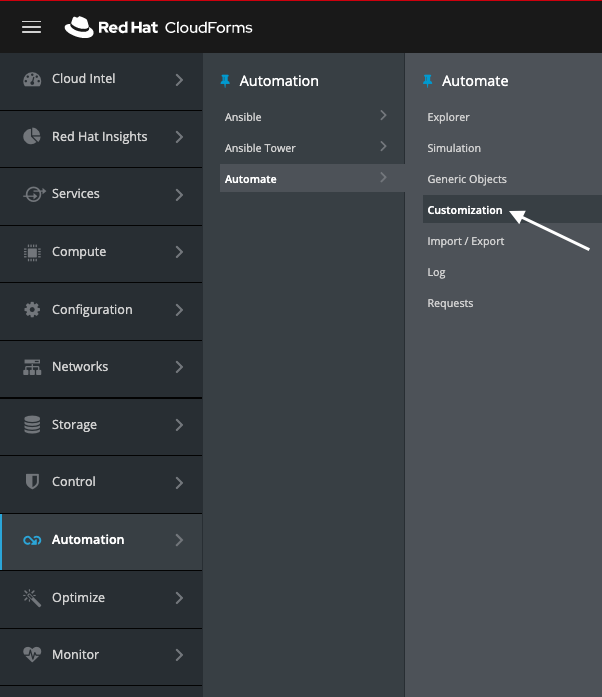
Navigate to Automation -> Automate -> Customization
Click on Service Dialogs in the accordion on the left
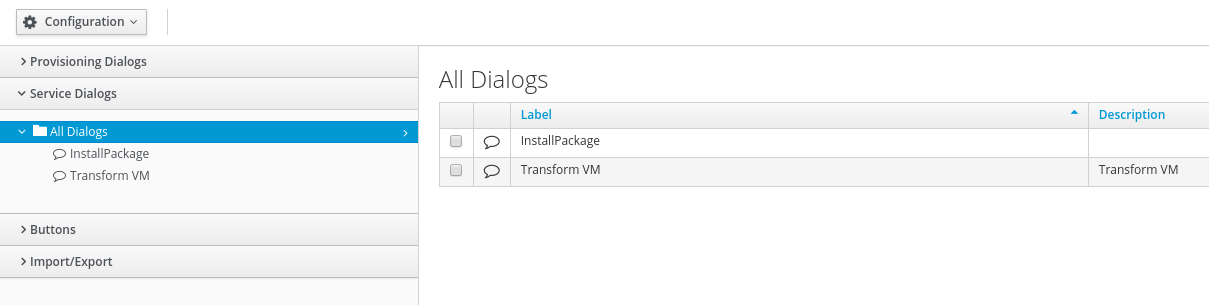
Click the check box next to “InstallPackage”
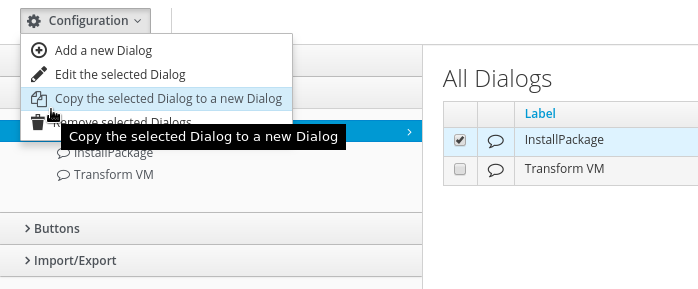
Click on Configuration -> Copy the selected Dialog to a new Dialog
Let’s improve the Service Dialog by applying the following changes:
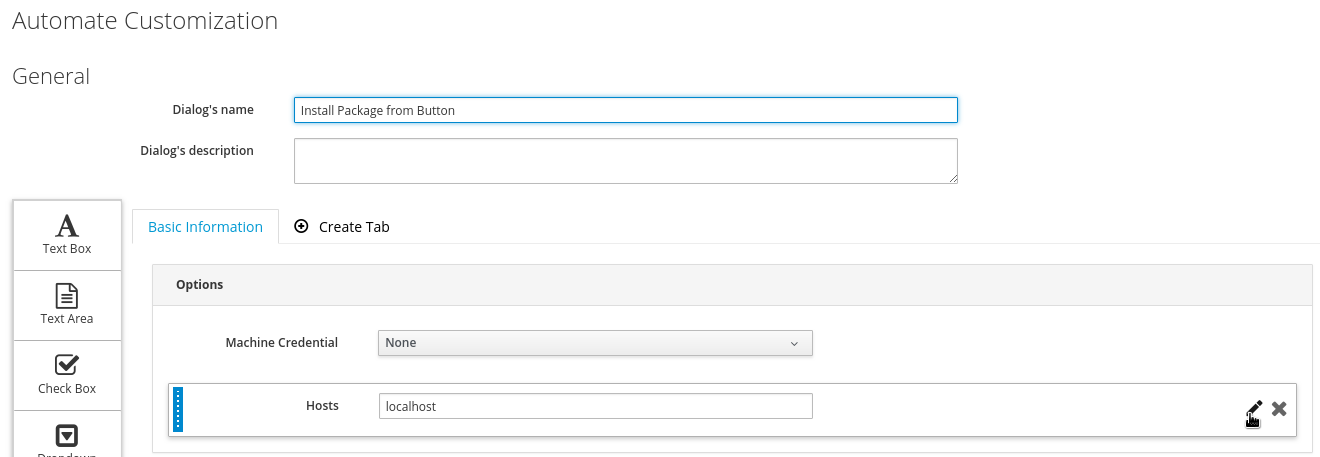
Dialog’s name: Install Package from Button
Hide the element “Machine Credentials” by clicking on the little pen icon.
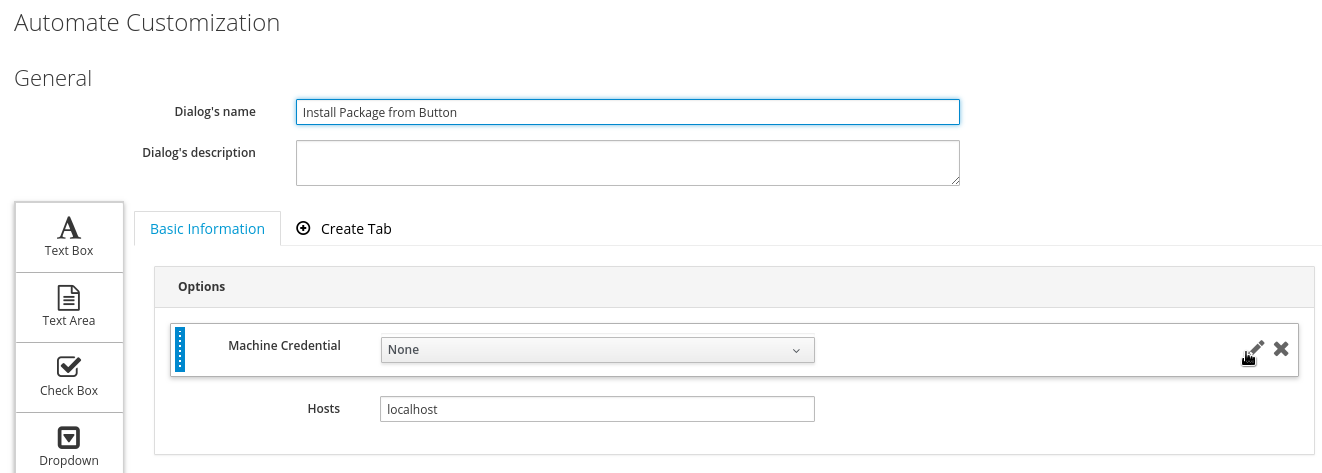
The edit icon only shows if you move the mouse pointer over the “Machine Credentials” text box.
Do not delete the element, only hide it! The element is still needed for some CloudForms internal logic and should not be removed.
Click on Overridable Options and switch the Visible switch to “No”
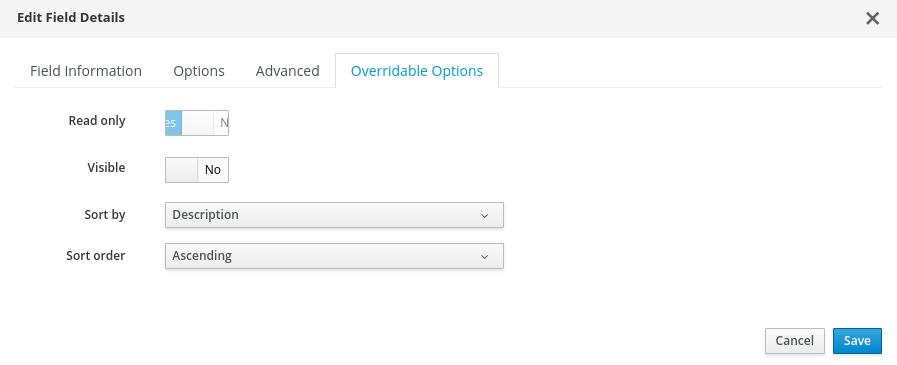
Click Save to close the dialog
Repeat this for the “Hosts” element. Click on the pen icon next to it.
The edit icon only shows if you move the mouse pointer over the “Hosts” text box.
Click on Options and switch Visible to “No”
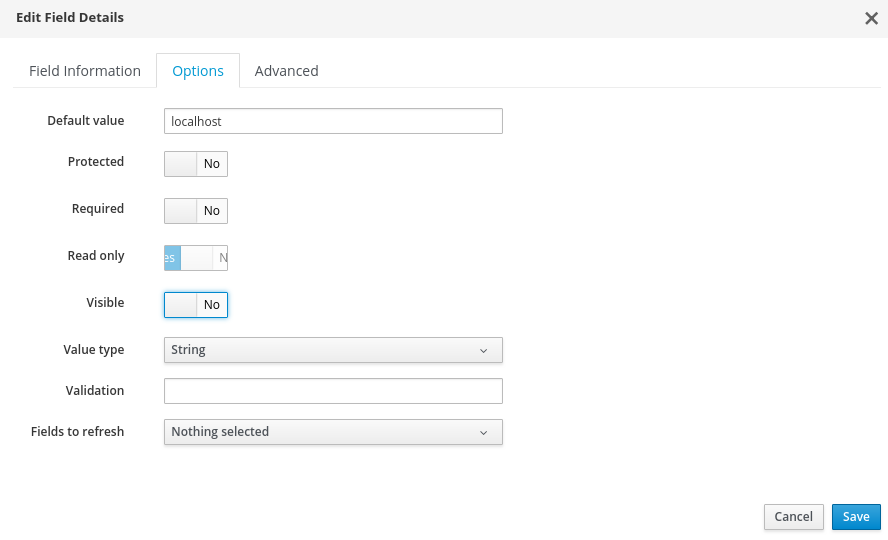
Do not delete the element, only hide it! The element is still needed for some CloudForms internal logic and should not be removed.
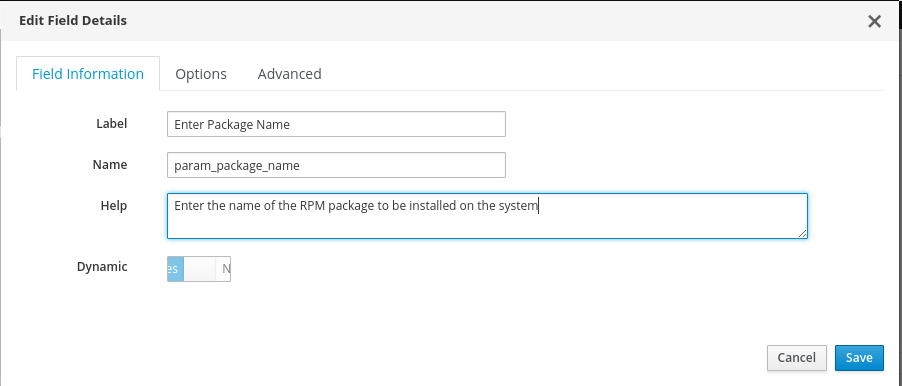
Click on the little pen icon next to the “package_name” text box
The edit icon only shows if you move the mouse pointer over the “package_name” text box.
Change the label to something more descriptive:
Label: Enter Package Name
Do not change the field “Name” - it is the name of the variable used internally by CLoudForms and the Ansible Playbook. if you change the name of this field, the Playbook will not pickup the new variable and hence ignore the user input.
Also let’s give more information to the user by improving the “Help” text:
Help: Enter the name of the RPM package to be installed on the system
Click Save to apply the changes
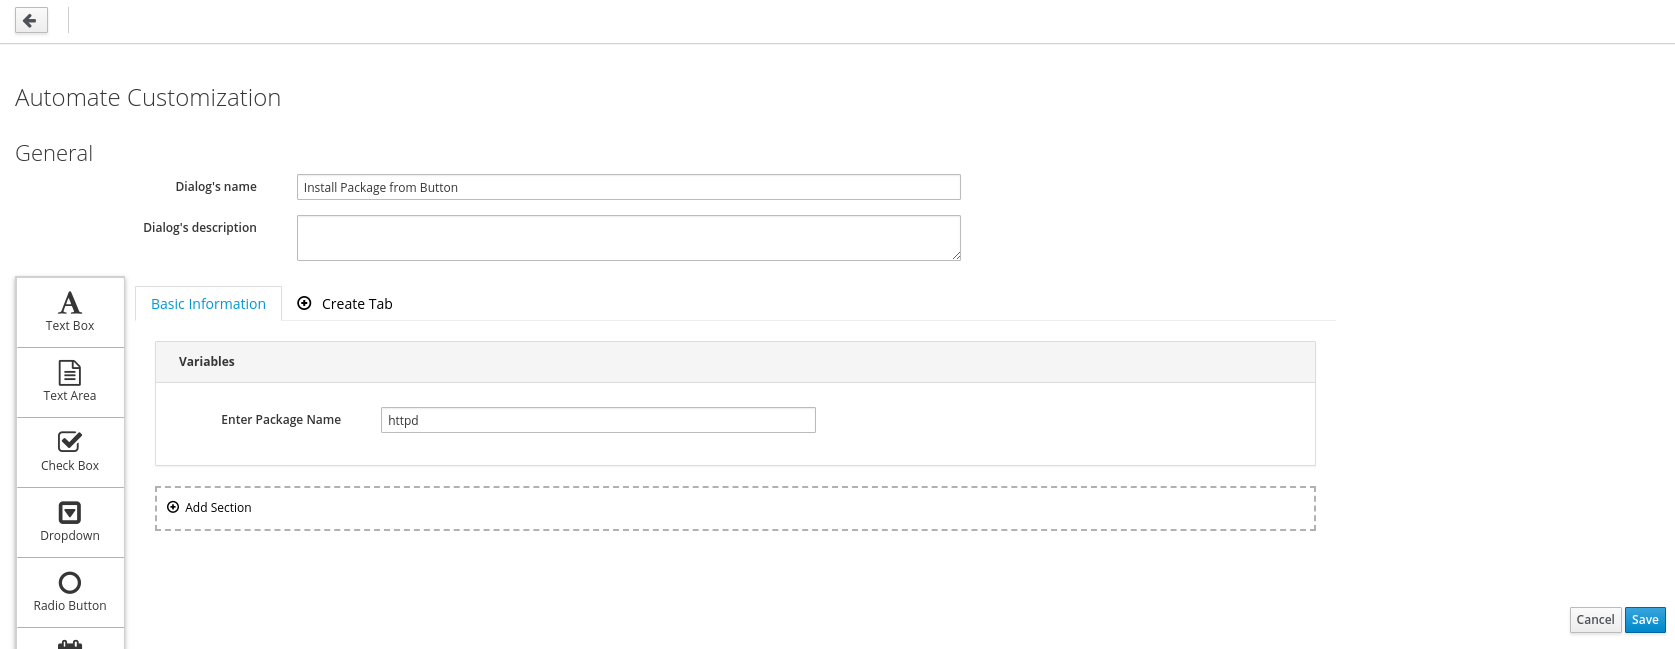
Click Save To save all changes we made in the Service Dialog
This concludes this part of the lab.
Create improved Service Catalog Item
To be able to use the new Service Dialog with our button, we first have to create an additional Service Catalog Item, which points to the Service Dialog.
Navigate to Services -> Catalogs
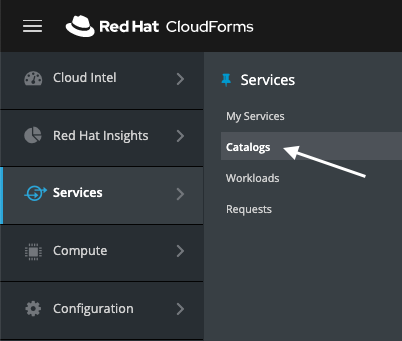
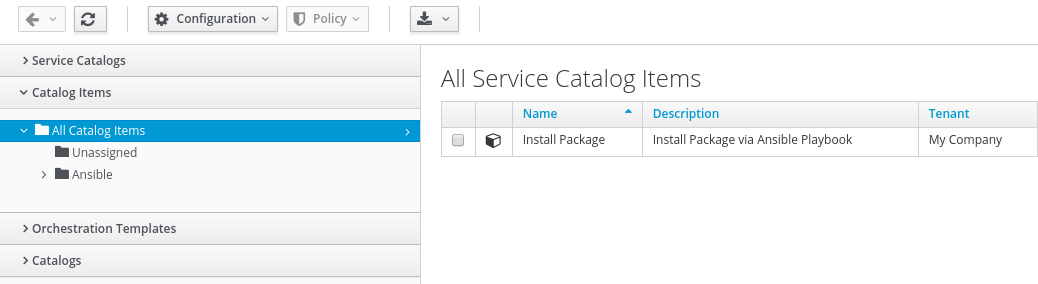
Navigate to Catalog Items in the accordion on the left
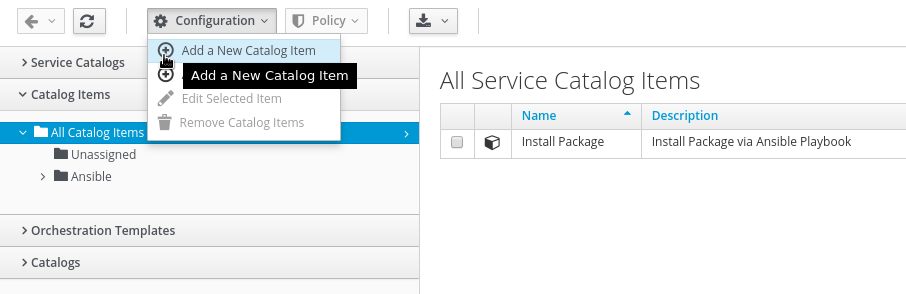
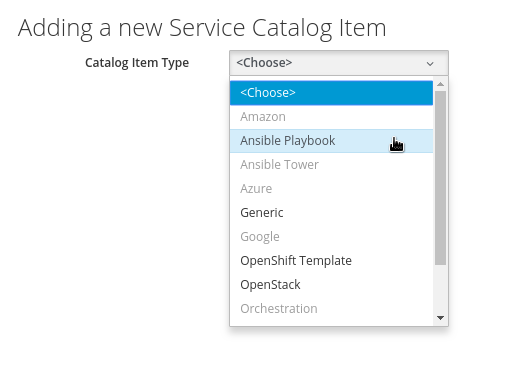
Click on Configuration -> Add a New Catalog Item
Select Ansible Playbook as Catalog Item Type
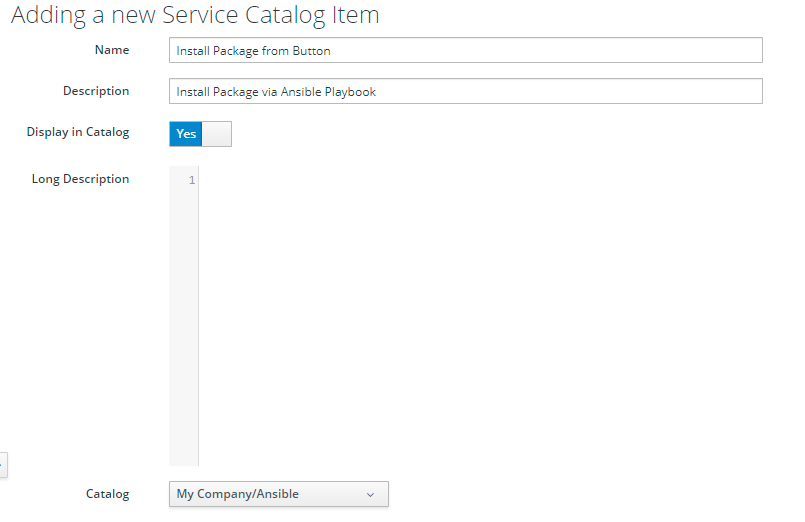
Use the following parameters when defining the Service Catalog Item:
Name: Install Package from Button
Description: Install Package via Ansible Playbook
Display in Catalog: Yes
Long Description: <empty>
This is an optional field to provide a more detailed description. If you want, you can be creative here. CloudForms even supports HTML formatting which is often used to embed links to Documentation or additional resources on the selected Service Catalog Item.
Catalog: My Company/Ansible
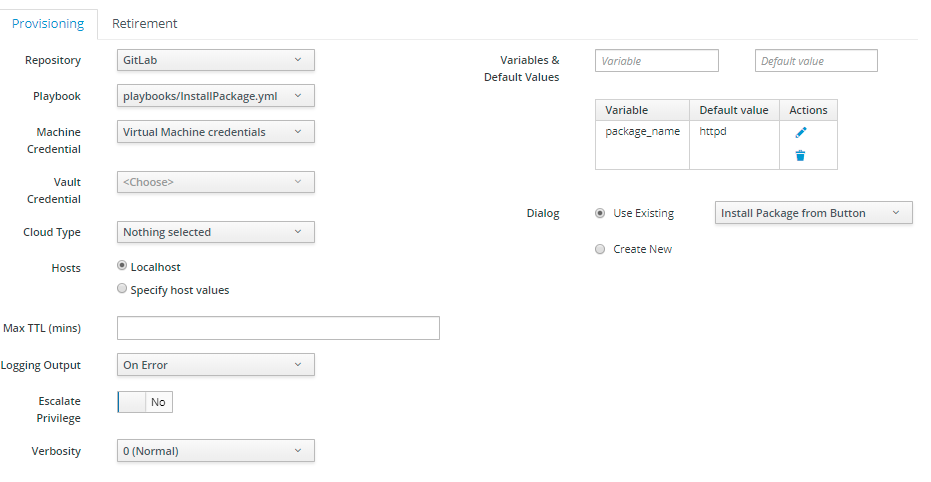
Repository: GitLab
Playbook: playbooks/InstallPackage.yml
Machine Credentials: Virtual Machine credentials
Variables & Default Values: add one new entry with:
Variable: package_name
Default Value: httpd
Click the little plus ("+") icon to save the row.
Dialog: Use Exiting
Use “Install Package from Button” as the name of the Dialog, which is the one we created in the step before.
Click Add to save all changes
Update the Button definition
As the last step, we have to change the definition of our button, to point to the just created Service Catalog Item.
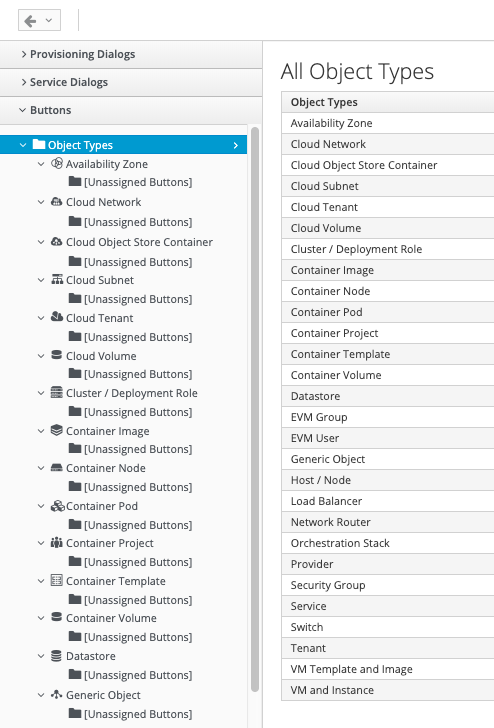
Navigate to Automation -> Automate -> Customization
Click on Buttons in the accordion on the left
Click on the “Install Package” Button you created in the previous lab
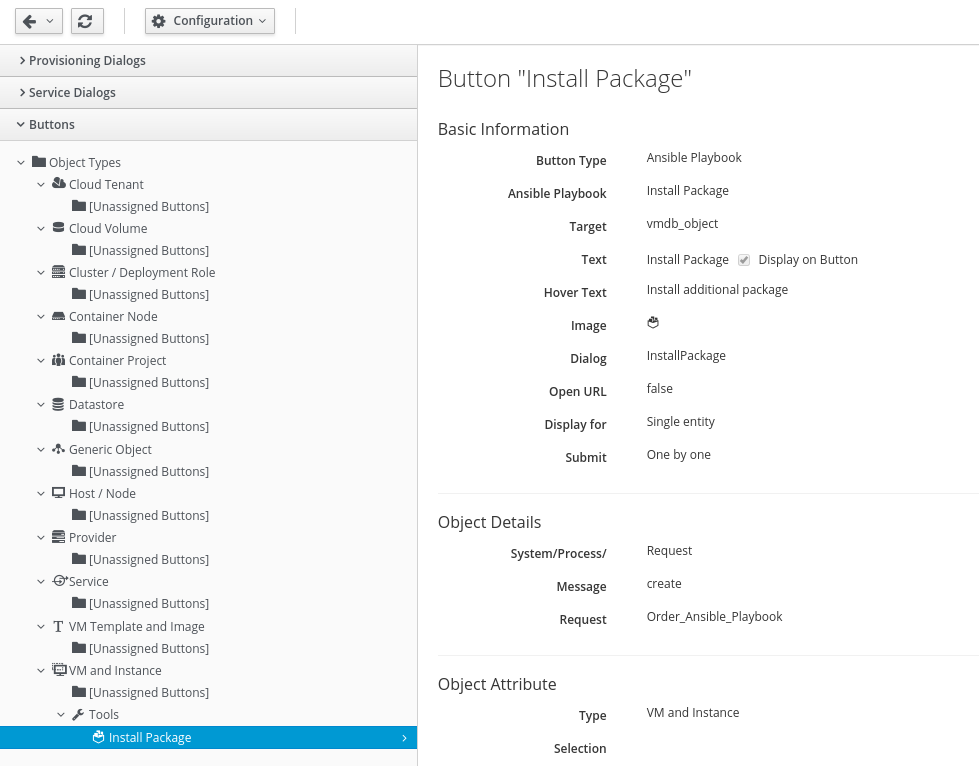
Click on Configuration -> Edit this Button
Change the Playbook Catalog item to the new one you just created “Install Package from Button”
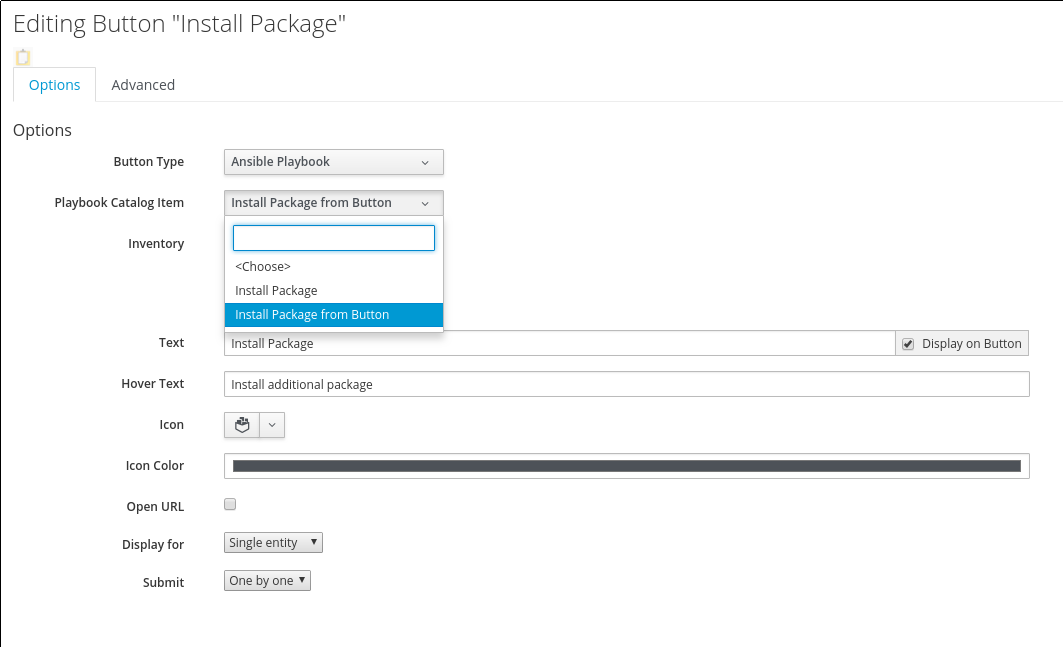
Click Save to store all changes
Test the improved Button
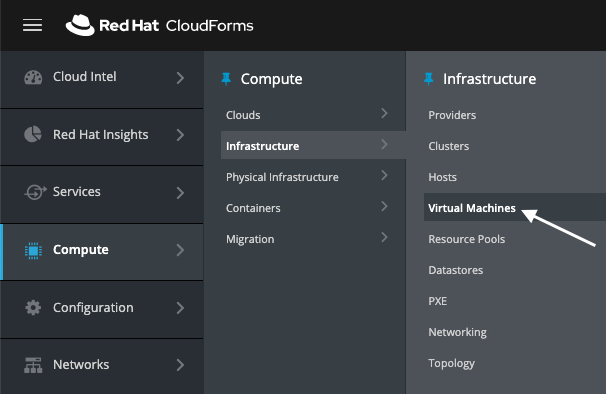
Navigate to Compute -> Infrastructure -> Virtual Machines
Click on the “cfme008” tile if not already selected
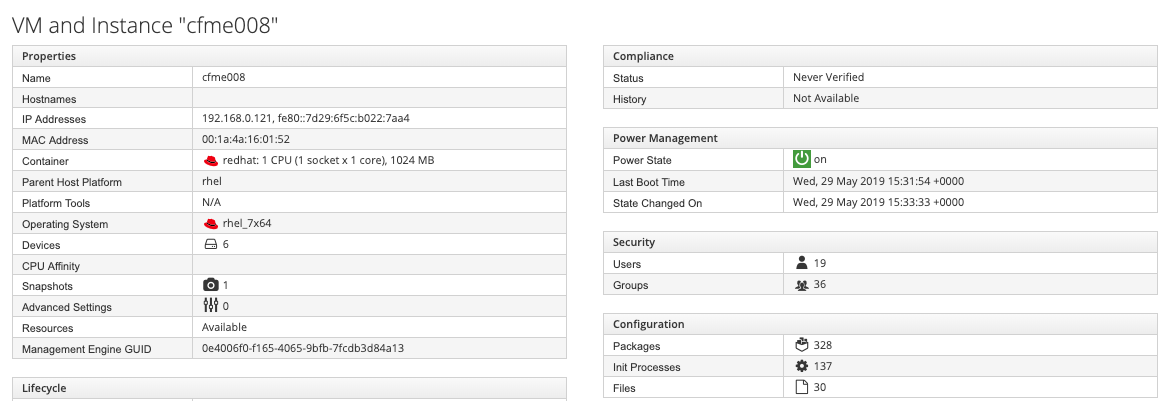
On the details page of “cfme008” click on Tools -> Install Package

Click on Tools -> Install Package
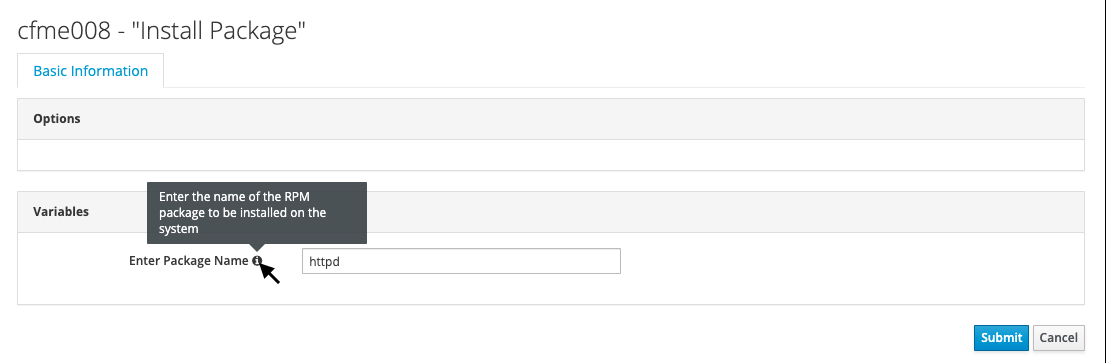
You should see the simplified version of the Dialog. The Package Name has a better description, there is a tool tip if you hover the mouse over the little “i” icon and the redundant fields for “Machine Credentials” and “Hosts” are gone.
Click Submit to execute the Button action
Navigate to Services -> My Services
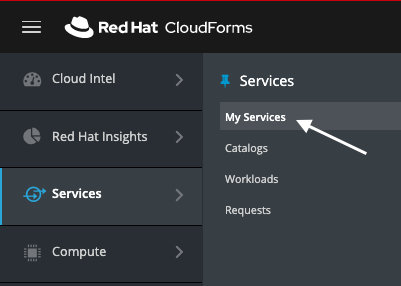
As a result of your action, a new “My Services” object was created. If you don’t see it yet, wait a minute and click on the reload button.
Click on the “Install Playbook” item to see the details
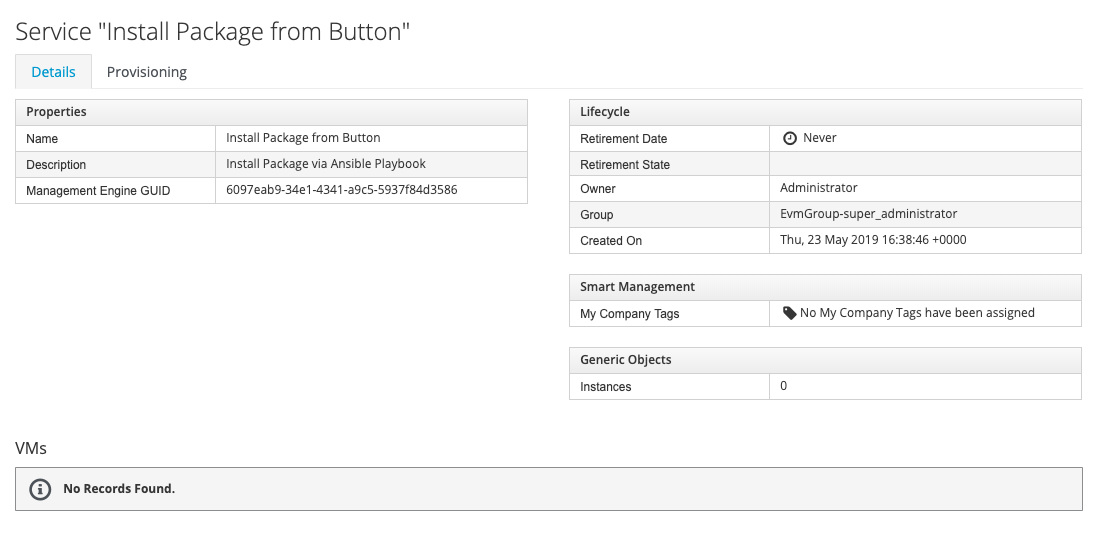
Click on the Provisioning tab to see output from your Ansible Playbook

This concludes this part of the Ansible lab.
Feel free to repeat this part of the lab with a different package name. You could use “screen” as an example instead of httpd - or some other package you want to install.