HEAT Provisioning
HEAT Provisioning example
In the first part of the lab you have learned:
- how to design a Service Dialog
- how to create a Service Catalog
- put everything together with a Service Catalog Item
- order from the Service Catalog
In the second part of the lab, we want to use HEAT to create a new instance and to provision an application inside the instance. We are using the probably most popular example: Wordpress. The HEAT template we use, can be found in the OpenStack Git Repository.
In the previous lab, we had to create a Service Dialog manually. With HEAT, CloudFormations and Microsoft ARM Templates, CloudForms can automatically create a Service Dialog for us. We can still edit this automatically created Service Dialog, to adjust it to our needs.
Prepare the HEAT Template
Before we can import the template into CloudForms, we need to download it or have it open in a separate browser window.
Please used the forked version of the HEAT Template, which has an additional field “Network” defined. Without this field, running the HEAT Template will fail with an error indicating that multiple networks are available and hence a network has to be specified.
Go to the template on the Github project page.
Make sure to open the file in “RAW” mode or use this link:
Download the HEAT Template or open it in a separate browser window so you can copy and paste it into the CloudForms Web UI
Import the HEAT Template
The following procedure will import a HEAT template, create a service dialog and tie everything together in a service catalog item.
Navigate to Services -> Catalogs
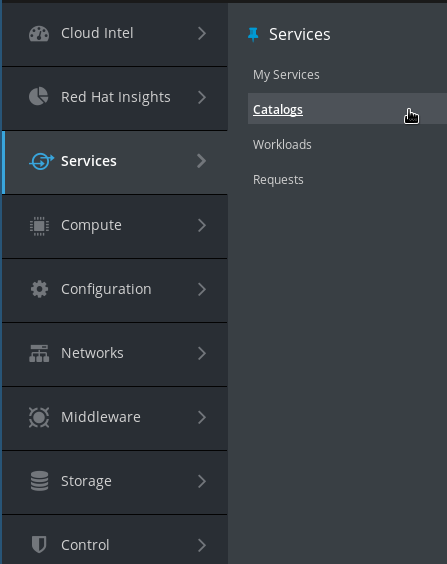
Click on Orchestration Templates in the accordion on the left

You should see one existing templates which is provided by CloudForms out of the box. It’s a special predefined template to provision virtual machines on Microsoft Azure.
Create a new Orchestration template by clicking on Configuration -> Create new Orchestration Template
Give the template a name and description:
Name: Wordpress HEAT Template
Description: This template can be used to deploy a Wordpress instance on OpenStack
Template Type: OpenStack Heat
Copy and paste the HEAT Template you downloaded before into the large text area below those fields. Make sure you copy the entire HEAT template by opening the RAW page of the file on Github.
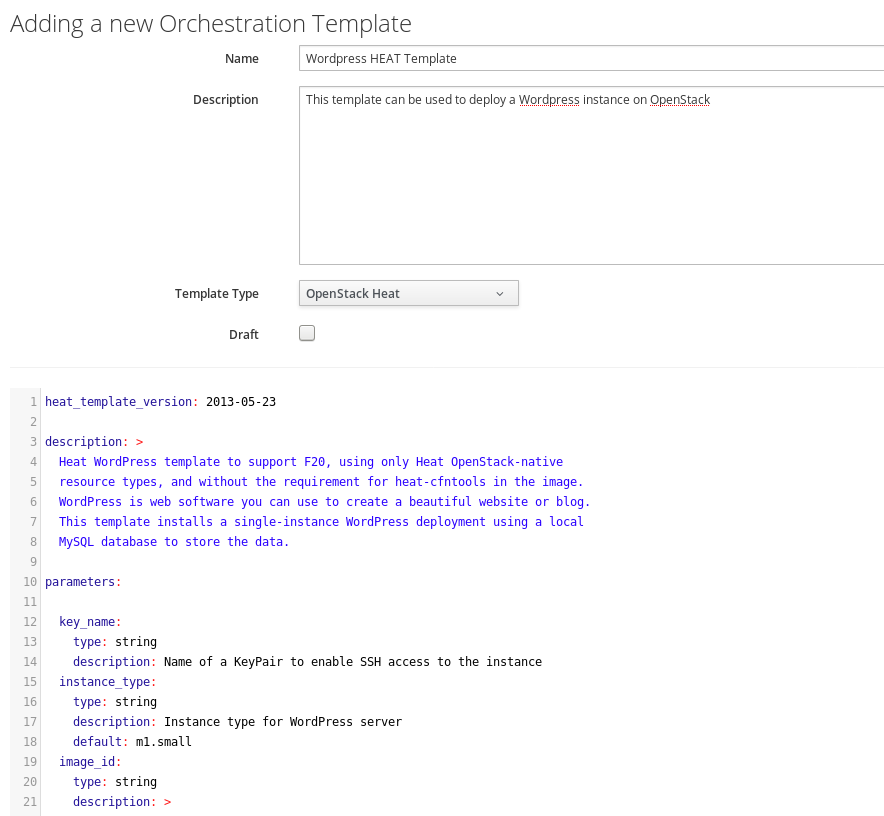
The screenshot is truncated! Make sure you copy the entire HEAT Template! The first line should be:
heat_template_version: 2013-05-23
And the last line should be:
host: { get_attr: [wordpress_instance, first_address] }
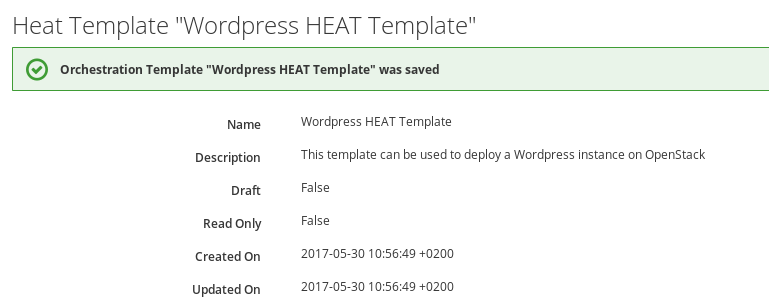
Click Add to save the orchestration template
Create a Service Dialog from a HEAT template
Earlier in this lab you learned how to manually create a Service Dialog. Now we will see that CloudForms can do this work for us, if we use an orchestration template.
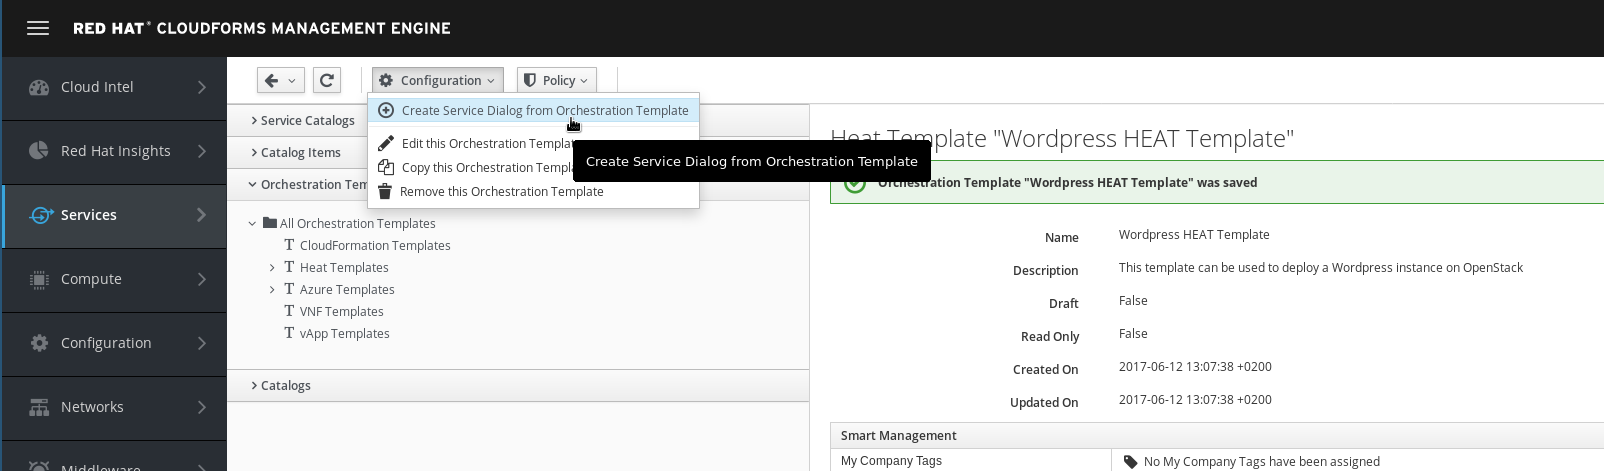
Navigate to the orchestration template you just created
Click on Configuration -> Create Service Dialog from Orchestration Template
Enter a name for the new Service Dialog
Service Dialog Name: Wordpress HEAT Template
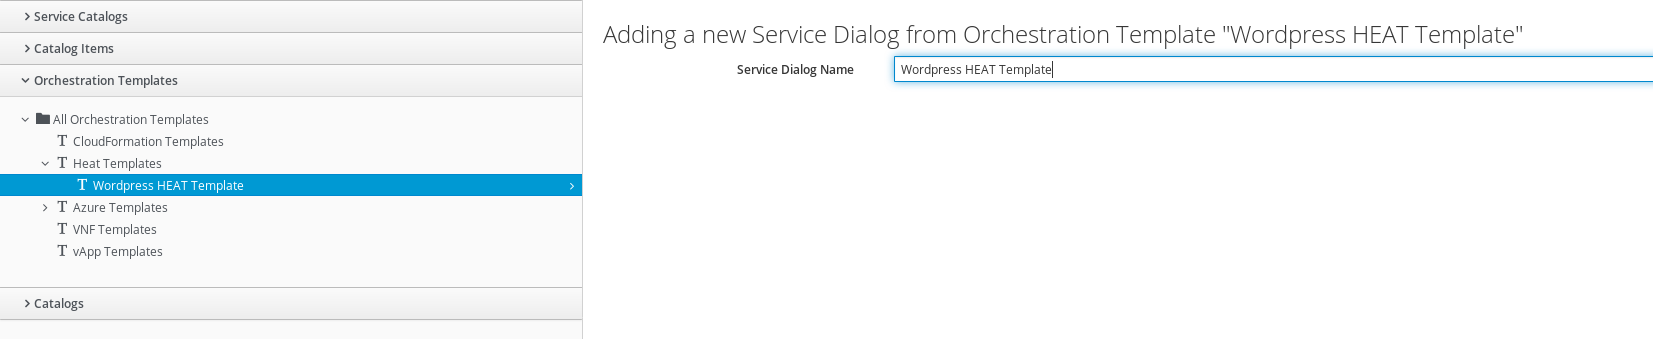
Click on Save to create the Service Dialog
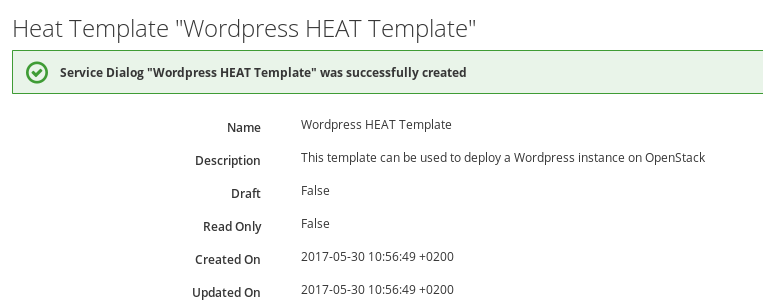
Verify the Service Dialog
The Service Dialog was automatically created. We want to verify it was created properly and has all the expected fields.
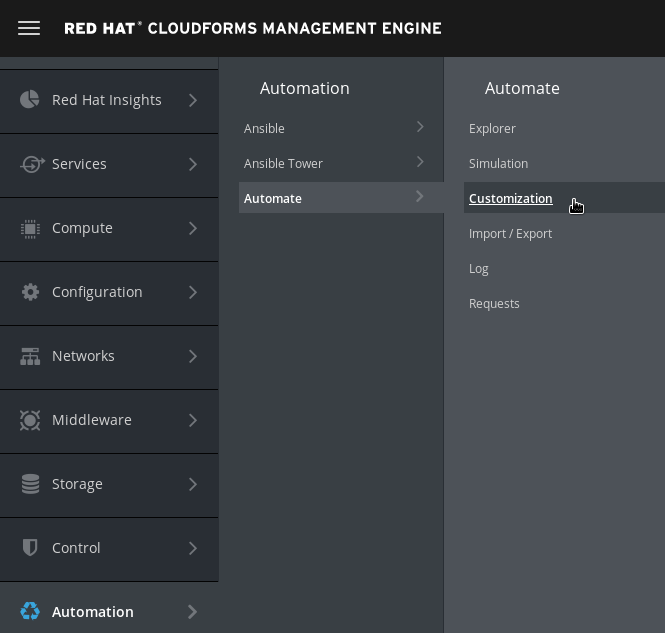
Navigate to Automation -> Automate -> Customization
Navigate to Service Dialogs in the accordion on the left.
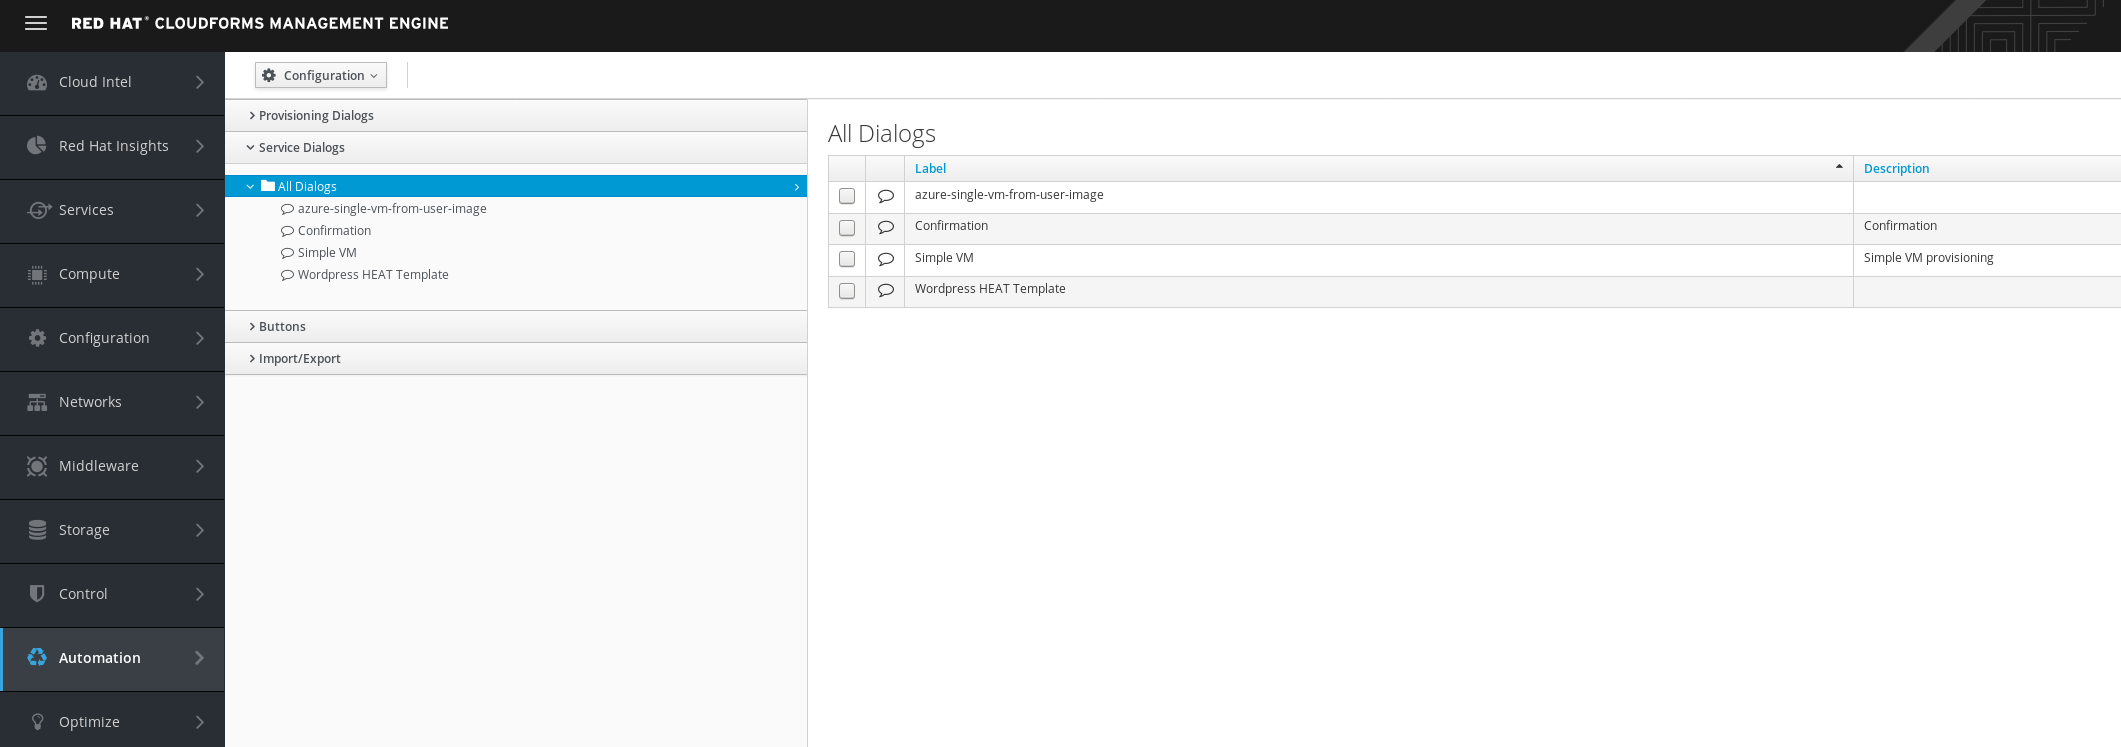
Click on the new Service Dialog “Wordpress HEAT Template”
A preview will show how the Service Dialog will look like, when it’s used in a Service Catalog Item.
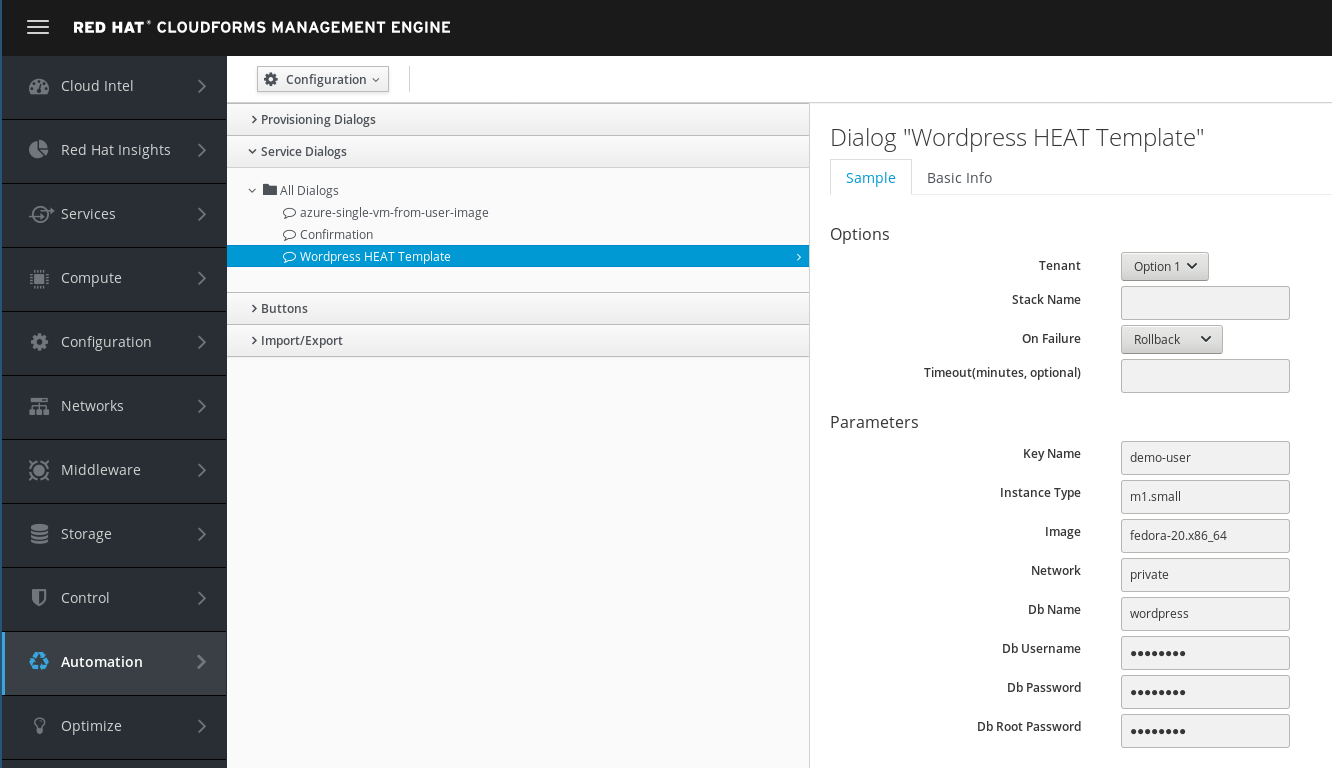
The preview shows us that the Service Dialog is using a default image called “fedora-20.x86_64”. We do not have such an image and want to change the Service Dialog accordingly.
Click on Configuration -> Edit this Dialog. Navigate to the element called “Image”
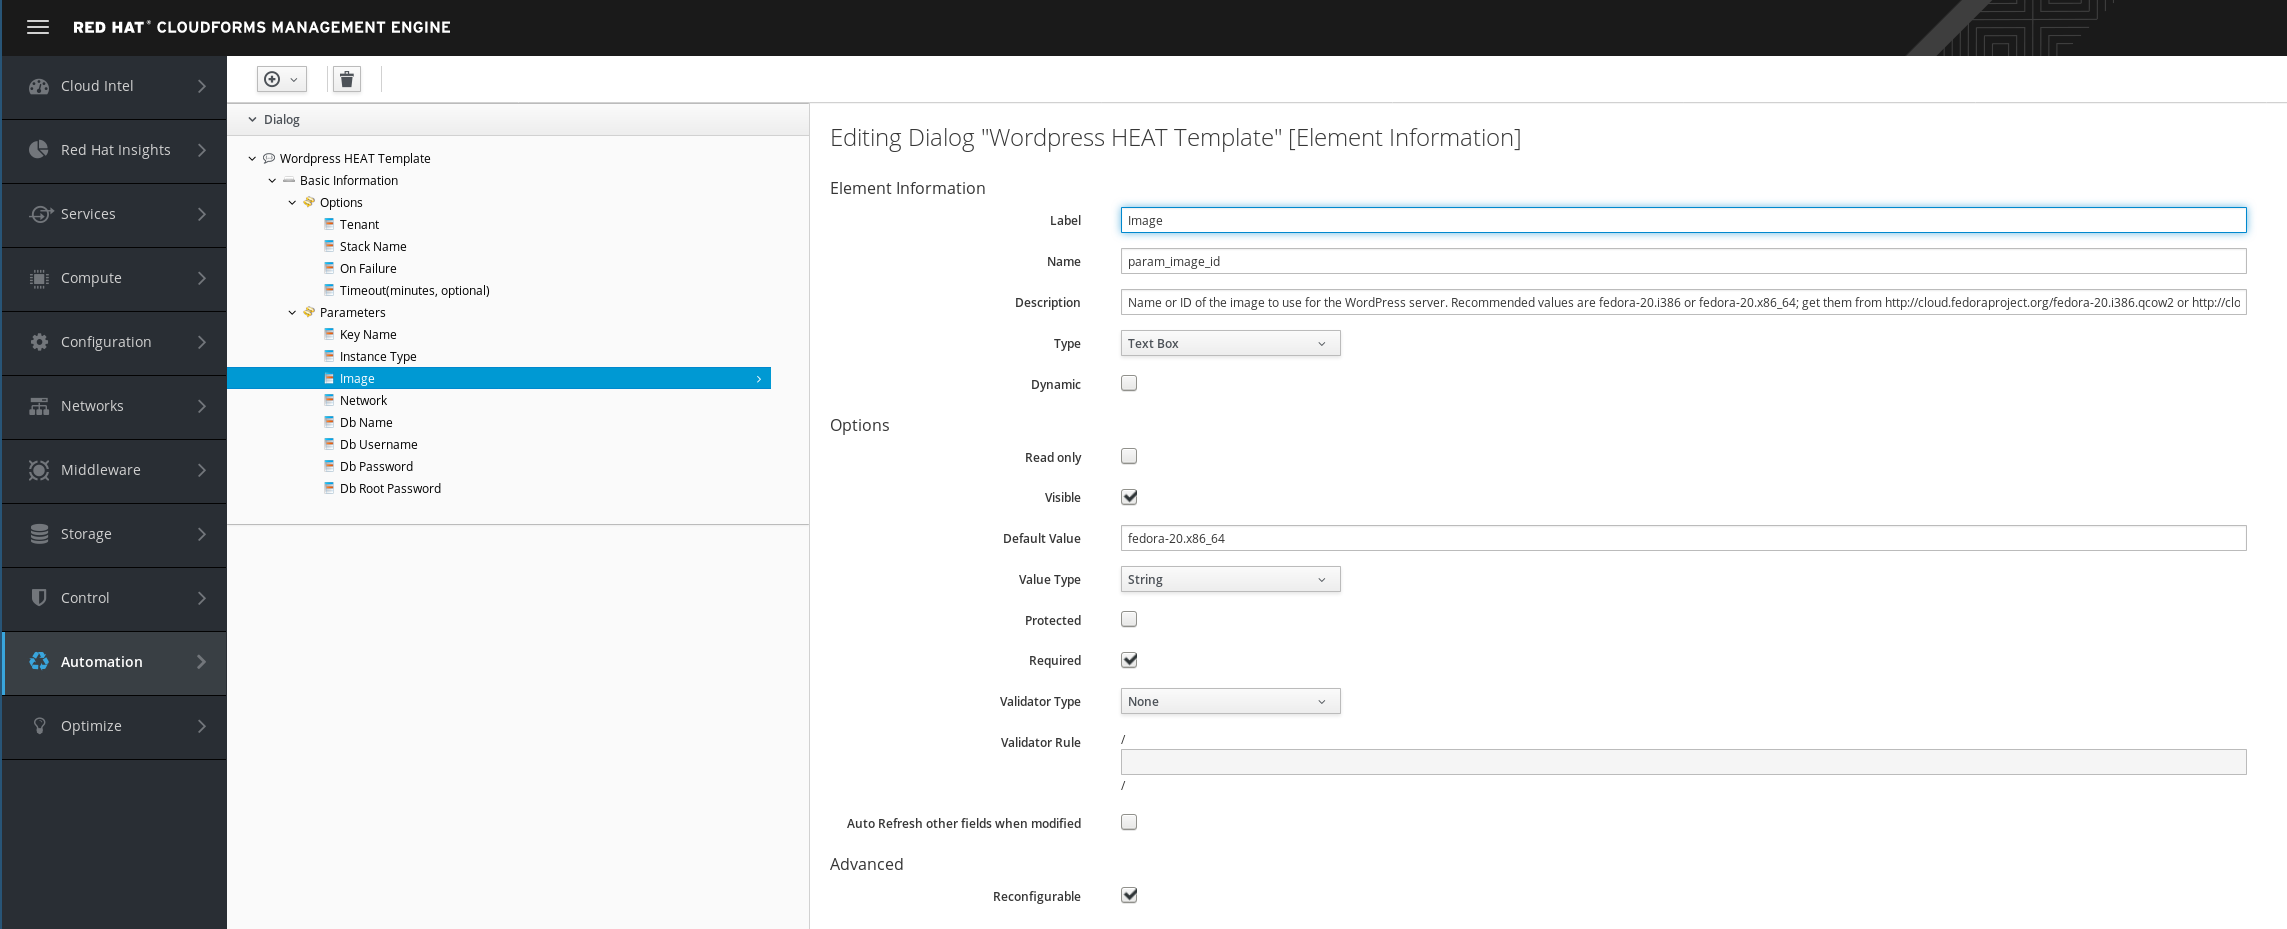
Change the value of the field “Default Value”
Default Value: rhel7.3
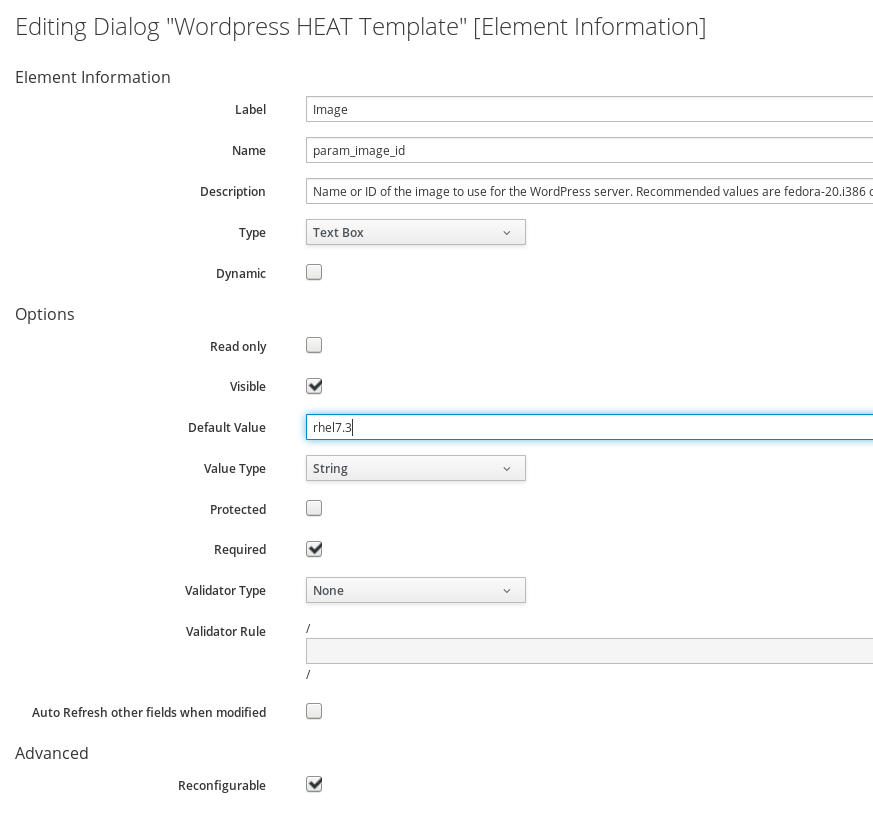
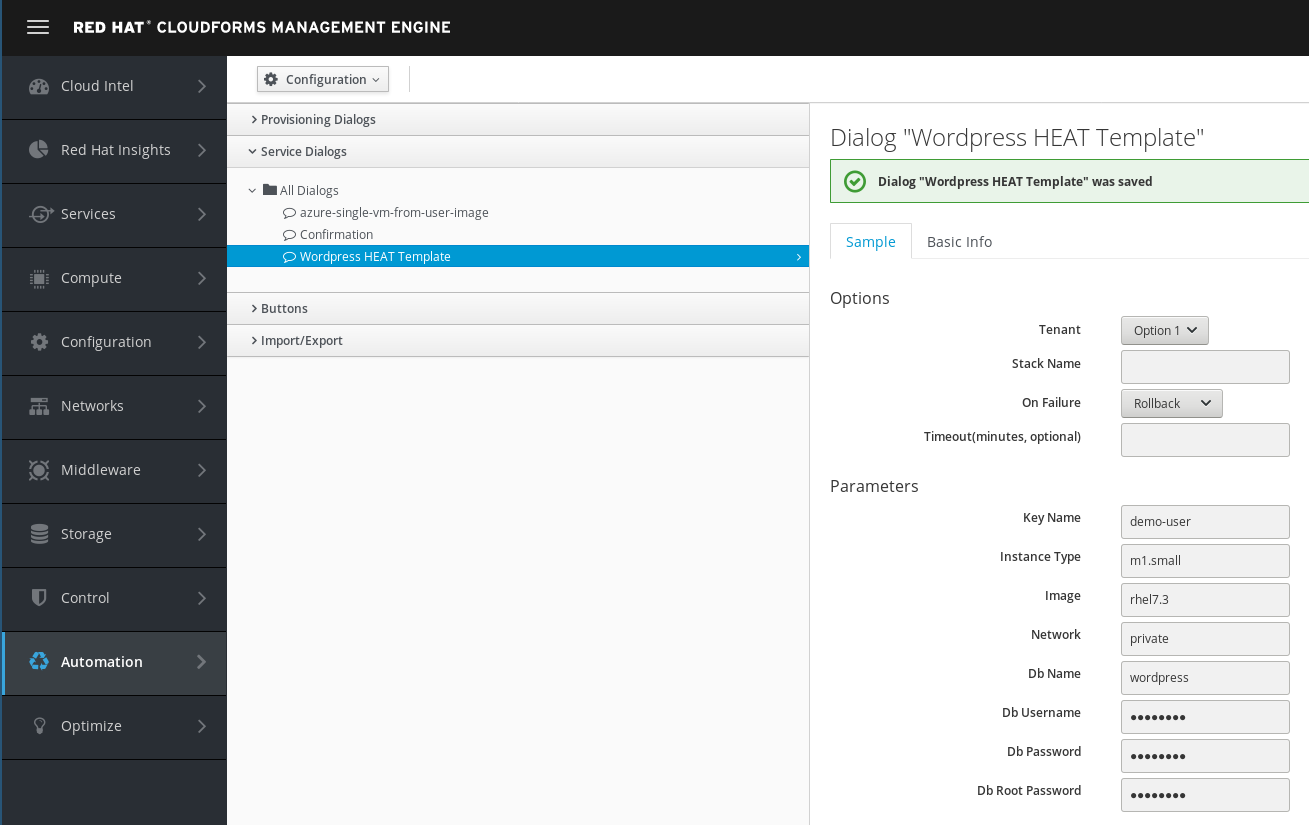
Commit the changes by clicking on Save
Build a HEAT Service Catalog
The following steps will create a service catalog.
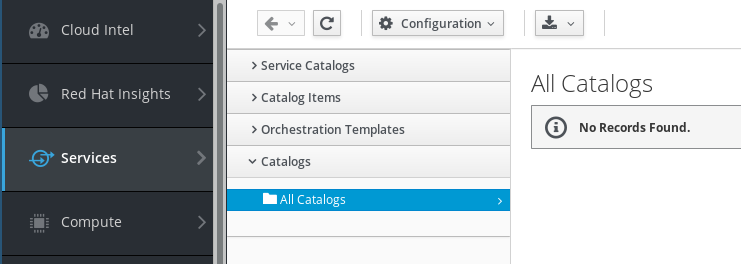
The next step is to create a service catalog. First we have to navigate to Services -> Catalogs.
On this screen click on Catalogs on the left
Click on Configuration and Add a New Catalog
Fill out name and description:
Name: HEAT Templates
Description: Deploy HEAT Templates from the Catalog
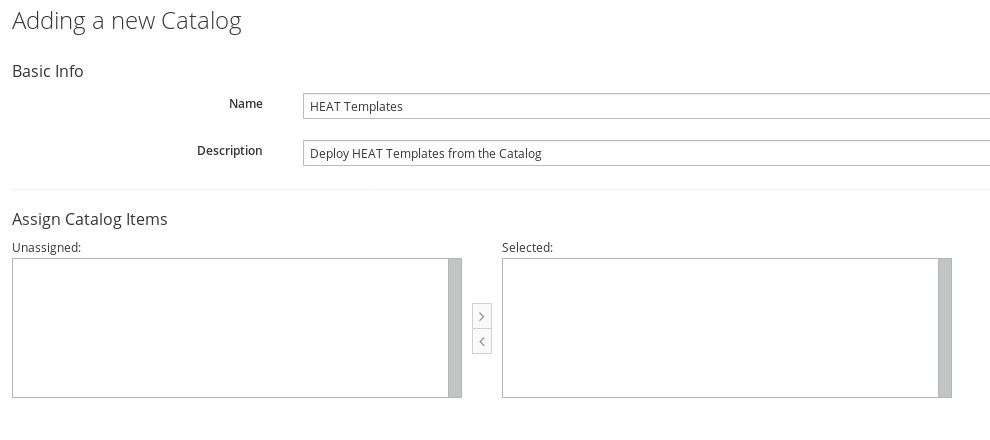
Click Add to save the Service Catalog
Build a HEAT Service Catalog Item
To put everything together we create a Service Catalog Item similar to before.
Navigate to Services -> Catalogs
Click on Catalog items in the accordion on the left.
You should already see three Service Catalogs:
Unassigned: Catalog Items which are not published yet, will be listed here
Virtual Machines: the Service Catalog we created in the first part of the lab
HEAT Templates: the Service Catalog you just created

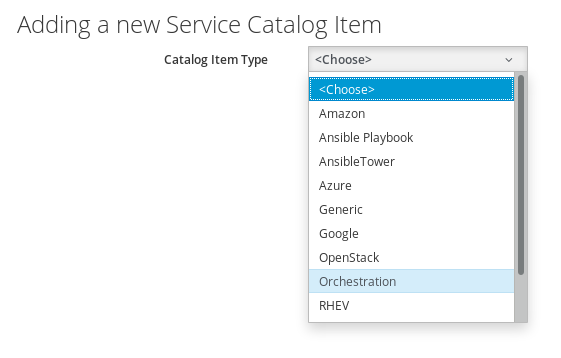
In the Configuration Menu, click on Add a New Catalog Item
Chose the Catalog Item Type. For this example we want to use HEAT on OpenStack which is an Orchestration provider, so click on Orchestration
The next dialog will ask for the details for the new Catalog Item
Name: Wordpress
The name of the Catalog Item shown in the UI.
Description: Wordpress from HEAT
A more descriptive text about the Catalog Item.
Display in Catalog: check this box
Check the “Display in Catalog” box. If not selected, the Catalog Item will not be visible to users. This can be used for Items which are either still in draft mode, or should only be ordered as a part of a bundle.
Select the previously created Service Catalog:
Catalog: HEAT Templates
Select the previously created Service Dialog:
Dialog: Wordpress HEAT Template
The template to execute:
Orchestration Template: Wordpress HEAT Template
Select on which provider the HEAT Template should be executed:
Provider: OpenStack
All other fields on this tab can remain unchanged.

Entry Points are the hooks into CloudForms’ powerful Automation Framework. It allows administrators to define provisioning, reconfiguration and retirement workflows which are different from the out of the box behavior. For example we could add integration into an IP Address Management Tool, a ticketing system or a CMDB Service. For this lab, we want to stick with the out of the box experience and leave those fields unchanged.
Click on the Details tab. You can provide some more descriptive explanation about the Service Catalog Item. We can even use basic HTML formatting in this box.
Finally click on Add to save the Service Catalog Item

Order the HEAT Wordpress Catalog Item
For sure you want to test the Catalog Item you just created!
Navigate to Services -> Catalogs and then click on Service Catalogs in the accordion on the left.
You should see the Service Catalog Item we just created:

Click on the Service Catalog Item to see more details.
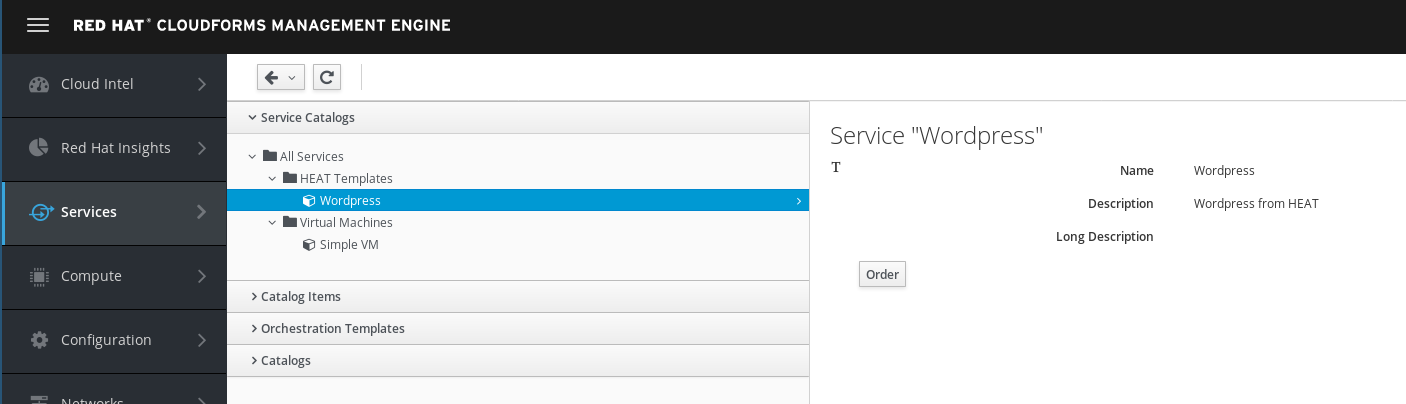
Click on Order
Fill out the form:
Select the tenant into which you want to deploy. There is only one tenant in OpenStack called “admin”
Tenant: Admin
Specify a stack name for your deployment:
Stack Name: wordpress001
For all other fields the provided default values can be accepted. Note that the image name is “rhel7.2” as you specified in your dialog.

Click on Submit to start the deployment.
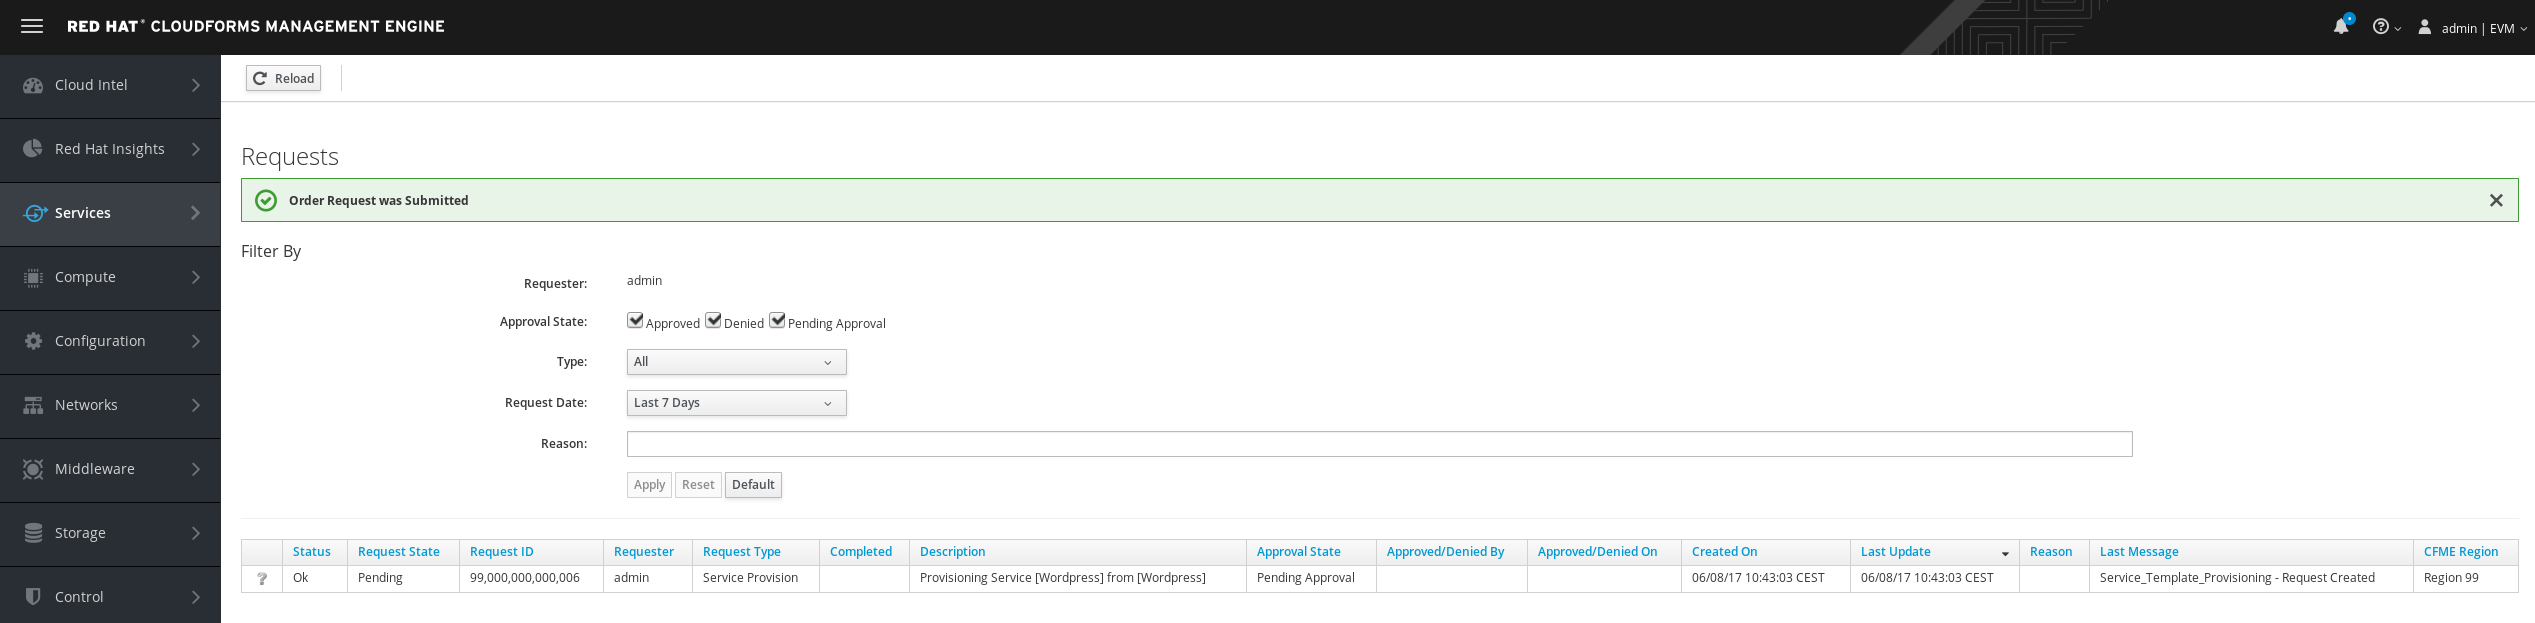
You will be redirected to the request queue where you can see CloudForms working on your request.
Since we are using nested virtualization to run these labs, performs will be slow and it can take several minutes to complete the request (20-30 minutes).
Verify provisioning in OpenStack
Let’s log into OpenStack to see what’s happening there.
Log into OpenStack:
https://osp-lu<number>.labs.rhepds.com
Make sure you use the HTTPS URL!
username: admin
Password: r3dh4t1!
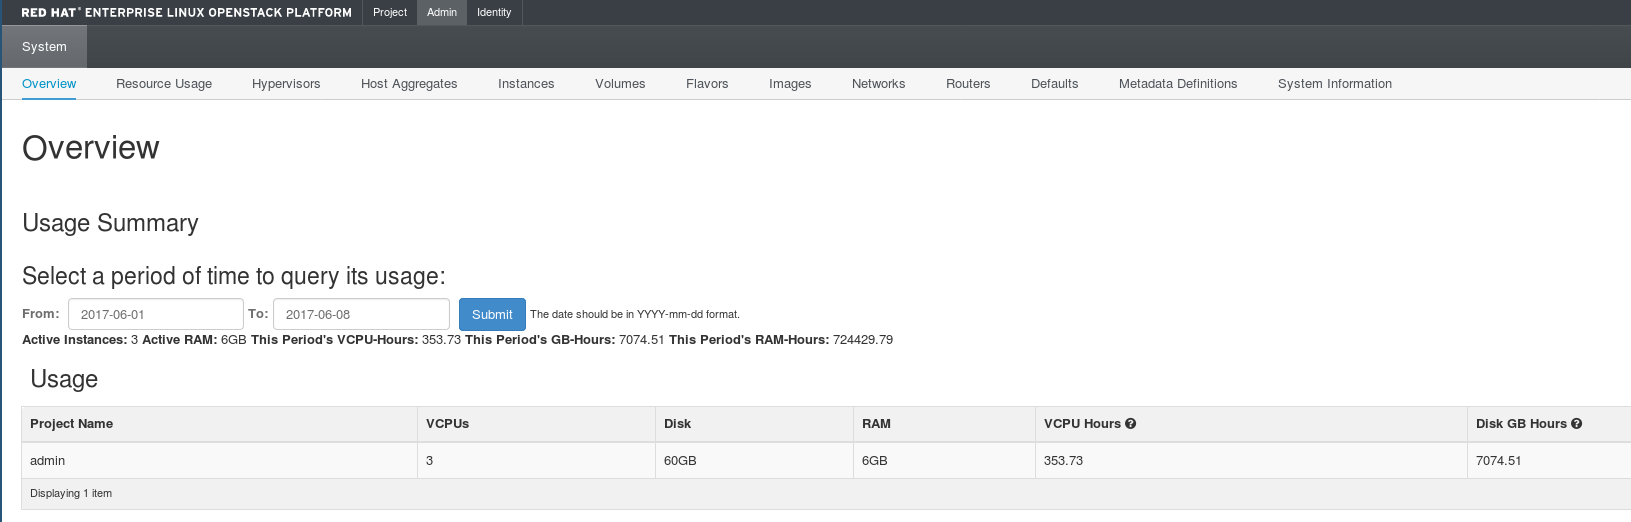
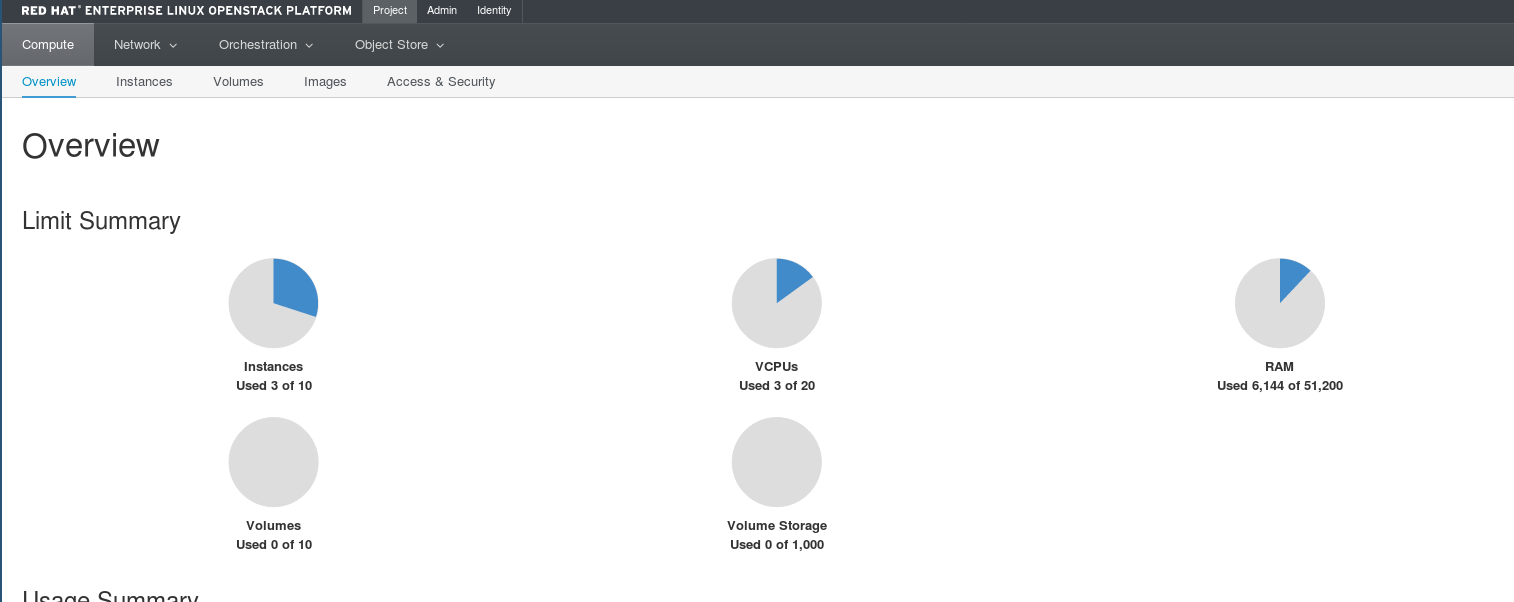
Navigate to Project in the menu bar on the top
Navigate to Orchestration -> Stacks
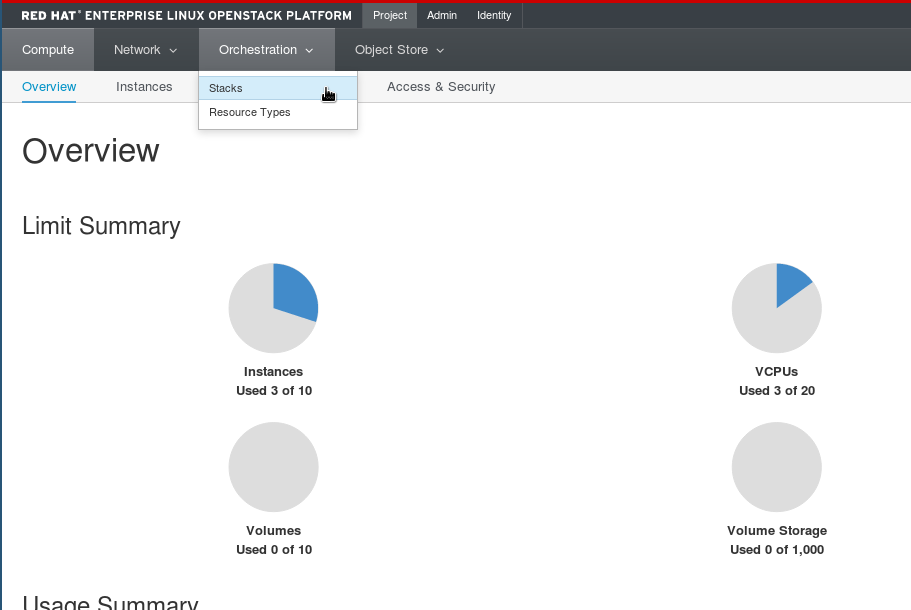
You should see your stack. It might already be completed or still in progress.If you can’t see it yet, wait a minute and reload the page.
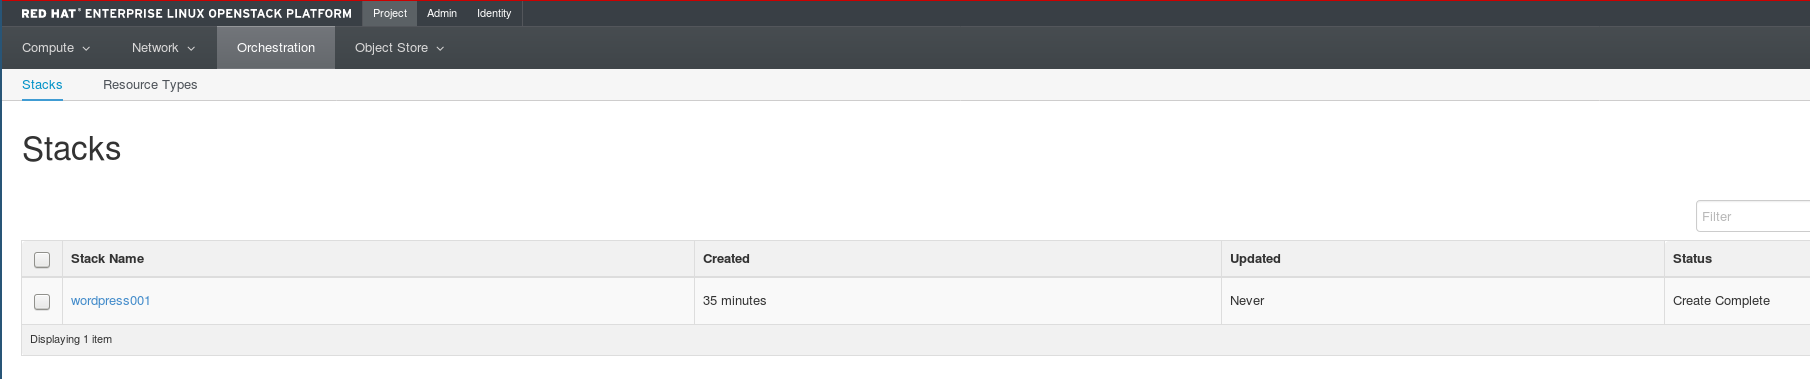
Click on the stack to get the details
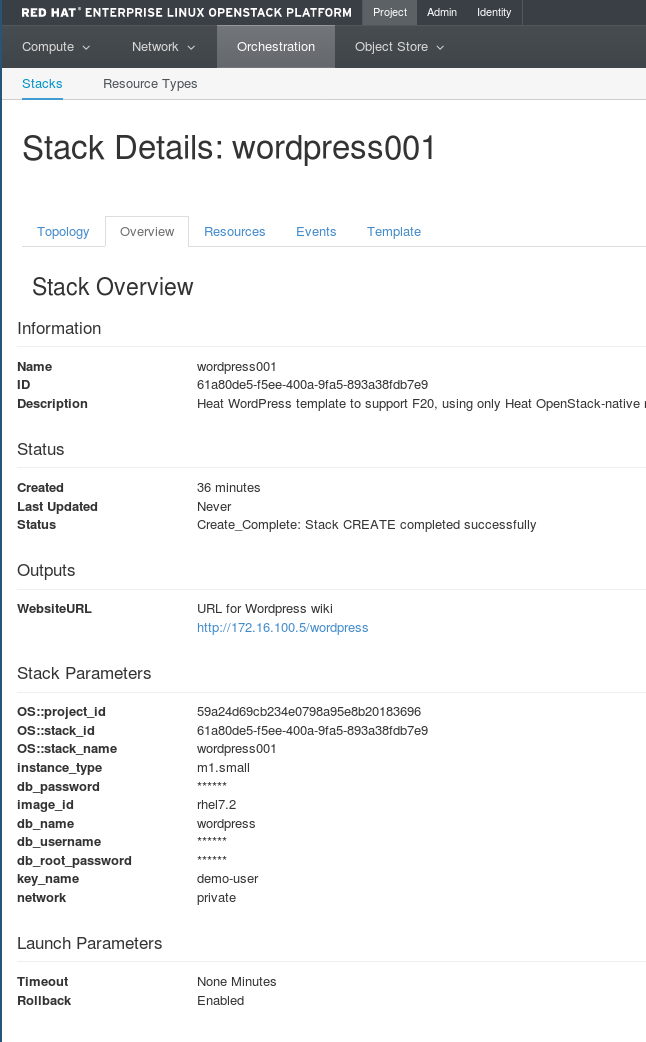
This concludes this lab.