Add a button to a Virtual Machine
Custom Buttons
CloudForms can easily be extended by adding additional menus and buttons. This allows seamless integration of customization and making them available to end users.
Add a Button Group
To add new button to the UI, we first need to create a Button Group. A Button Group is basically a new menu entry in the UI. Buttons and Button Groups can be assigned to several objects in CloudForms.
Navigate to Automation -> Automate -> Customization
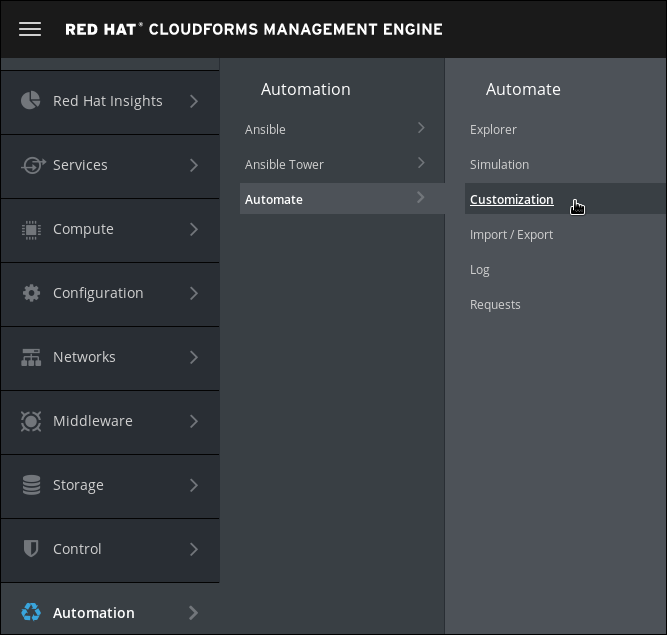
Click on Buttons in the accordion on the left
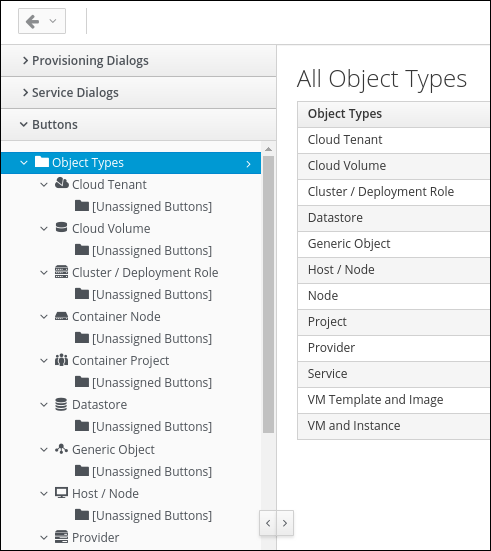
Click on VM and Instance
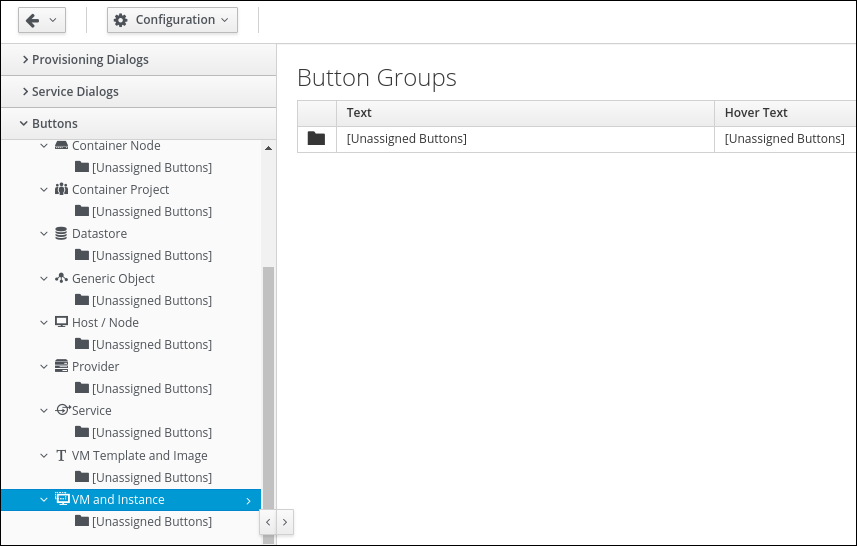
Click on Configuration -> Add a new Button Group
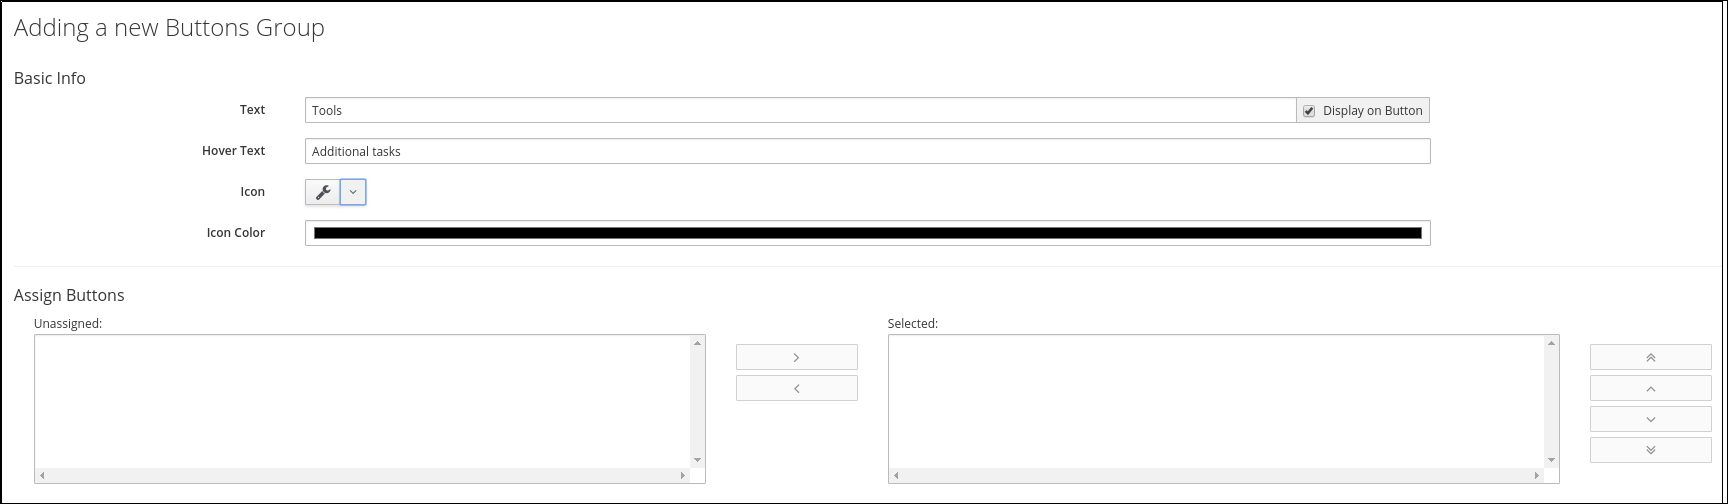
Enter the following data into the form:
Text: Tools
The name of the Button Group, or menu, as shown in the UI.
Hover Text: Additional tasks
A description text which will be shown when hovering the mouse over the Button Group.
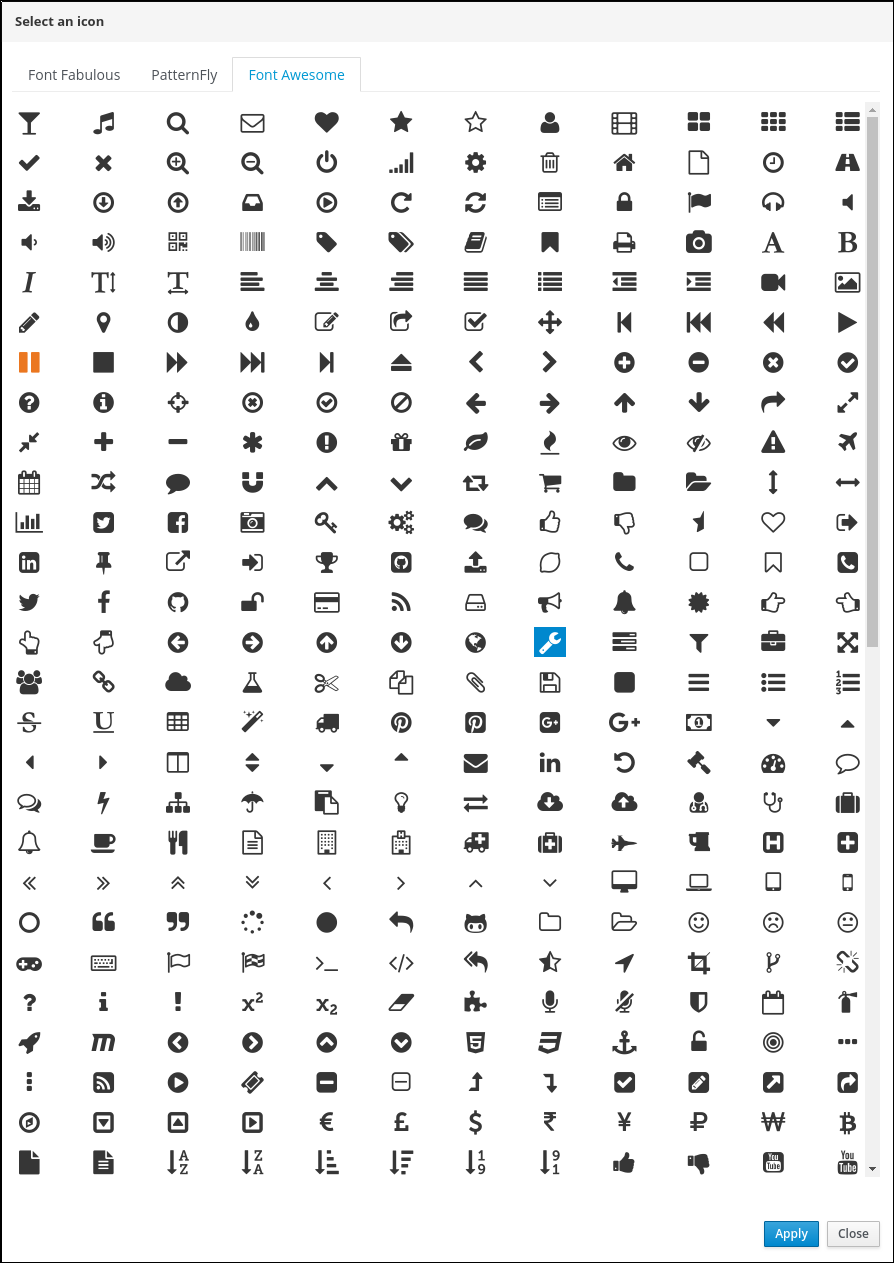
Icon: search for the wrench symbol in Font Awesome
An icon for the Button Group.
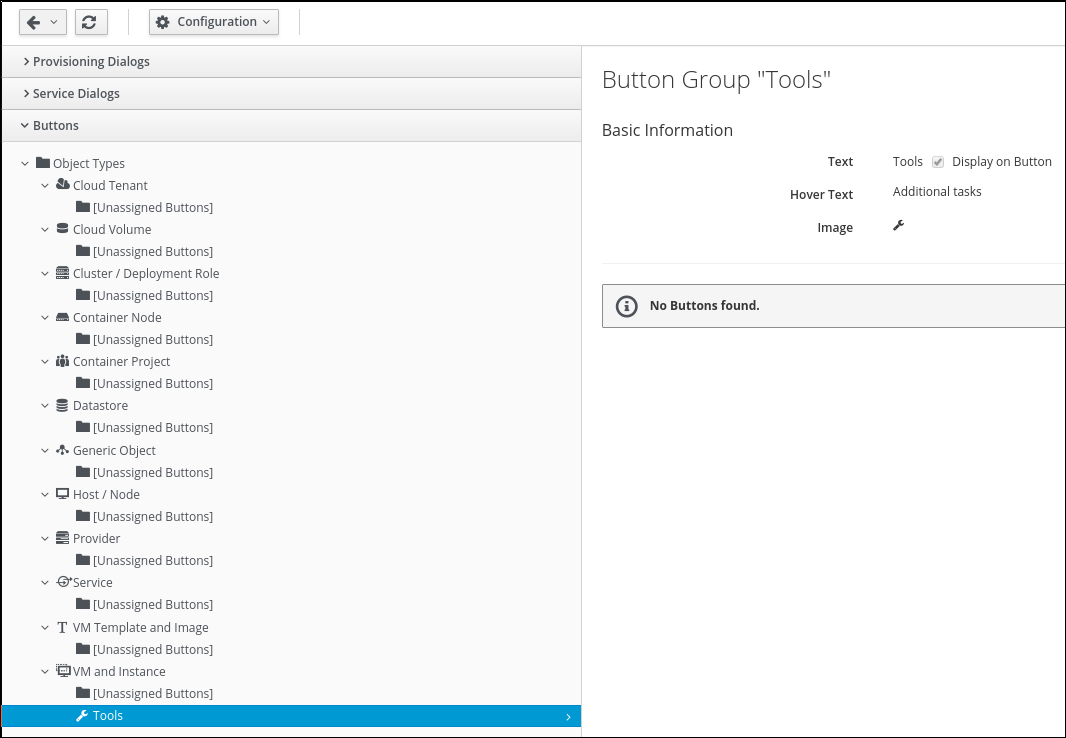
Click Add to create the button group
In the next section we will add a button to the group.
Add a new Button to the Button Group
The previous step created a Button Group, or menu. Now we want add Buttons to the Group:
Navigate to Automation -> Automate -> Customization
You should already be in this menu if you followed the previous steps
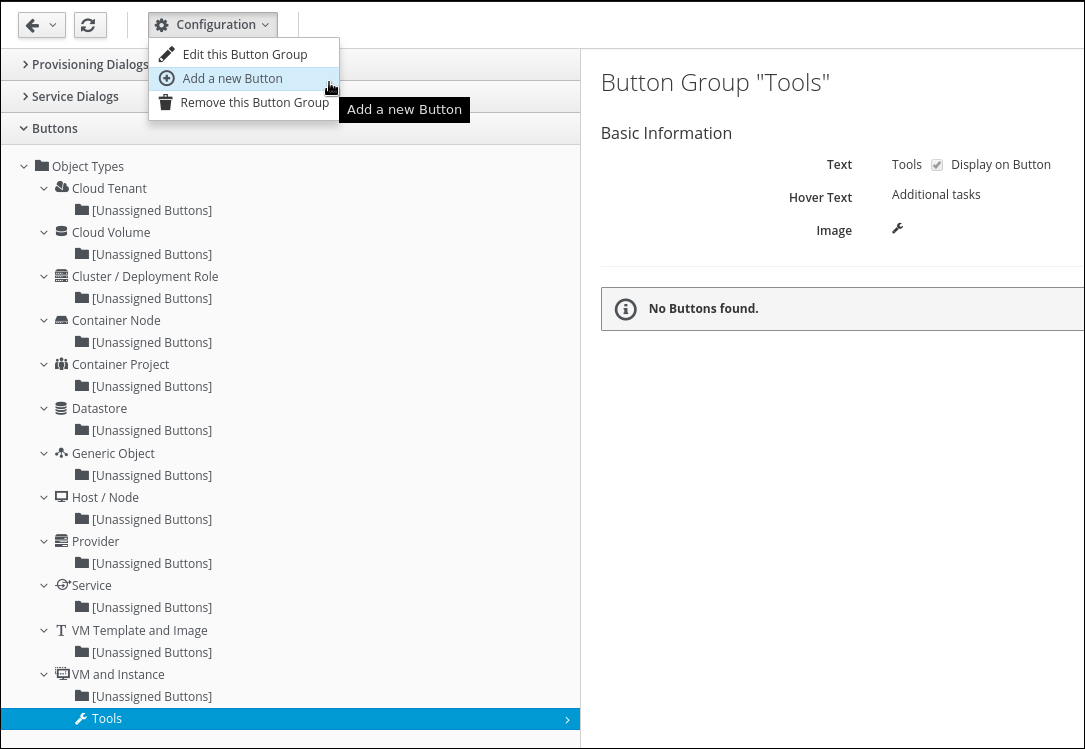
Click on the “Tools” Button Group you created in the previous lab
Click on Configuration -> Add a new Button
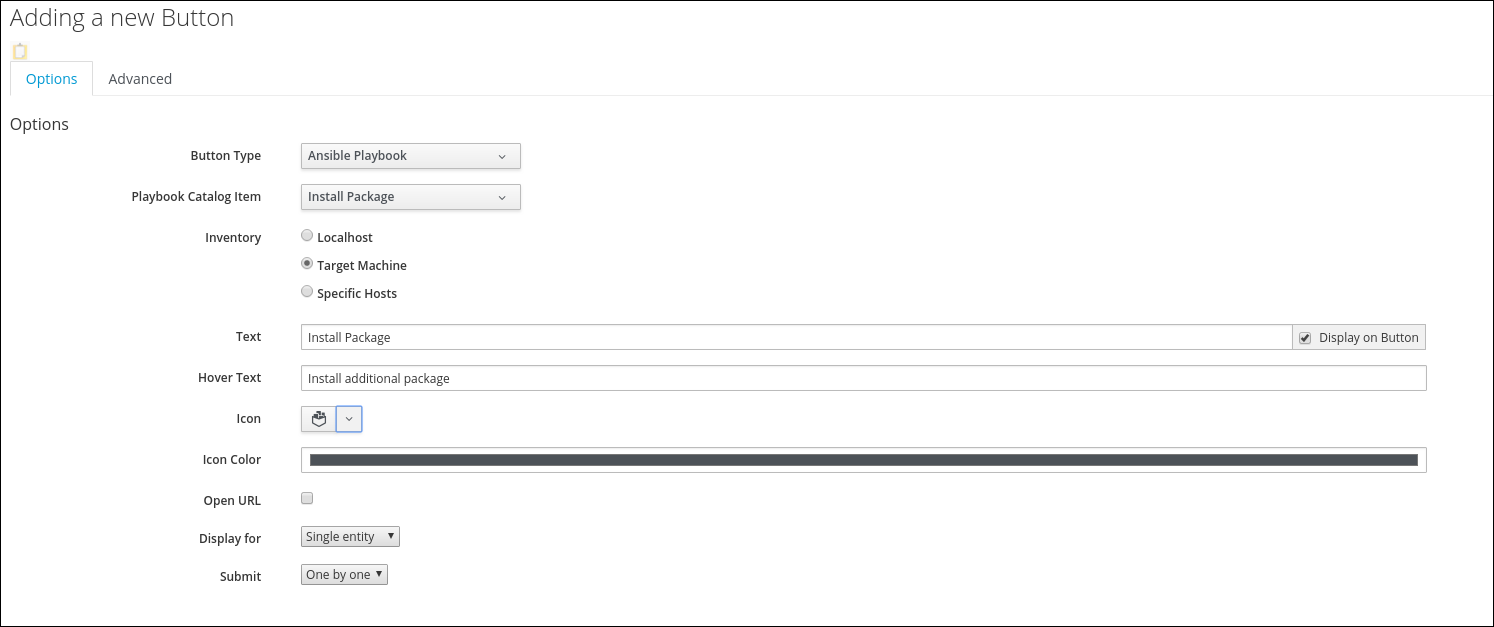
Make the following adjustments:
Button Type: Ansible Playbook
There are different Button types to extend the CloudForms UI.
Playbook Catalog Item: Install Package - this is the Service Catalog Item you created in the previous part of the lab
Which action should be performed, when a user submits the request. In this example we call the previously created Service Catalog Item, which runs an Ansible Playbook.
Inventory: Target Machine
On which target system should the Ansible Playbook run? For this lab, we want it to be executed on the selected machine.
Text: Install Package
The name of the Button which will be shown in the UI and should be short and descriptive.
Hover Text: Install additional package
A more descriptive text which will be shown if the user hovers the mouse over the Button.
Icon: Select the Software Package Icon at the “Font Fabulous” tab and click Apply
An icon to make the Button easy to find.
![]()
Click Add to save the Button
This adds a new Button to the Button Group “Tools”.
Test the Ansible Button Customization
We want to test the resulting customization and see how it works from a user point of view.
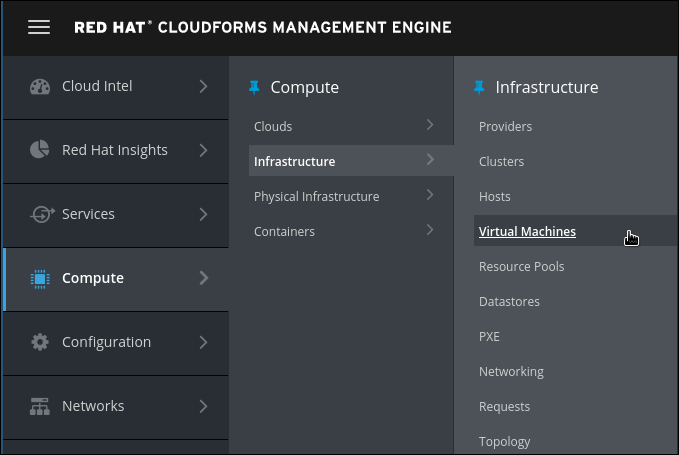
Navigate to Compute -> Infrastructure -> Virtual Machines
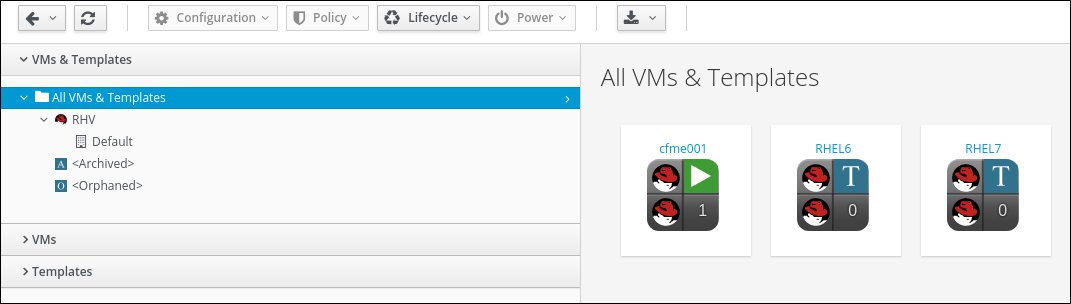
Click on the “cfme001” tile if not already selected
On the details page of “cfme001” note the new menu “Tools”. Click to see the new button “Install Package”
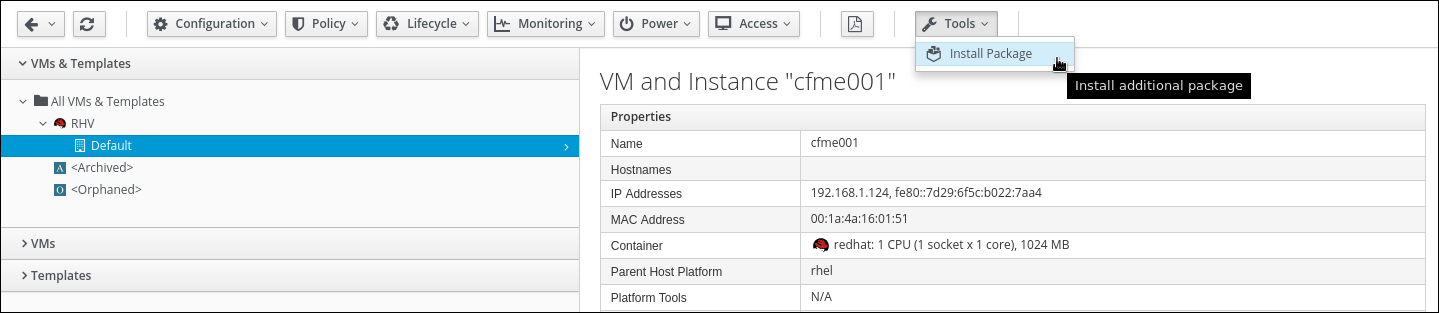
Click on Tools -> Install Package
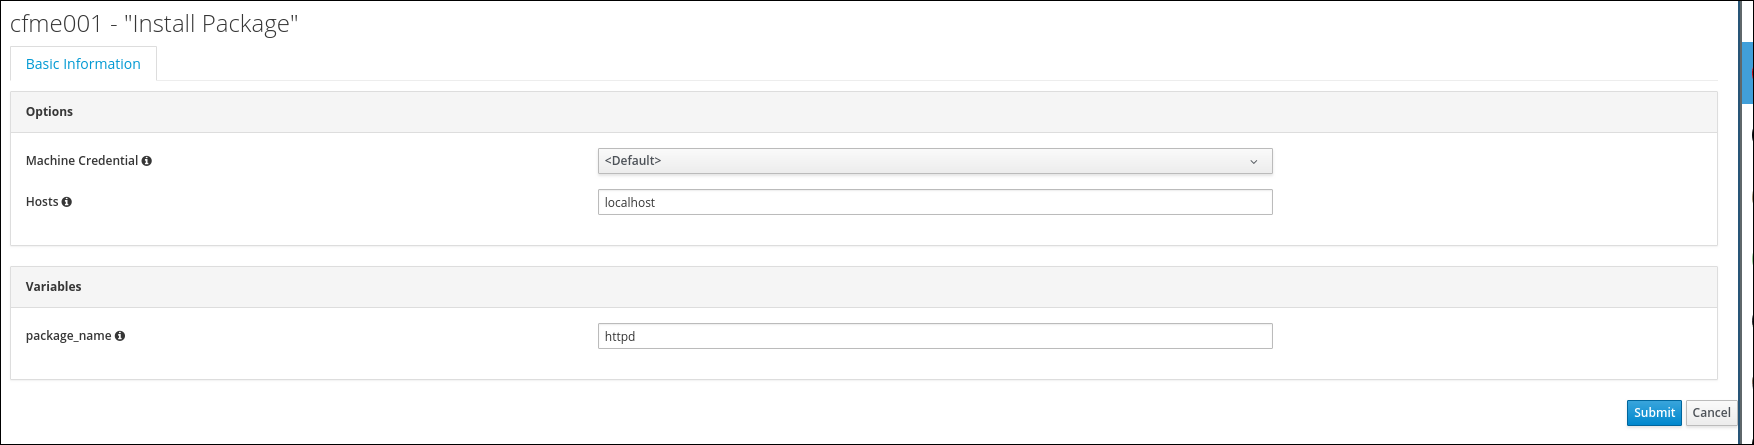
We can accept the values and click on Submit
Navigate to Services -> My Services
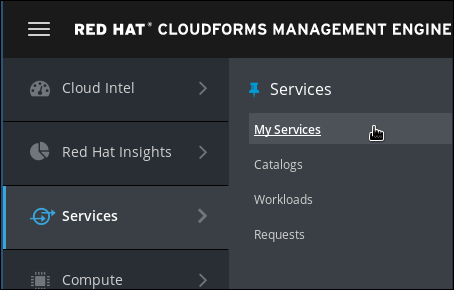
You might have to click on Active Services to see the updated overview of all your services.
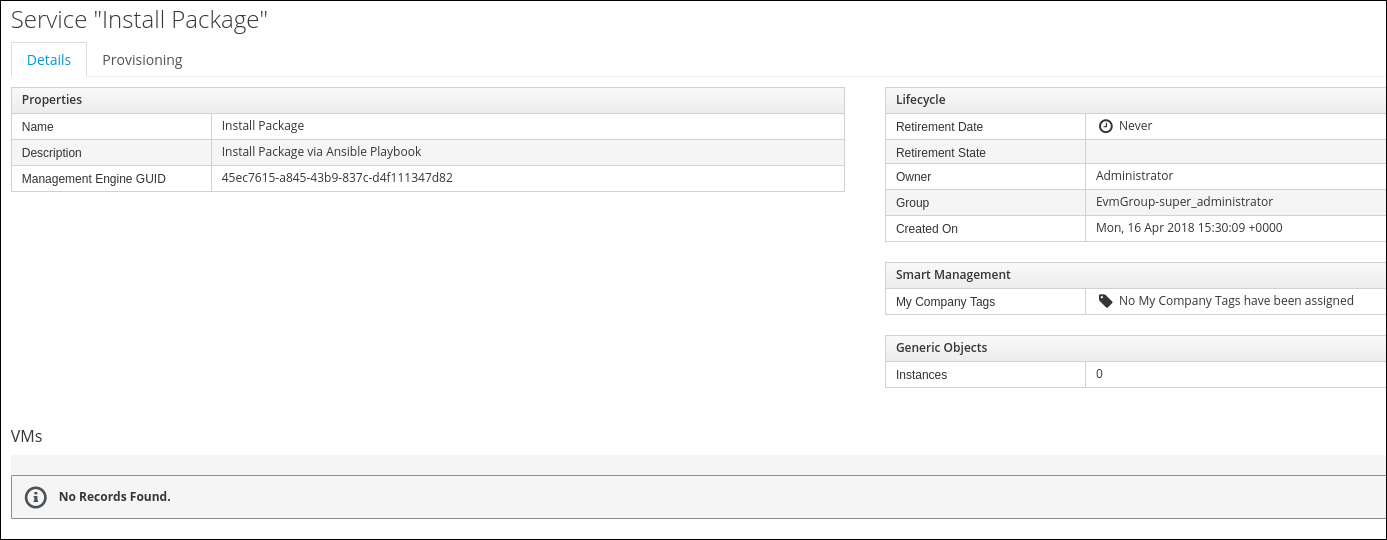
As a result of your action, a new “My Services” object was created. If you don’t see it yet, wait a minute and click on the reload button.
Click on the “Install Playbook” item to see the details
Click on the Provisioning tab to see output from your Ansible Playbook
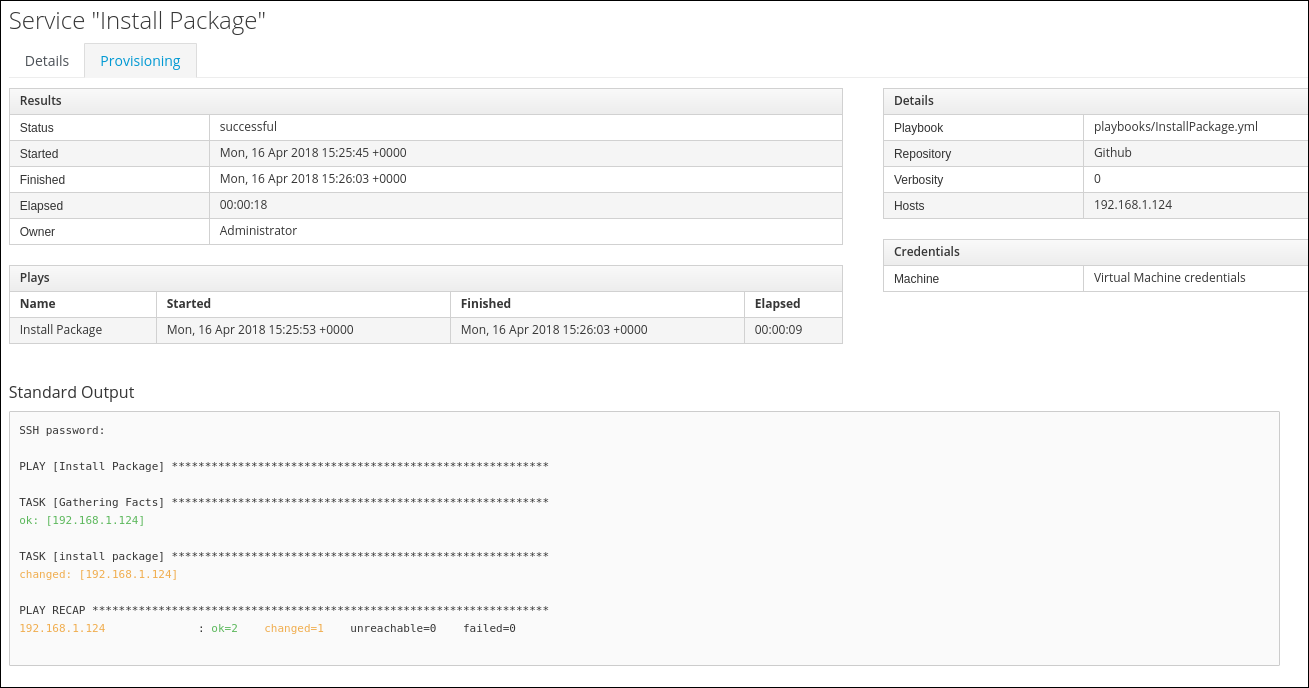
Ansible is idempotent - this means you can run the same Playbook many times and Ansible detects if the desired state was already reached. In this lab, no changes are necessary, because the package httpd is already installed.
This concludes this part of the Ansible lab.