Control Policies
Policies and Ansible
In this lab we will cover how to create an action in CoudForms that executes an Ansible Playbook.
Creating the Service
Control Policies drive Control Actions. Ansible Playbooks can now be executed as a control action, this is done by the control action calling a service. Therefore we need to create a service for the action to call.
First we need to create a Catalog to store the service in, do this by clicking Services/Catalogs and create new by clicking Configuration button and selecting Add New Catalog.
Create a Service Catalog Item for the Playbook
Click on Catalog Items in the accordion on the left
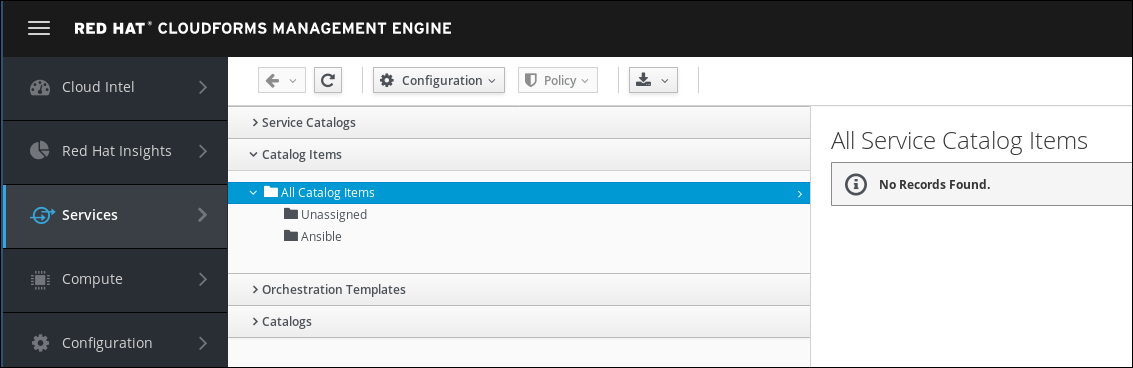
Click on Configuration -> Add a New Catalog Item
Select Ansible Playbook as “Catalog Item Type”
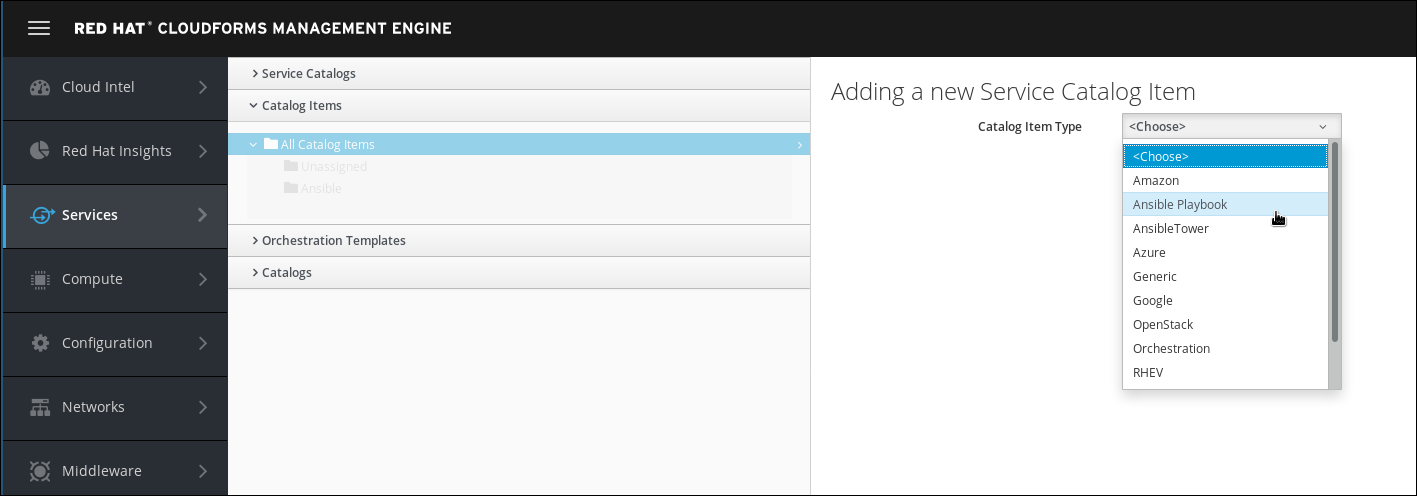
Do not select Ansible Tower! We do not use Ansible Tower in this lab, but the embedded Ansible role of CloudForms.
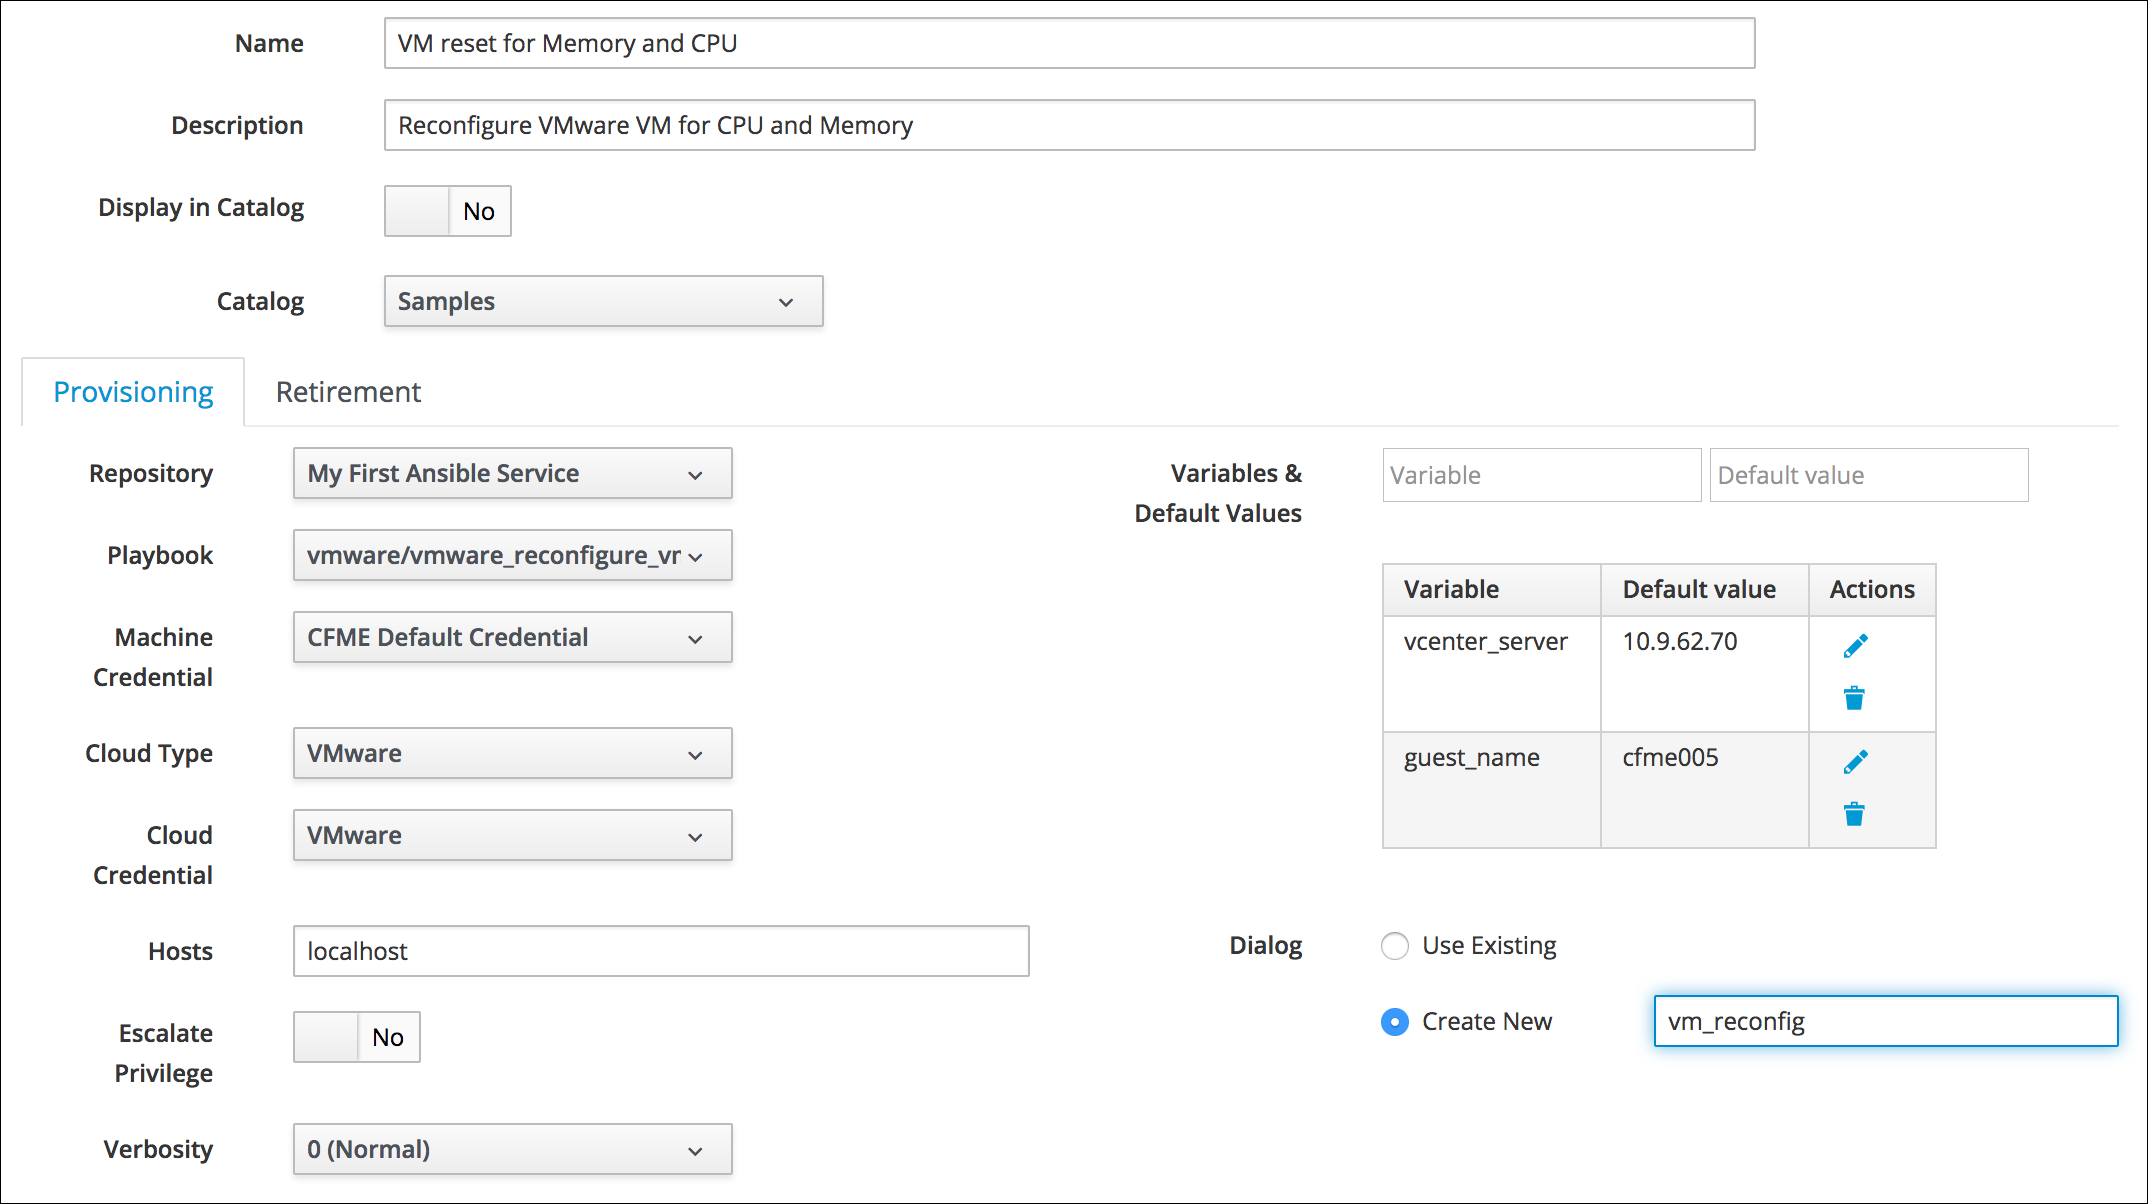
Fill out the form to define the service catalog item:
Name: VM reset for CPU and Memory
Description: Reconfigure VMware VM for CPU and Memory
Display in Catalog: No (uncheck the box)
Catalog: Ansible
Repository: Github
Playbook: vmware_reconfigure_vm.yml
Machine Credentials: CFME Default Credentials
Cloud Type VMware
Cloud Credential vCenter
In the box Variables & Default Values we can enter the variables the Playbook requires:
Variable: vcenter_server
Default: vcenter.example.com
Click on the little plus icon (+) to save the variable. Repeat the process for the second variable:
Variable: guest_server
Default: <TBD>
Click on the little plus icon (+) to save the variable.
Dialog: create new
Dialog name: vm_reconfig
Creating Control Action
Navigate to Control -> Explorer and click on the Actions accordion
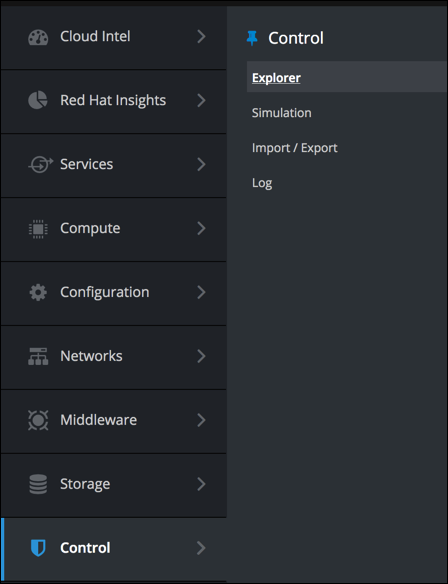
Click on the Actions accordion
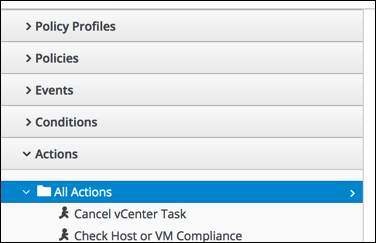
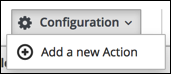
Select Configuration/Add a new Action
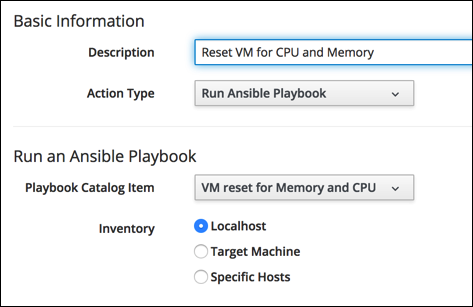
Fill out the form as follows
Description: Reset VM for CPU and Memory
Action Type: Run Ansible Playbook
Playbook Catalog Item: VM reset for Memory and CPU
Inventory: Localhost
Leave the inventory on “Localhost” this is because the playbook that is run as part of the service you created is to be ran on the CloudForms appliance. The other options are
- Run the playbook in the service on the machine that raises the event.
- Comma Delimited list of Hosts.
Click Add
Next we will create the Policy to call the action. The use case that will be demonstrated is when a VM changes its hardware settings, CloudForms will change it back.
Create VM Control Policy
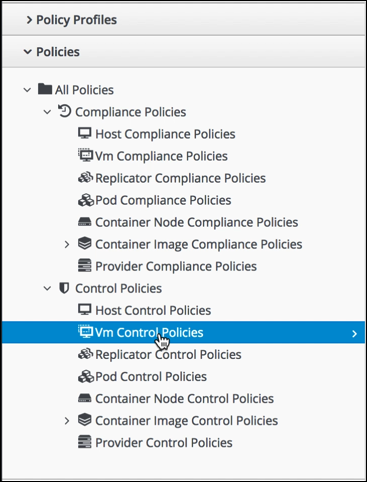
Navigate to *Policies and then select VM Control Policies
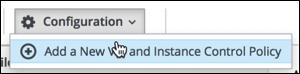
Select Configuration/Add a New VM and Instance Control policy
In the form you just need to provide the Description
Description: Reset VM for CPU and Memory

Setting Event Assignment
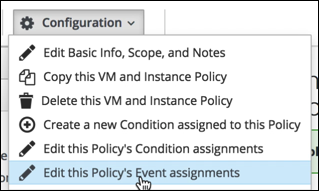
Once added click Configuration/Edit this Events Assignment
Scroll down and select “VM Settings Change” under the VM Configuration
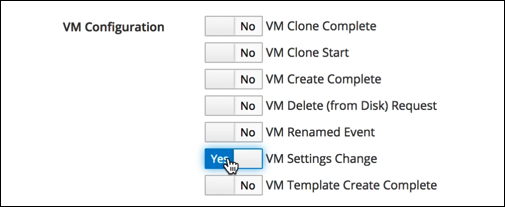
Click Save
Setting Control Action on Event
Click on the Event that is now save to the policy

Select Configuration/Edit Actions for the Policy Event
Scroll the Available Actions For Conditions that are TRUE and move the Action you just created to the Selected Actions
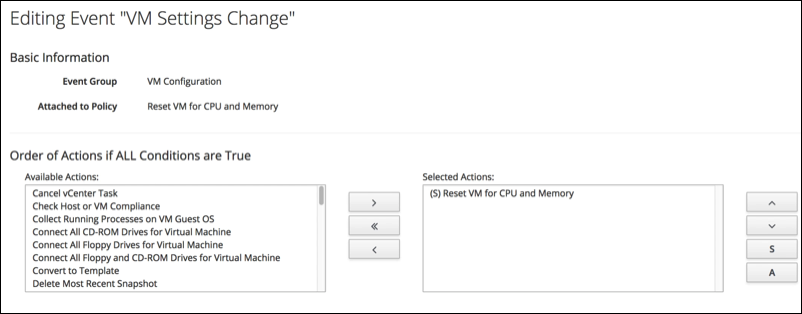
Click Save
The policy will react to events that are “VM Settings Change”, upon the event detected it will run the action “Reconfigure VMware VM for CPU and Memory” that is in turn a Service that is a Ansible Playbook.
Creating and Assigning Policy Profile
For a policy to work, it needs a policy profile to be attached to. The policy profile also needs to be assigned to an object in CloudForms.
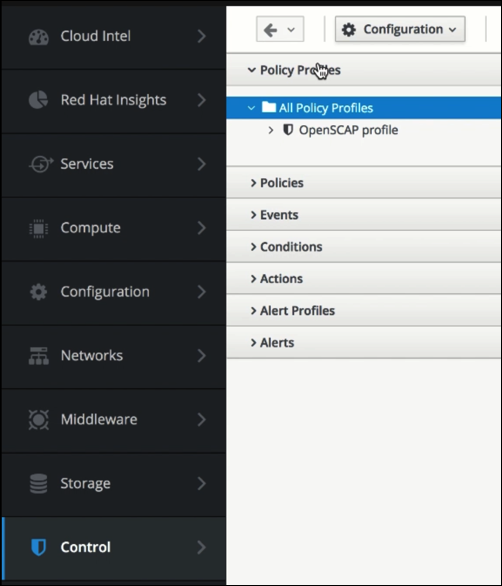
Navigate to Control -> Explorer -> Policy Profiles
Click Configuration/Add New Policy Profile
Provide a Description
Description: Desired State Policies
Move the “Reset VM for CPU and Memory” policy from available to Profile Policies list.
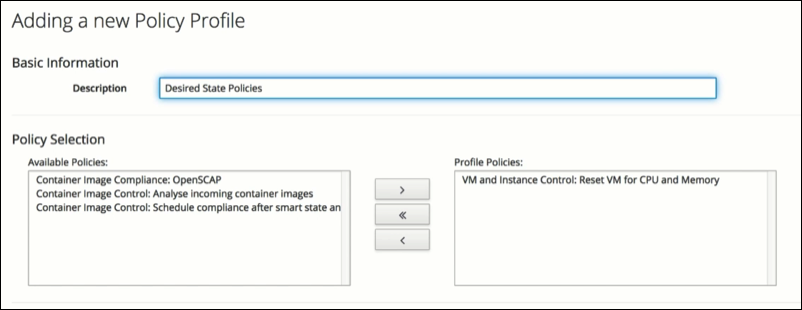
Click Save
Assign the policy profile
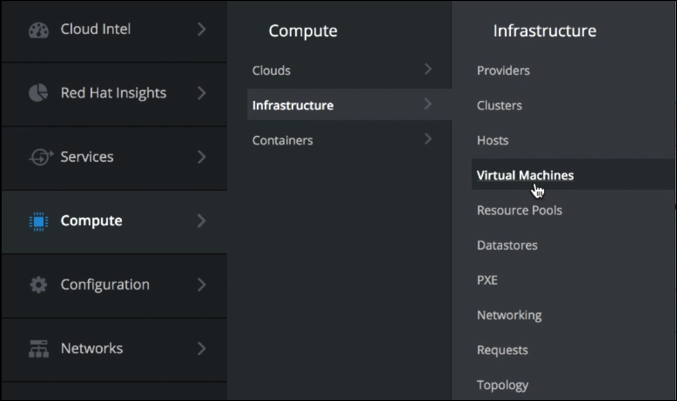
Navigate to Compute -> Infrastructure -> Virtual Machines
Select a Power Off VM
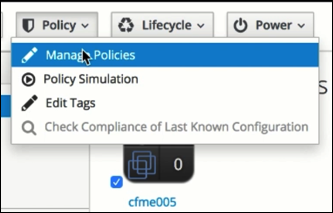
Go to Policy -> Manage Policies
Select the “Desired State Policy Profile”

Click Save
This has assigned the Desired State Policy Profile to the individual VM. When the VM is configured for CPU or Memory, CloudForms will reset it back to 1CPU and 1GB memory.
Testing the Policy Profile
We will see the output in CloudForms in the form of a service in my services as well as the actual VM inventory will change. To see more real time, it’s advised during testing to open the policy.log file on the CloudForms appliance. This shows when events are caught by CloudForms and confirms the policy matches.
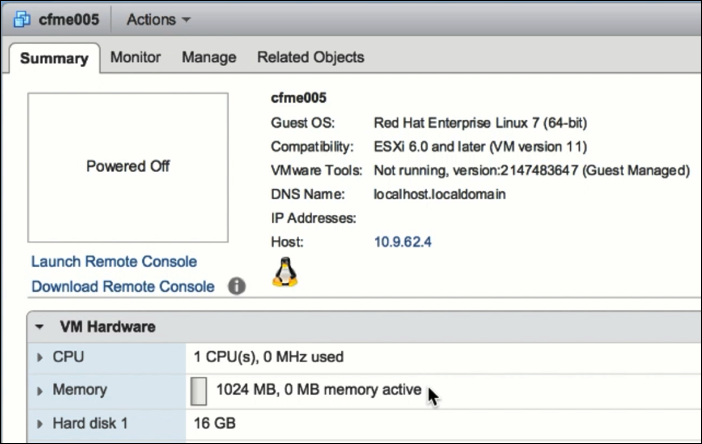
Start by going to vSphere Web Client and selecting the VM that you identified for your service and policy earlier.
Go to the vCenter console, pick the VM you assigned the Policy and modify the CPU and Memory values to
CPU: 3
Memory: 4096 MB
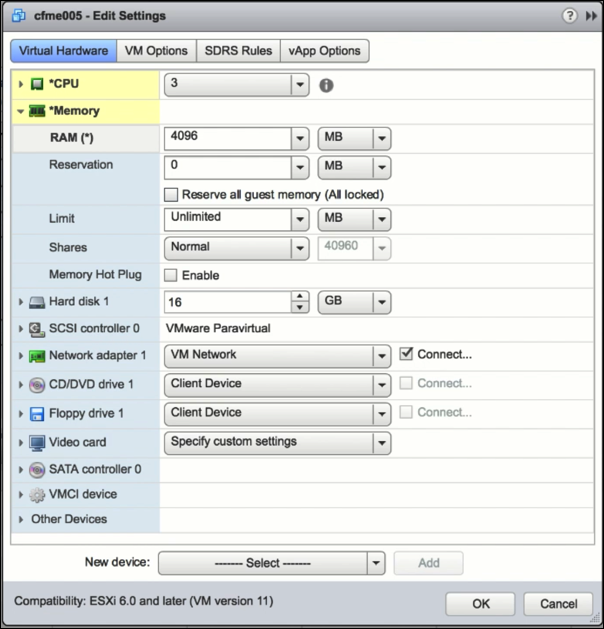
You can see the vSphere Web Client task running to change the CPU and Memory.
Go back to the CloudForms console and navigate to Services -> Requests

Wait until your request (service) is finished

Go back to the vCenter console and verify that is has 1 CPU and 1 GB of RAM