OpenShift Integration
OpenShift example
Your lab environment also contains an OpenShift Container Platform installation which we want to use in the following lab. Red Hat® OpenShift is a container application platform that brings Docker and Kubernetes to the enterprise. Regardless of your applications architecture, OpenShift lets you easily and quickly build, develop, and deploy in nearly any infrastructure, public or private. Whether it’s on-premise, in a public cloud, or hosted, you have an award-winning platform to get your next big idea to market ahead of your competition.
Since version 4.6 CloudForms offers support for deploying applications from OpenShift templates. To make the necessary configuration easy, an administrator can automatically create a Service Dialog from an existing OpenShift template.
Create Service Dialog from an OpenShift Template
CloudForms can create a Service Dialog from an OpenShift template very easily.
Navigate to Compute -> Containers -> Container Templates
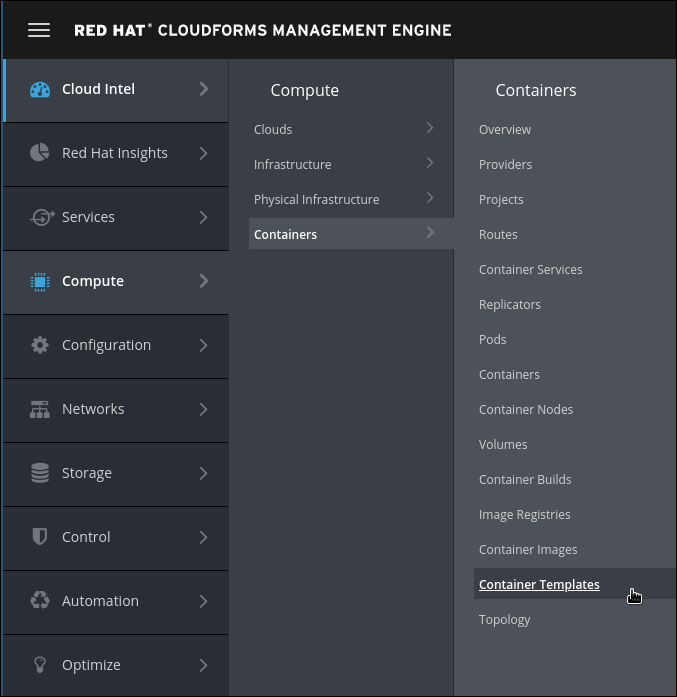
You wisll see a list of all currently available templates. CloudForms periodically retrieves the list of available templates from OpenShift to make sure the CloudForms inventory is up to date.
Click on the “cakephp-mysql-example” template
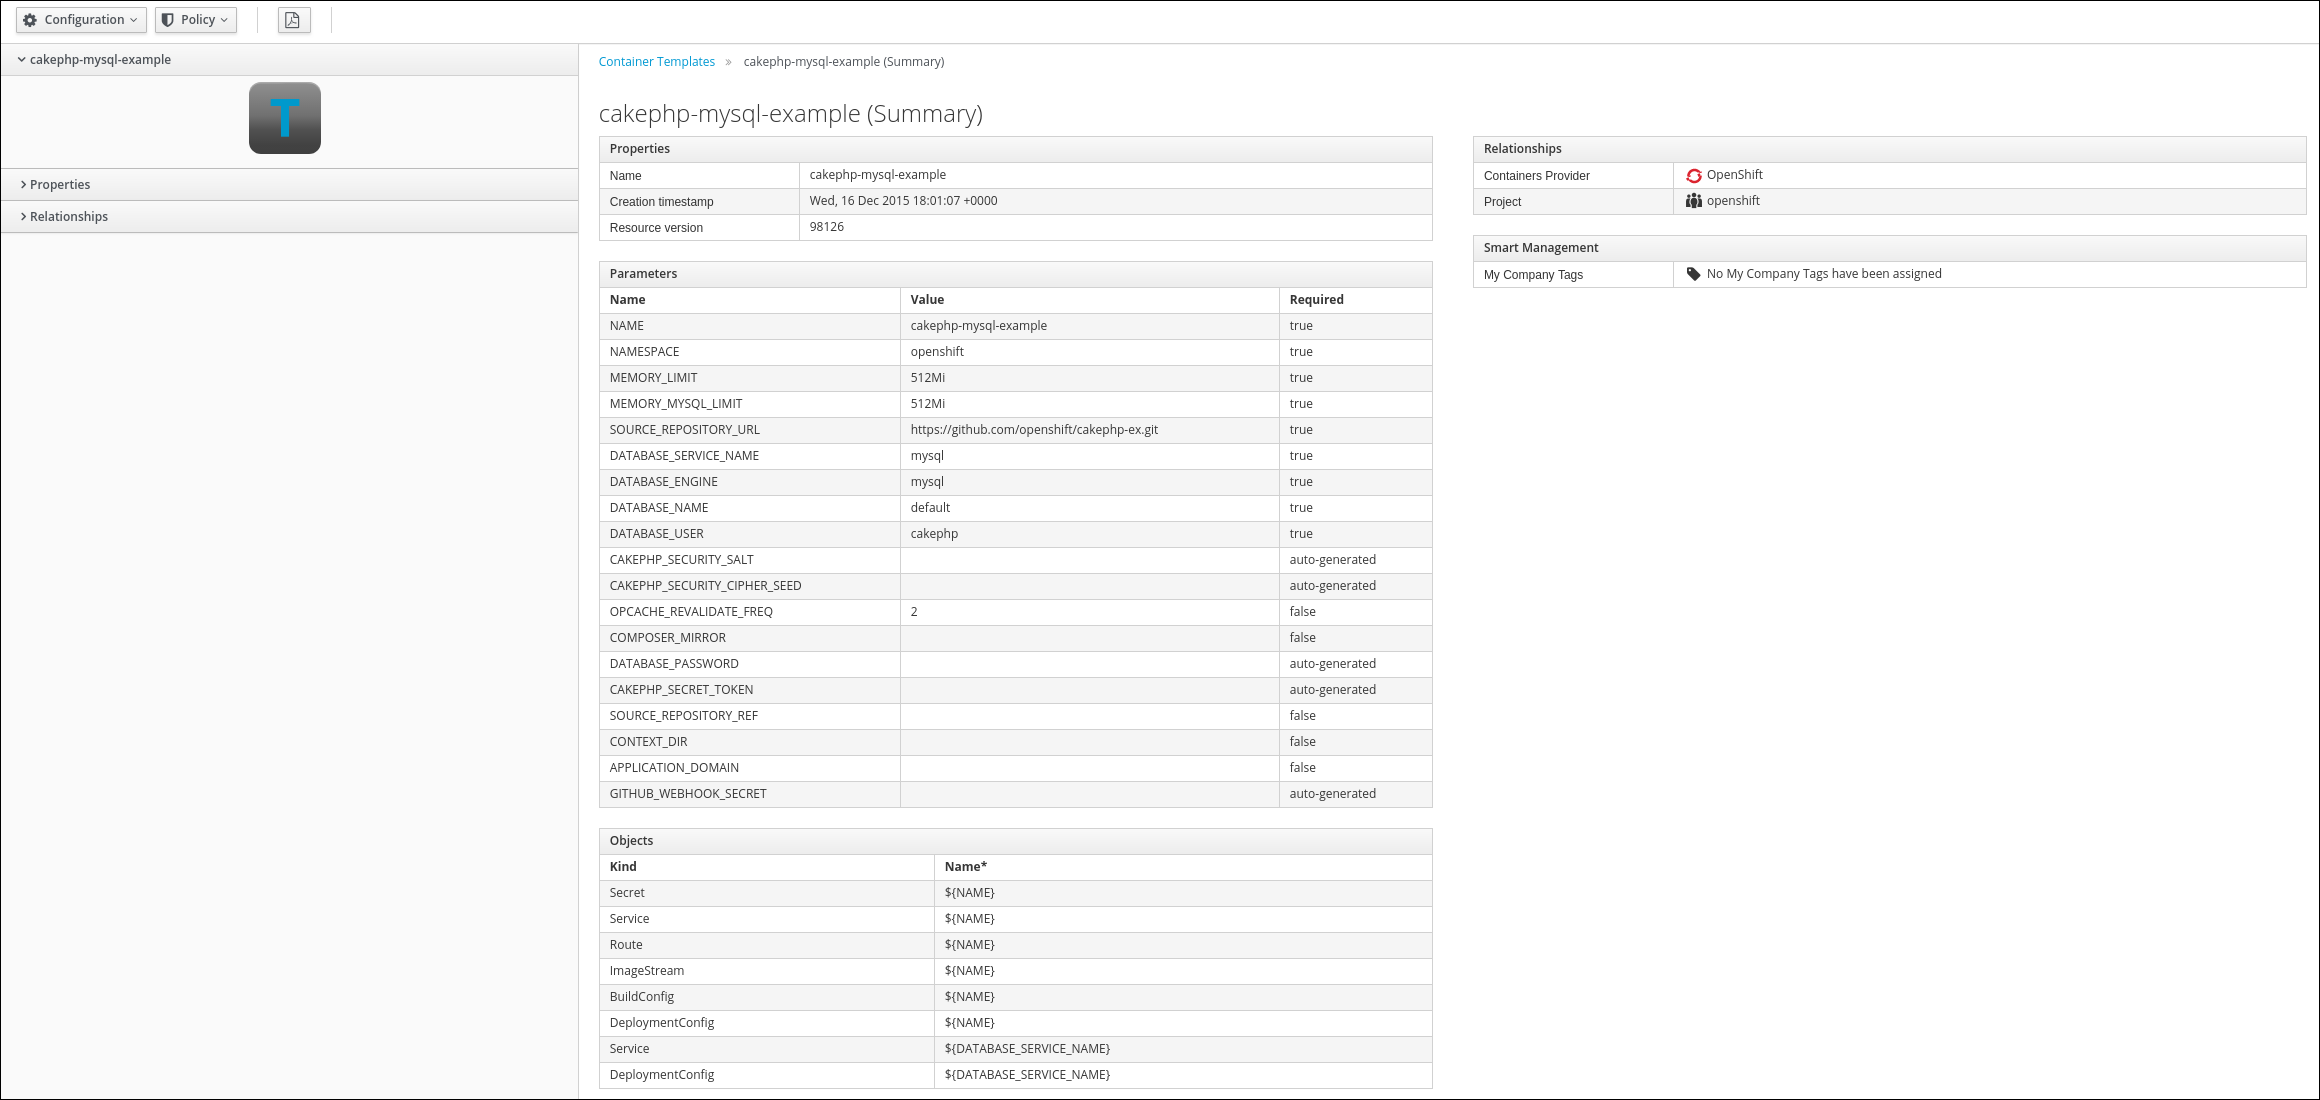
Double check you’re NOT using the “cakephp-mysql-persistent” by accident. This template will fail because the OpenShift environment in this lab does not have persistent storage.
Click on Configuration -> Create Service Dialog from Container Template
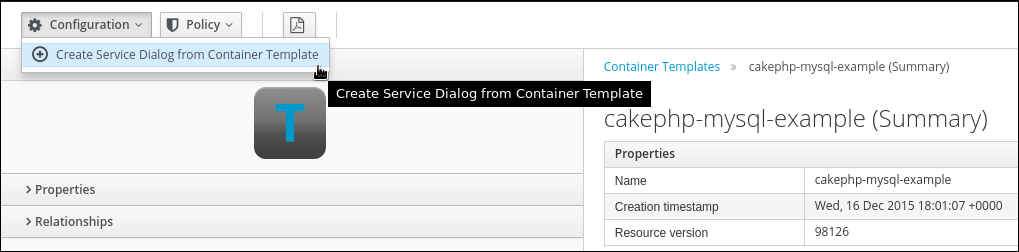
Give it a name and click Save
Service Dialog Name: cakephp-mysql-example

You can find the automatically created dialog in Automation -> Automate -> Customization in the section Service Dialogs.
Create an OpenShift Service Catalog
The following steps will create a service catalog.
The next step is to create a service catalog. First we have to navigate to Services -> Catalogs.
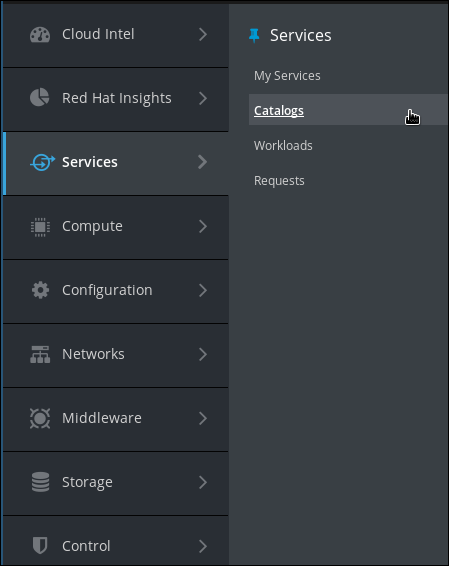
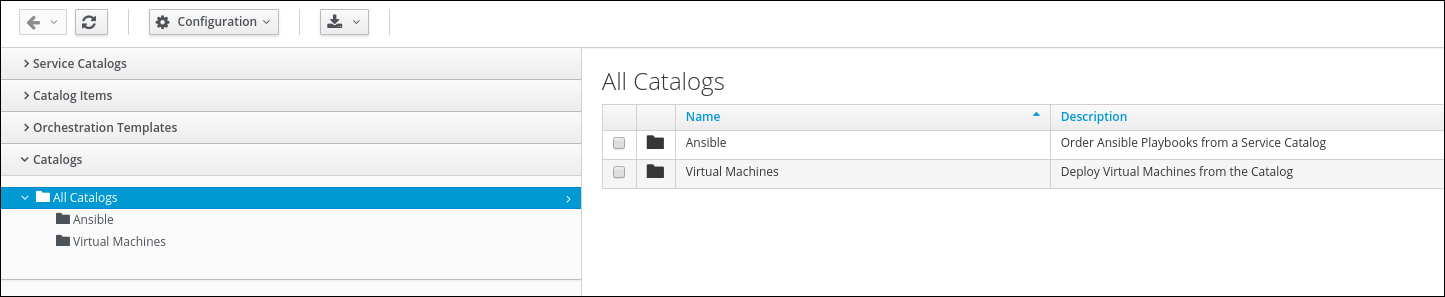
On this screen click on Catalogs on the left
You should already see two Service Catalogs:
Ansible: the Service Catalog we created in the Ansible part of the lab
Virtual Machines: the Service Catalog we created in the Virtual Machine part of the lab
Click on Configuration and Add a New Catalog
Fill out name and description:
Name: OpenShift Templates
Description: Deploy OpenShift Templates from the Catalog
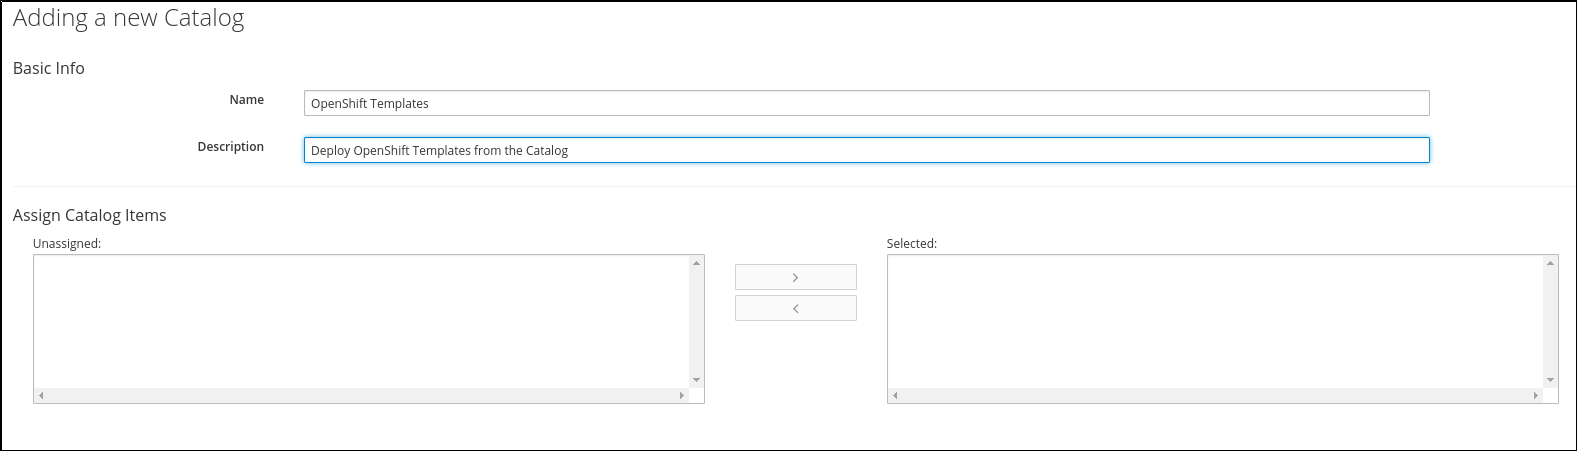
Click Add to create the Service Catalog
Create a OpenShift Template Service Catalog Item
To put everything together we create a Service Catalog Item similar to before.
Navigate to Services -> Catalogs
Click on Catalog items in the accordion on the left.

In the Configuration Menu, click on Add a New Catalog Item
Chose the Catalog Item Type. For this example we want to use OpenShift, so click on OpenShift Template
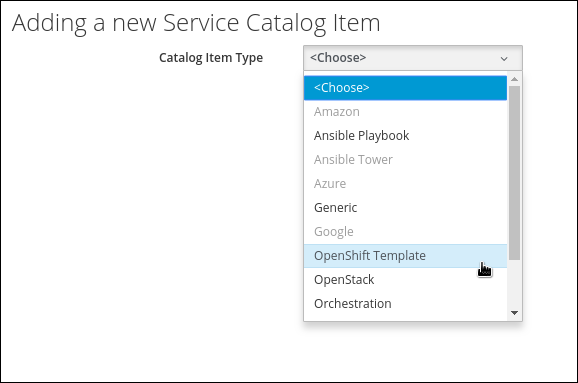
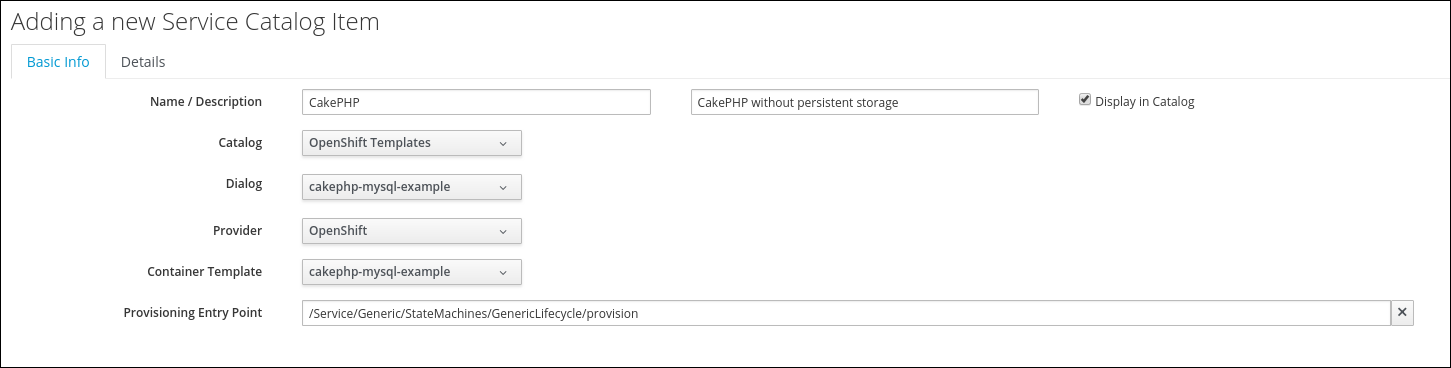
The next dialog will ask for the details for the new Catalog Item
Name: CakePHP
The name of the Catalog Item shown in the UI.
Description: CakePHP without persistent storage
A more descriptive text about the Catalog Item.
Display in Catalog: check this box
Check the “Display in Catalog” box. If not selected, the Catalog Item will not be visible to users. This can be used for Items which are either still in draft mode, or should only be ordered as a part of a bundle.
Select the previously created Service Catalog:
Catalog: OpenShift Templates
Select the previously created Service Dialog:
Dialog: cakephp-mysql-example
Select on which provider the OpenShift Template should be executed:
Provider: OpenShift
The template to execute:
Container Template: cakephp-mysql-example
All other fields on this tab can remain unchanged.
For this lab, we want to stick with the out of the box experience and leave those fields unchanged.
Click on the Details tab. You can provide some more descriptive explanation about the Service Catalog Item. We can even use basic HTML formatting in this box.
Finally click on Add to save the Service Catalog Item

Order the OpenShift Template
Let’s verify the Service Catalog Item actually works.
Navigate to Services -> Catalogs and then click on Service Catalogs in the accordion on the left.
You should see the Service Catalog Item we just created:

Click on the Service Catalog Item to see more details.
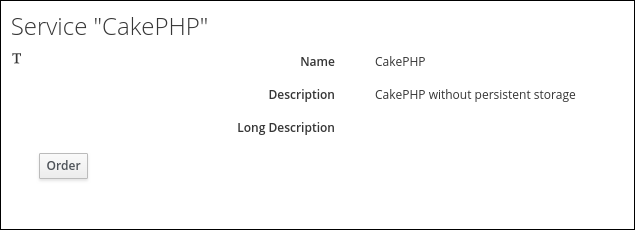
Click on Order
Fill out the form as follows:
Add To Existing Project: <select> (this should already be selected since it is the default)
(or) Add To New Project: service-catalog-demo
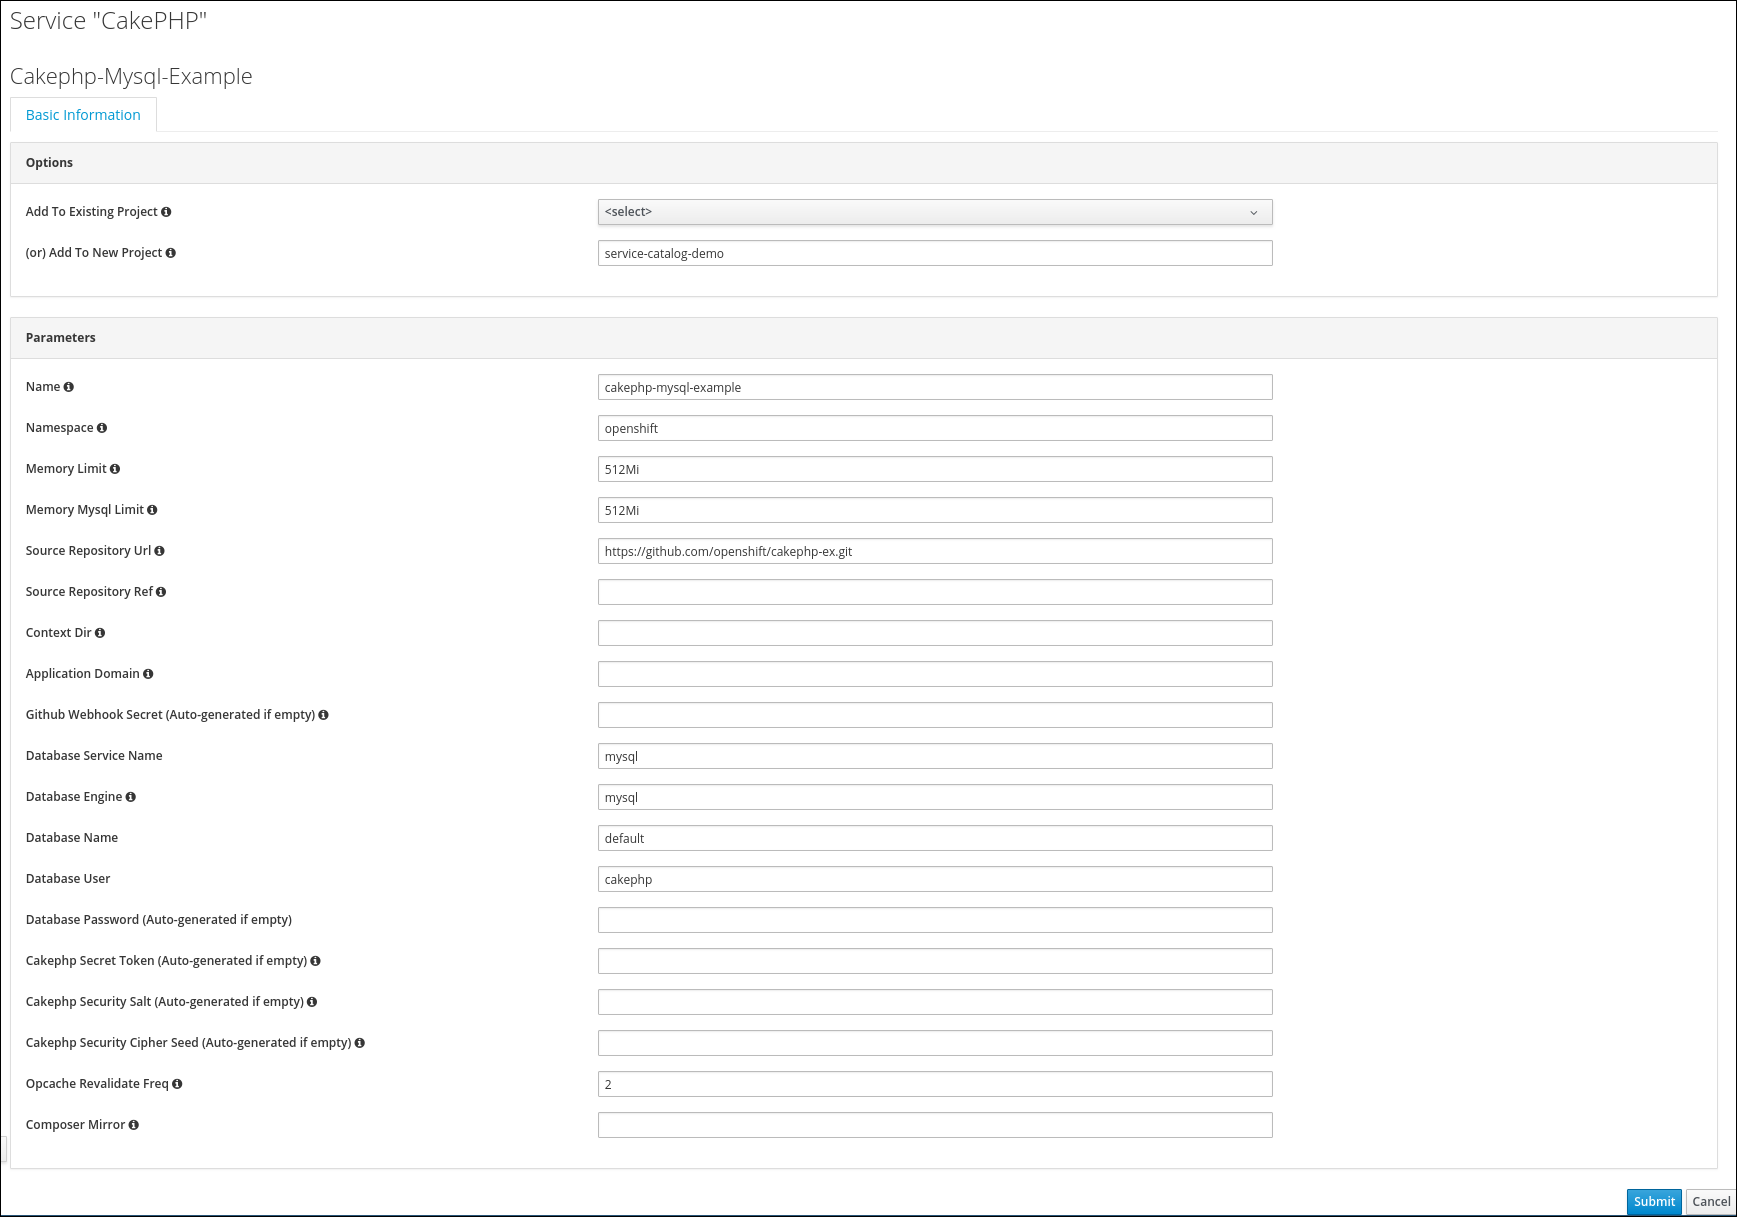
Review the other fields of the form and pay attention to the tool tips (the little “i” icons). Feel free to adjust some of the fields or leave the default values unchanged
Click on Submit
Verify provisioning of OpenShift application
After a few minutes you should see your new project and the associated containers, pods and service in the CloudForms Web Interface.
Navigate to Compute -> Containers -> Projects

Review the list of available projects and click on service-catalog-demo which is the project created by CloudForms after placing your order
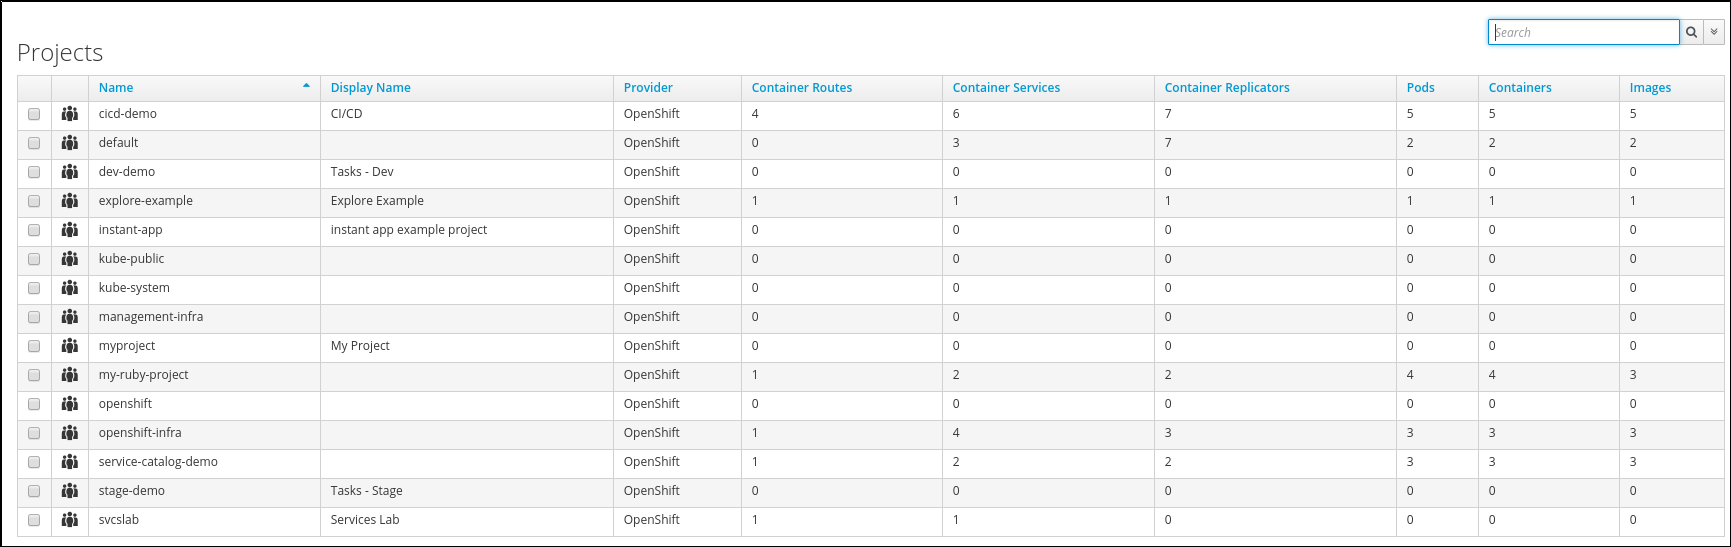
If your project is not listed yet, try again a minute or two later
The project dashboard wil look similar to the one below. There will be no metrics at this point of time and hence some of the widgets will report “No data available”

Click on the topology view icon on the top right to see the relationships between the objects in this project

The topology view is a visual representation of all objects related to the currently selected project. Topology views are available for several objects in CloudForms including Virtual Machines, Networks and Storage.
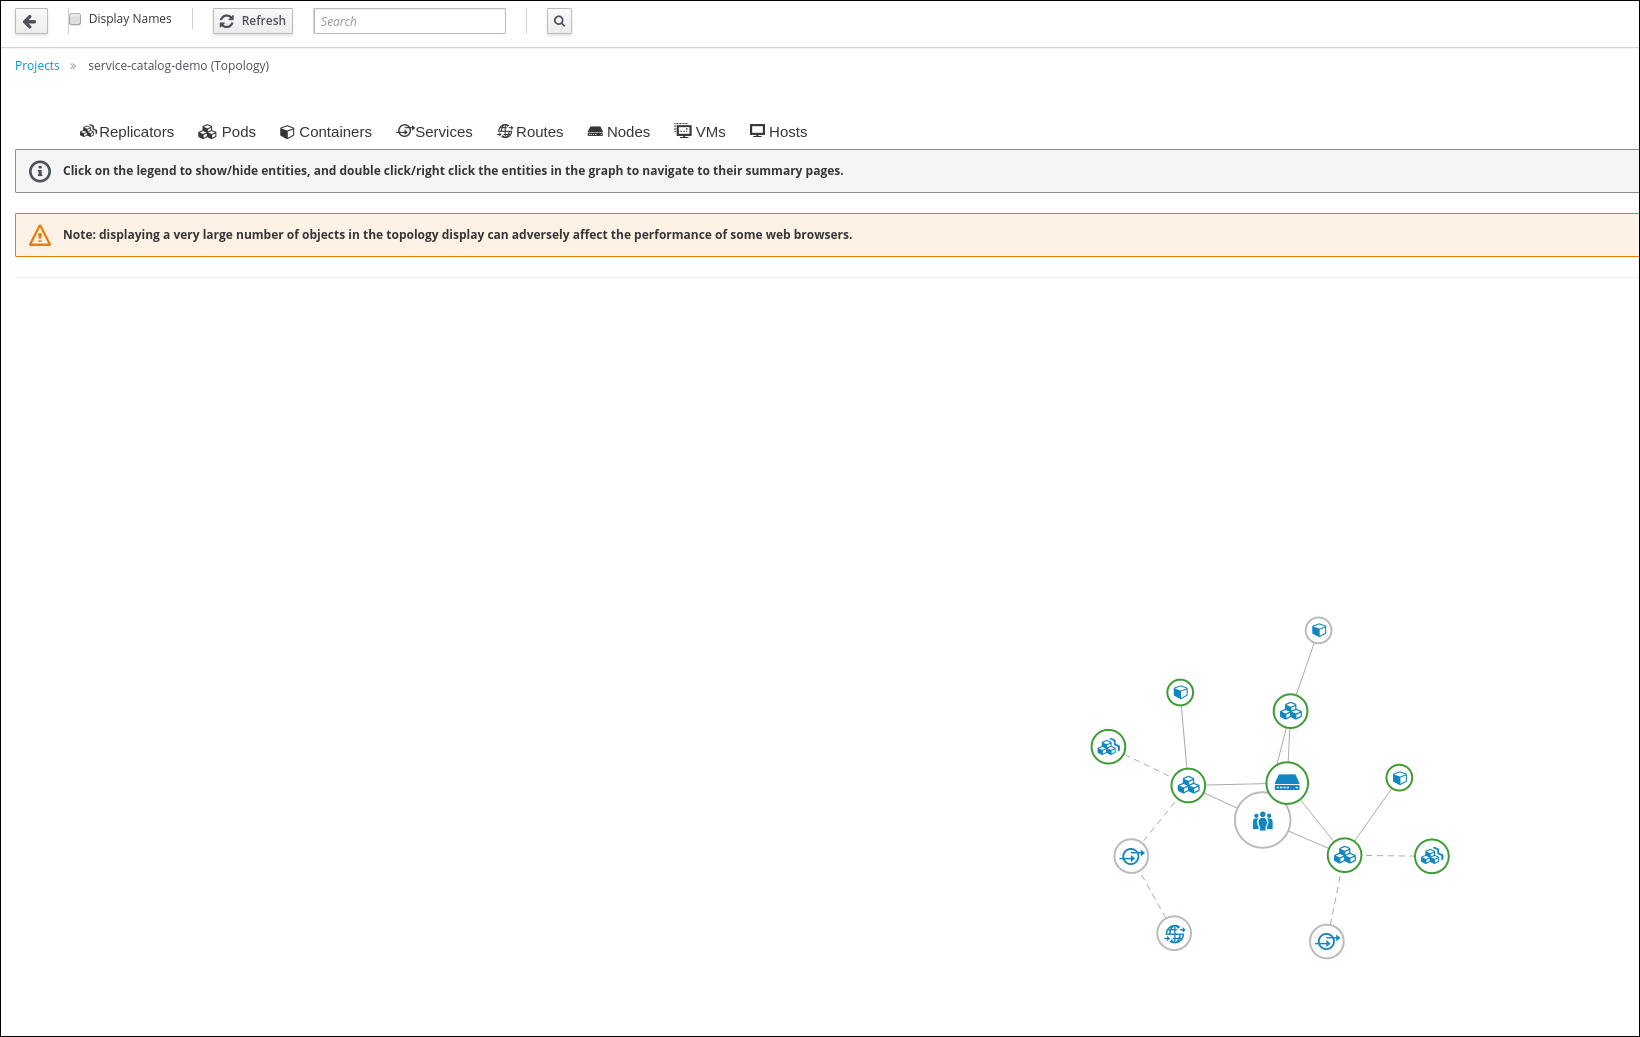
Since the topology view is rendered from live data, it can look slightly different in your lab, depending on the progress of the provisioning (which might still run in background) or availability status of services, pods and containers.
This concludes this part of the lab.