Order Example Service
Order the “create user” Service Catalog Item
To make sure everything works as expected, we want to test the Catalog Item we just created.
Navigate to the Service Catalog by clicking on Services -> Catalogs
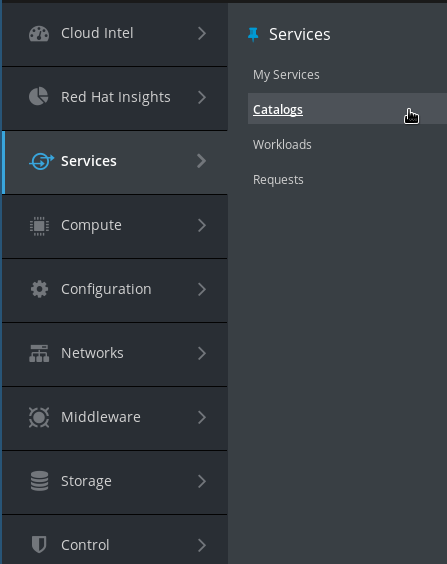
Click on Service Catalog in the accordion on the left
Click on the Catalog Item you just created:

Click Order
The default values in the form can be left alone. Optionally you can specify a different user name and password

Click Submit
After clicking “Submit” you will be redirected to the Request Queue.
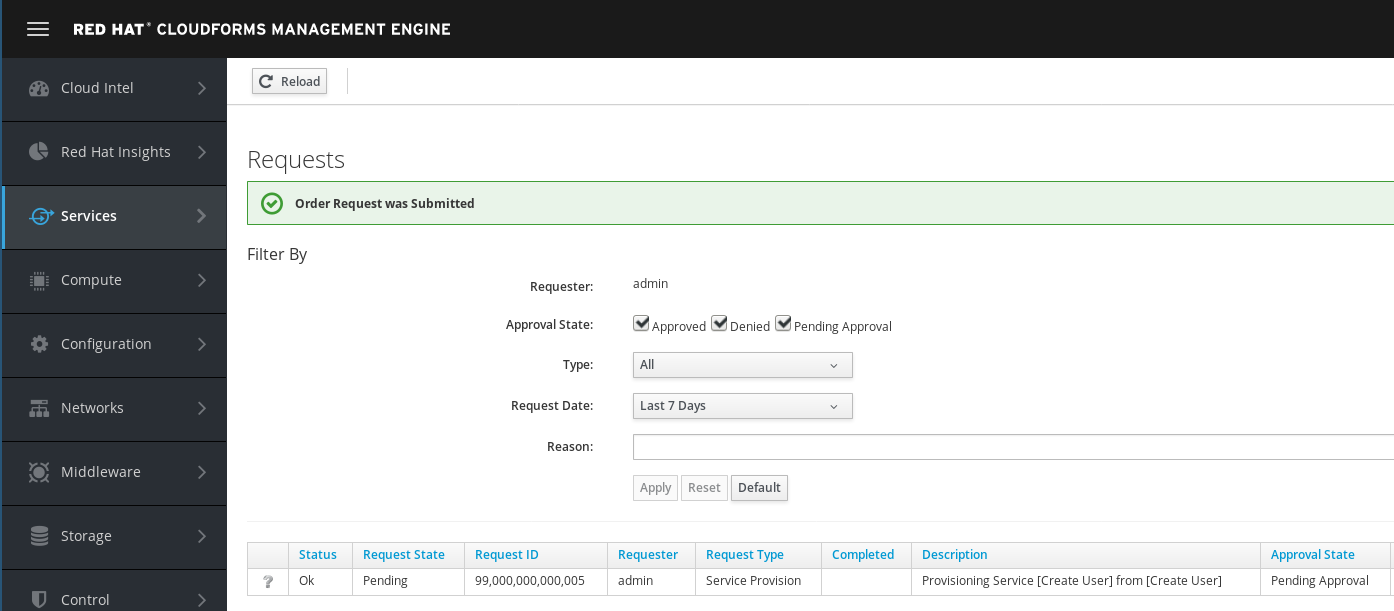
Monitor create user Playbook execution
When executing an Ansible Playbook with the embedded role in CloudForms, a “Service” object is automatically created. This service object gives us more details about the executed Playbook. It provides the output of the Playbook and it allows us to trigger retirement.
Navigate to Services -> My Services
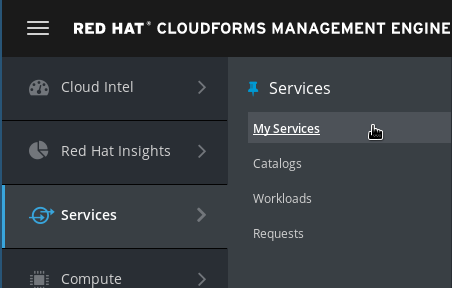
You should see a new tile representing the Ansible Playbook Service you just ordered
If you don’t see the tile yet, wait a minute and try again.

After clicking on the icon, we can see more details about the service which was created

Since this Service does not create a Virtual Machine, the box “VMs” will always say “No Records found”
Click on the Provisioning tab to see the output of the Ansible Playbook
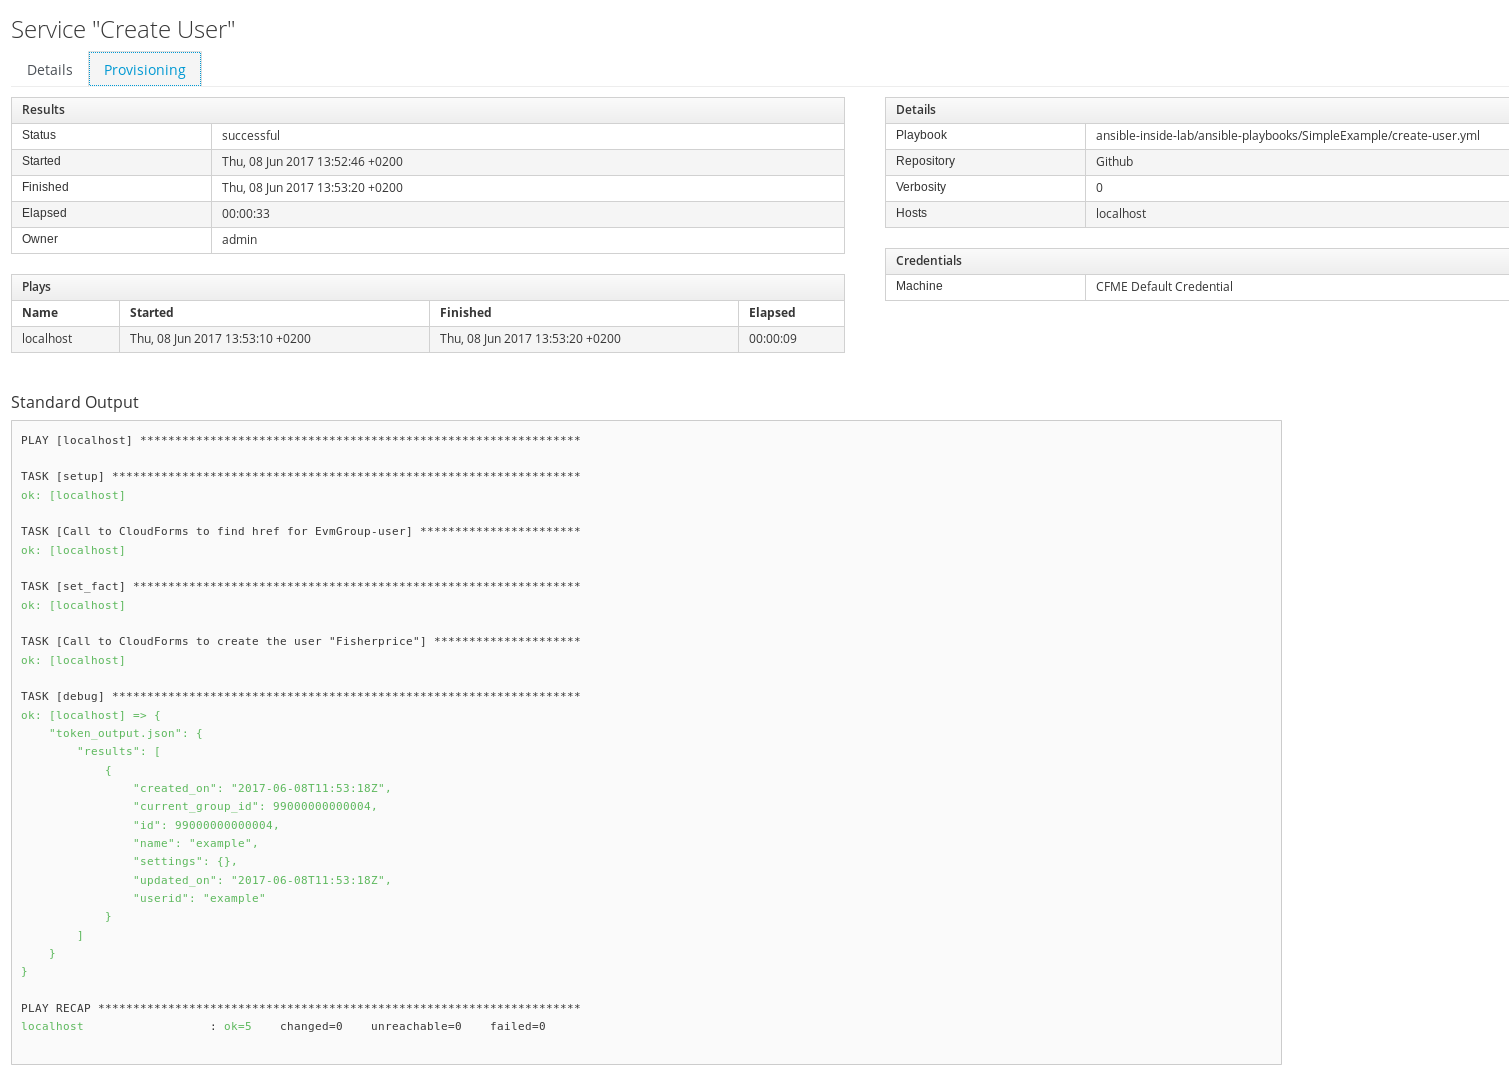
If the Playbook execution has not completed, you can click the reload icon to refresh the information. The Reload icon is represented by a little arrow, left of the Configuration menu.
![]()
If the Playbook execution has not started yet, you might not see any details in the “Provisioning” tab. Wait a minute and reload once more.
Verify Playbook results
To make sure the user was really created, follow these steps.
Click on your username on the top right and click on Configuration

Click on Access Control in the accordion on the left

Click on Users and you should see the user you just created (in this screenshot the user is called “example”)

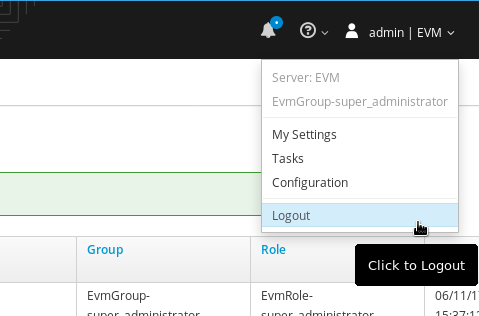
If you want, you can log out of CloudForms and try to log in with the user you just created. Click on your username on the top right and Logout.
